
How to do a Hawaiian Imu
Yesterday was Imu day at Sunshower Farms! An Imu (pronounced ee-moo) is a traditional Hawaiian underground oven. It is how Kalua pork is made - the meat served at a traditional luau. We had been wanting to try an imu for awhile, but we didn't want to buy meat for it in case we messed it up.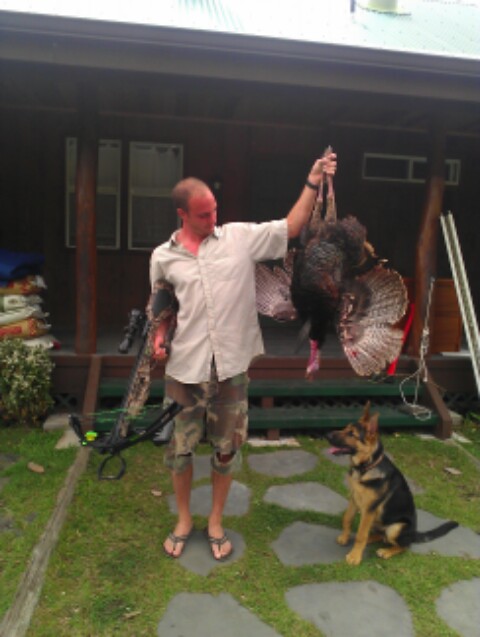
So when a couple days ago Mike shot a wild turkey with his crossbow, we decided this was the perfect excuse to do an imu.
To make our imu, we used this guide and followed it pretty closely. However, we did make some changes when doing ours based on what we had available.
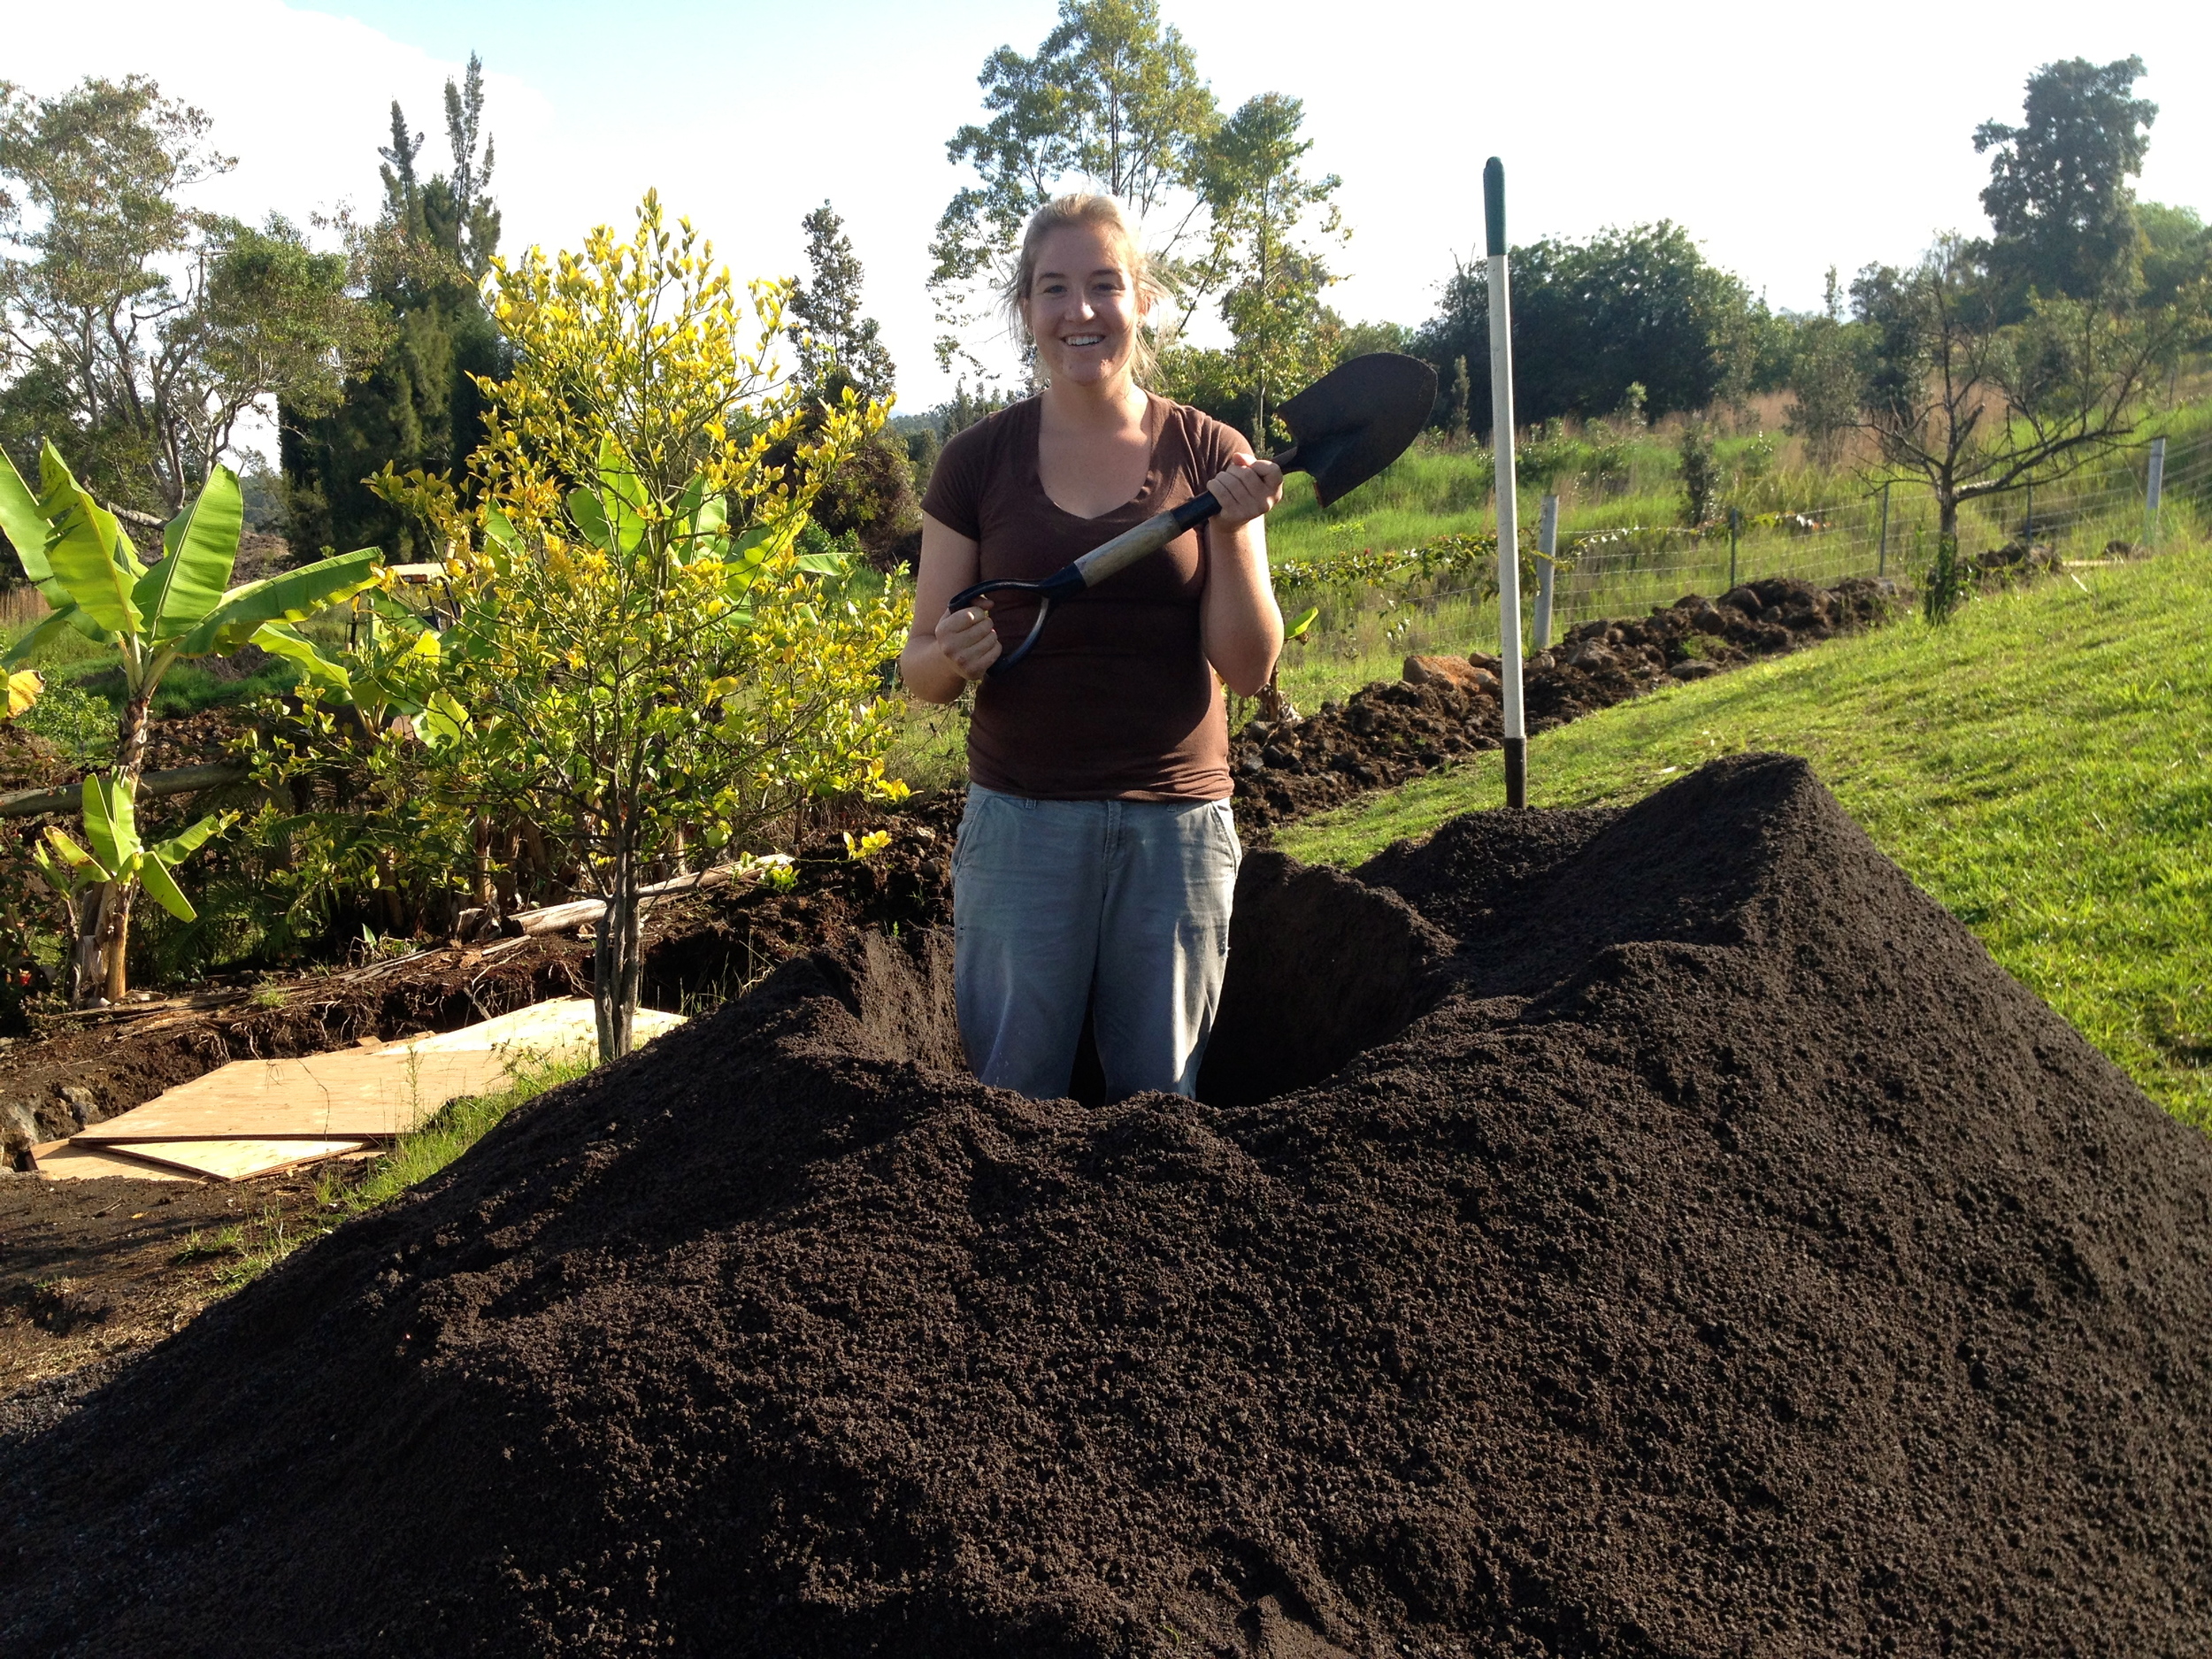
The first step in making an imu is digging a big hole. If you are doing a whole pig, it needs to be 6 feet long and 3 feet deep. But because we did a turkey and a pork shoulder (we added the pork to diversify our imu holdings), we only did 3x3x3 hole.

You can dig your imu hole pretty much anywhere. In Hawaii, it is traditionally done on the beach, but I cannot see why you couldn't build one in your back yard. We were going to do ours just in a random spot on the farm, but we had a huge sand pile that was delivered last week to line a plumbing trench. So we figured that would be much easier than digging a hole in the yard and just went with the sand.
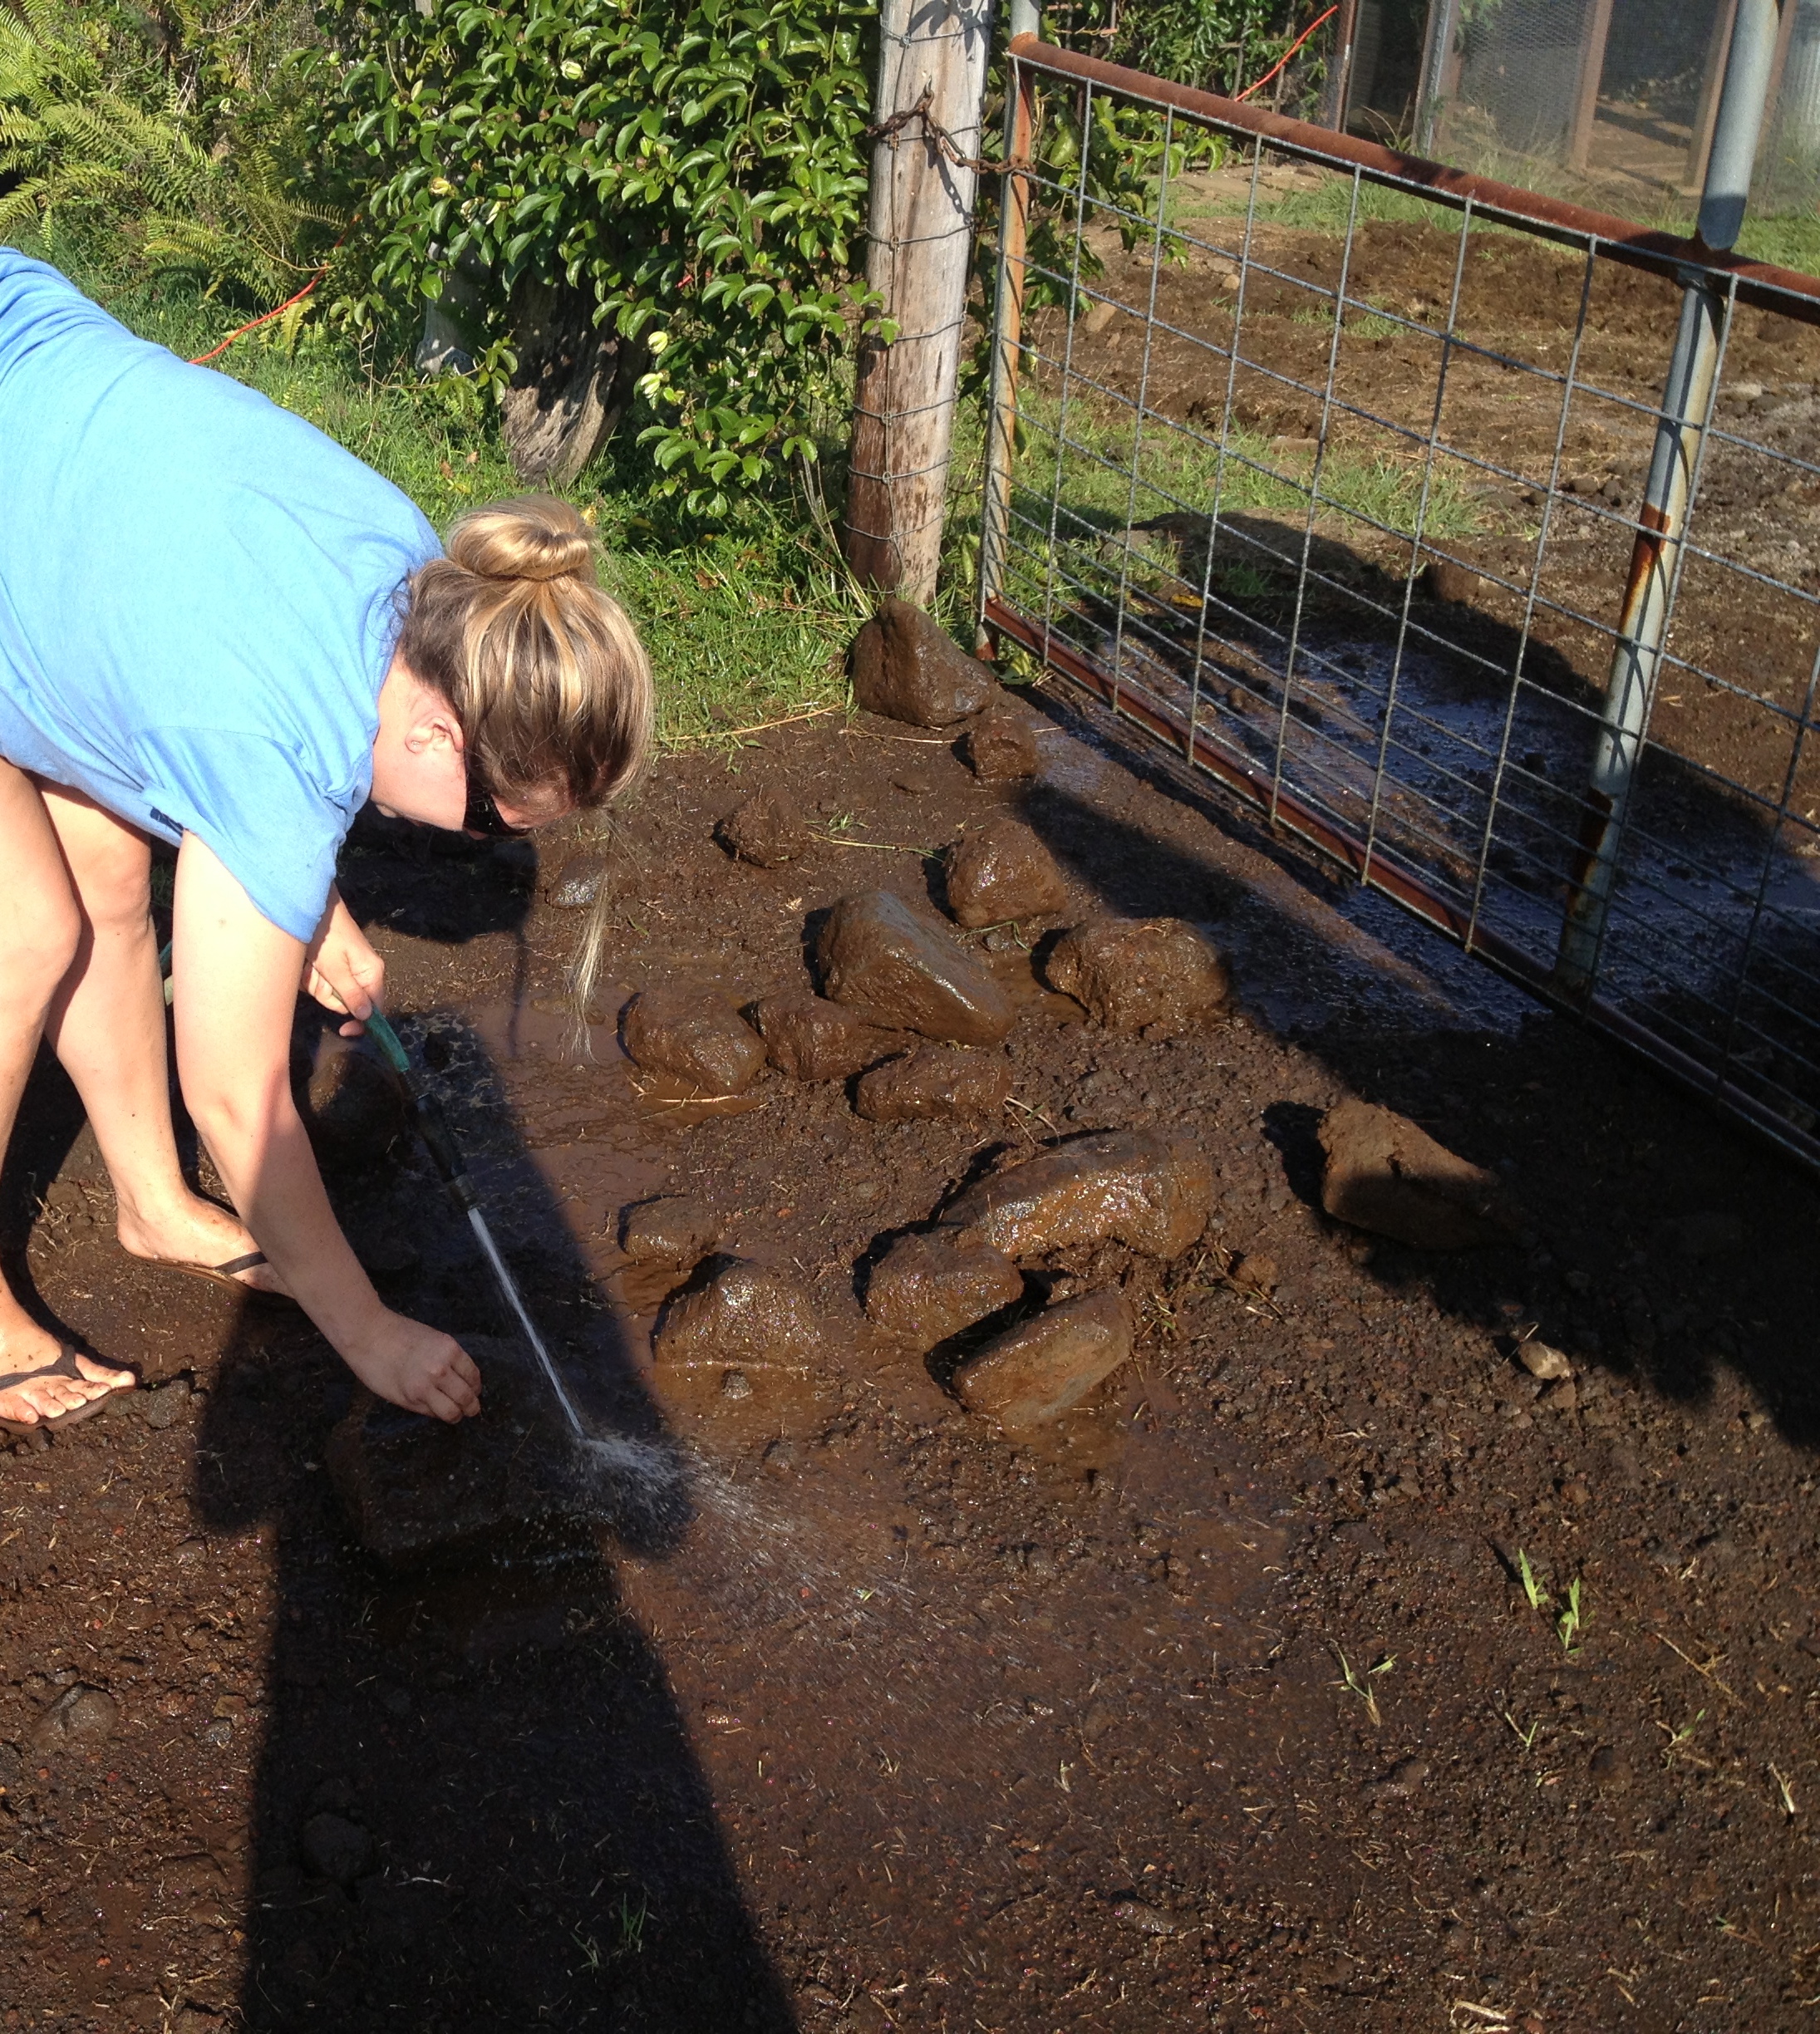
When the hole is ready, the next step is to fill it with large flat(ish), smooth(ish) stones. Doug and Sam collected a bunch of stones, but they were covered with mud so I hosed them off.

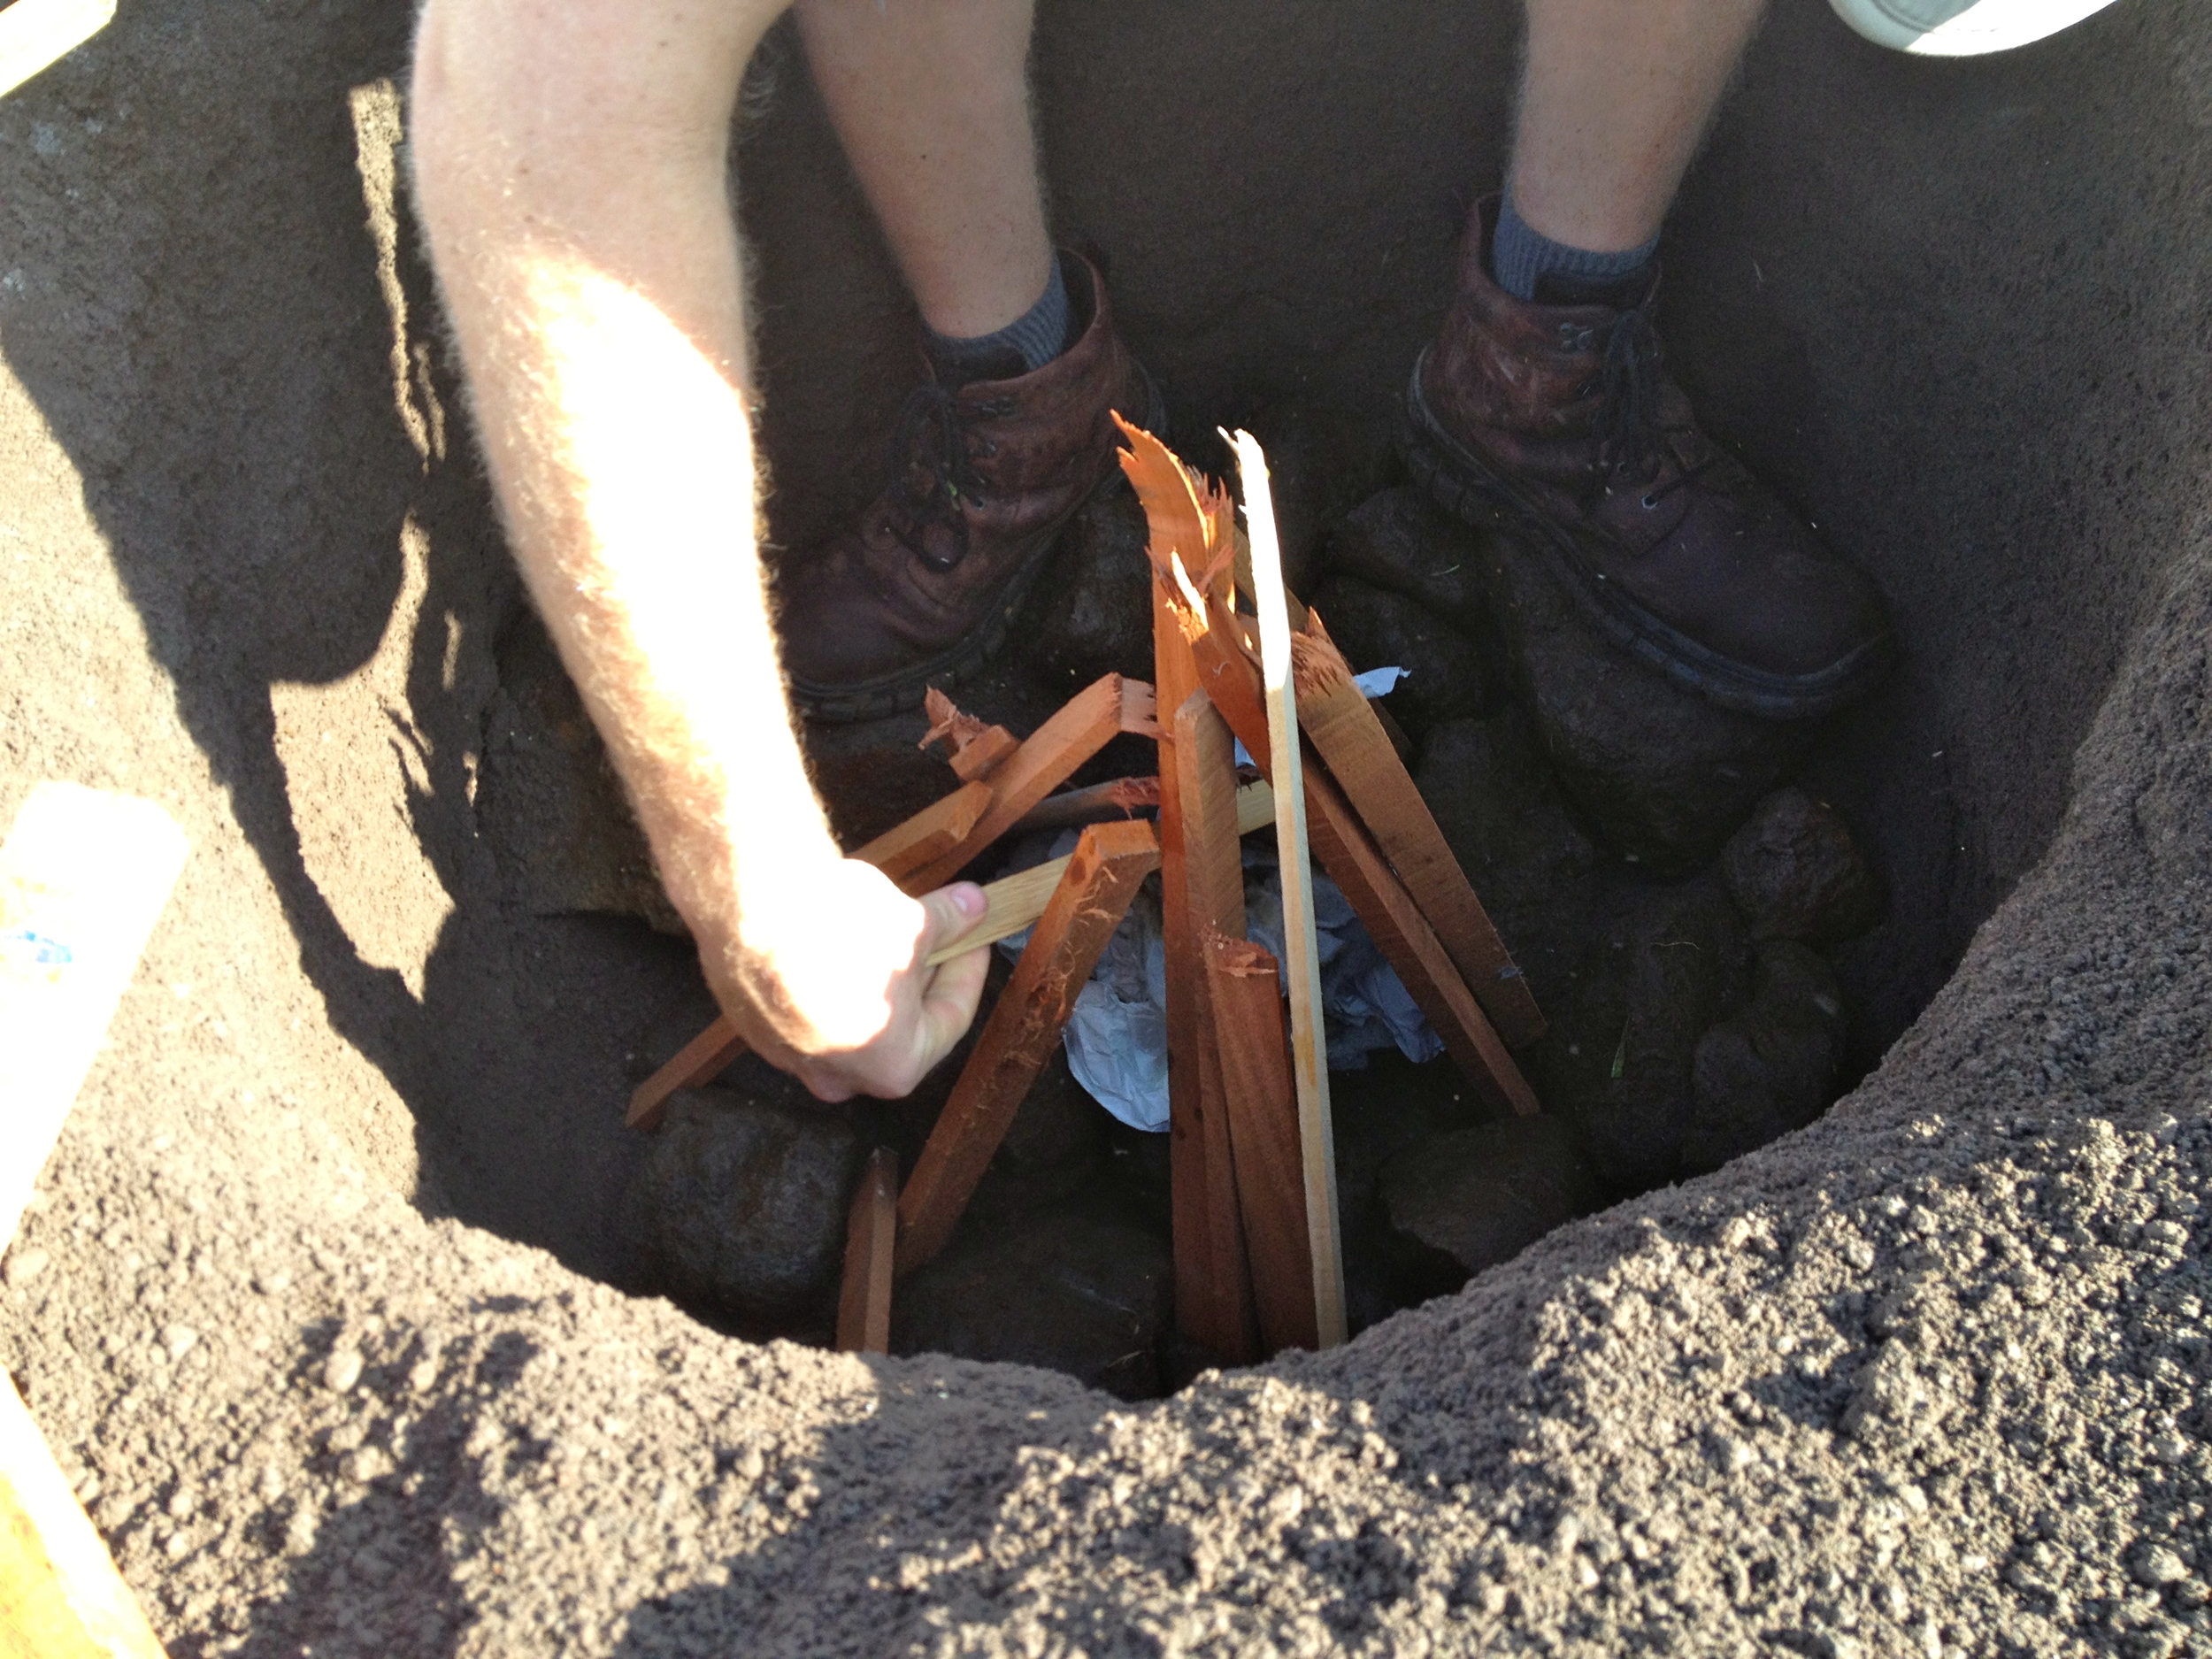
When our stones were free from caked on mud, we laid them in the bottom of our imu hole.

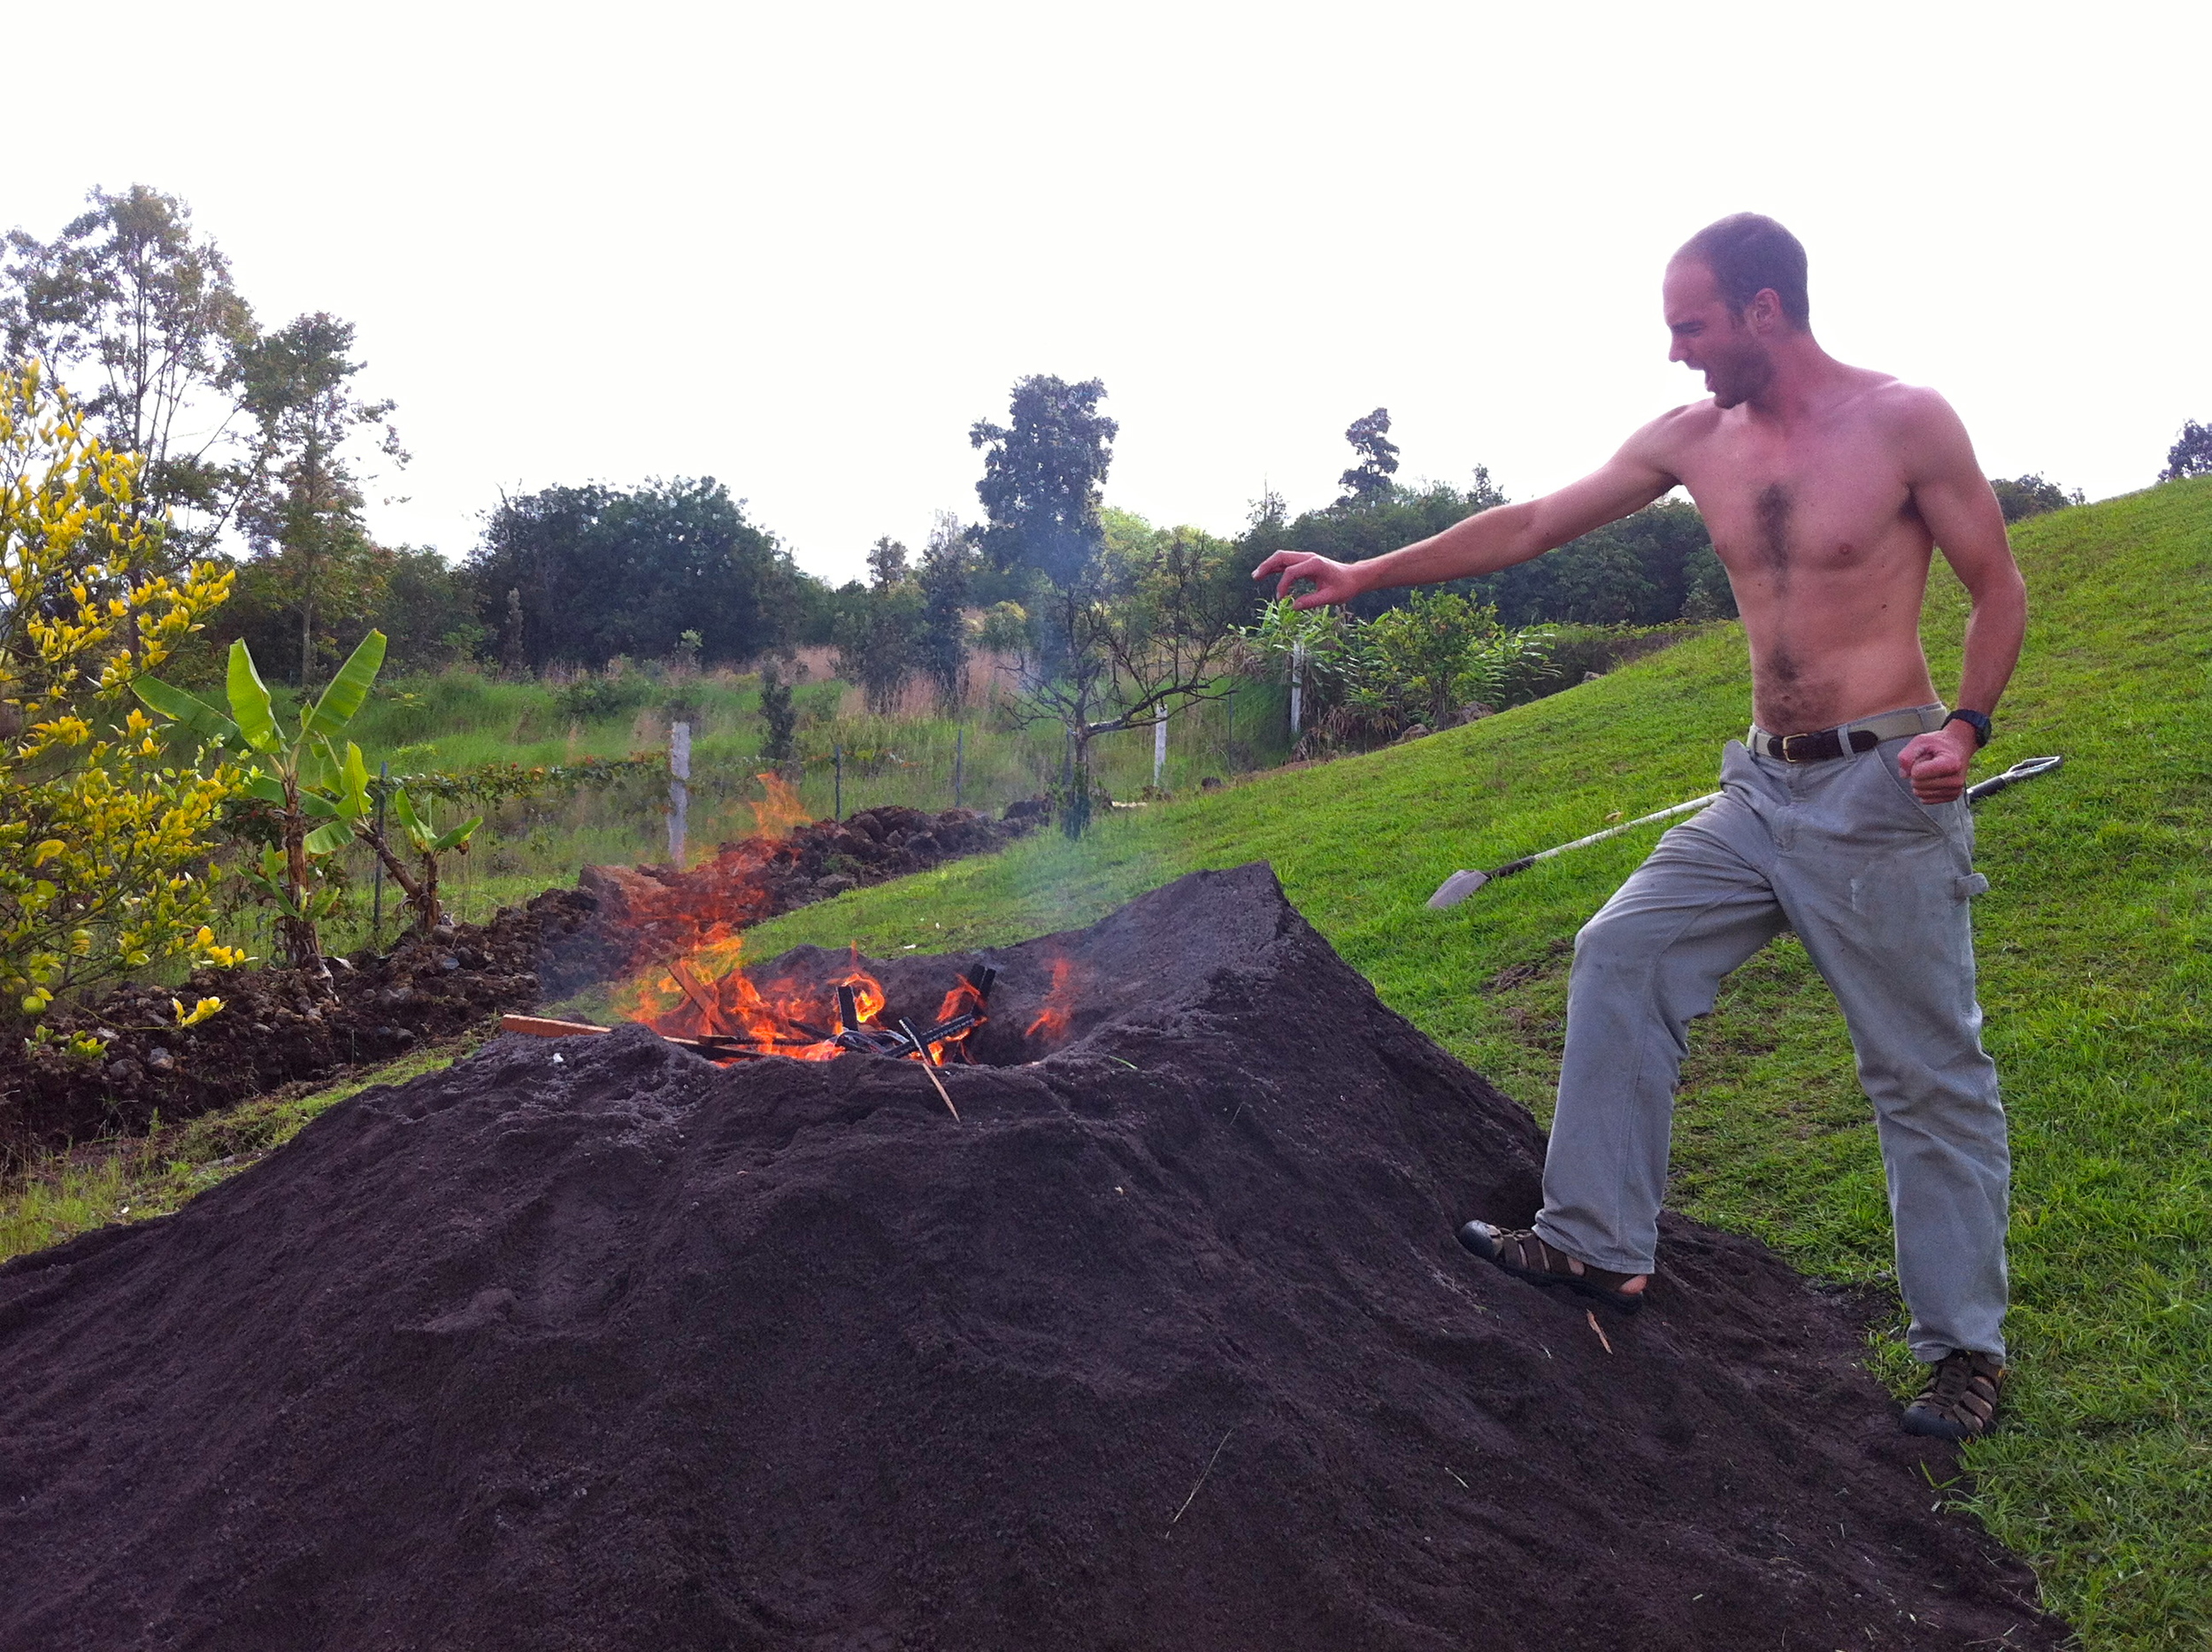
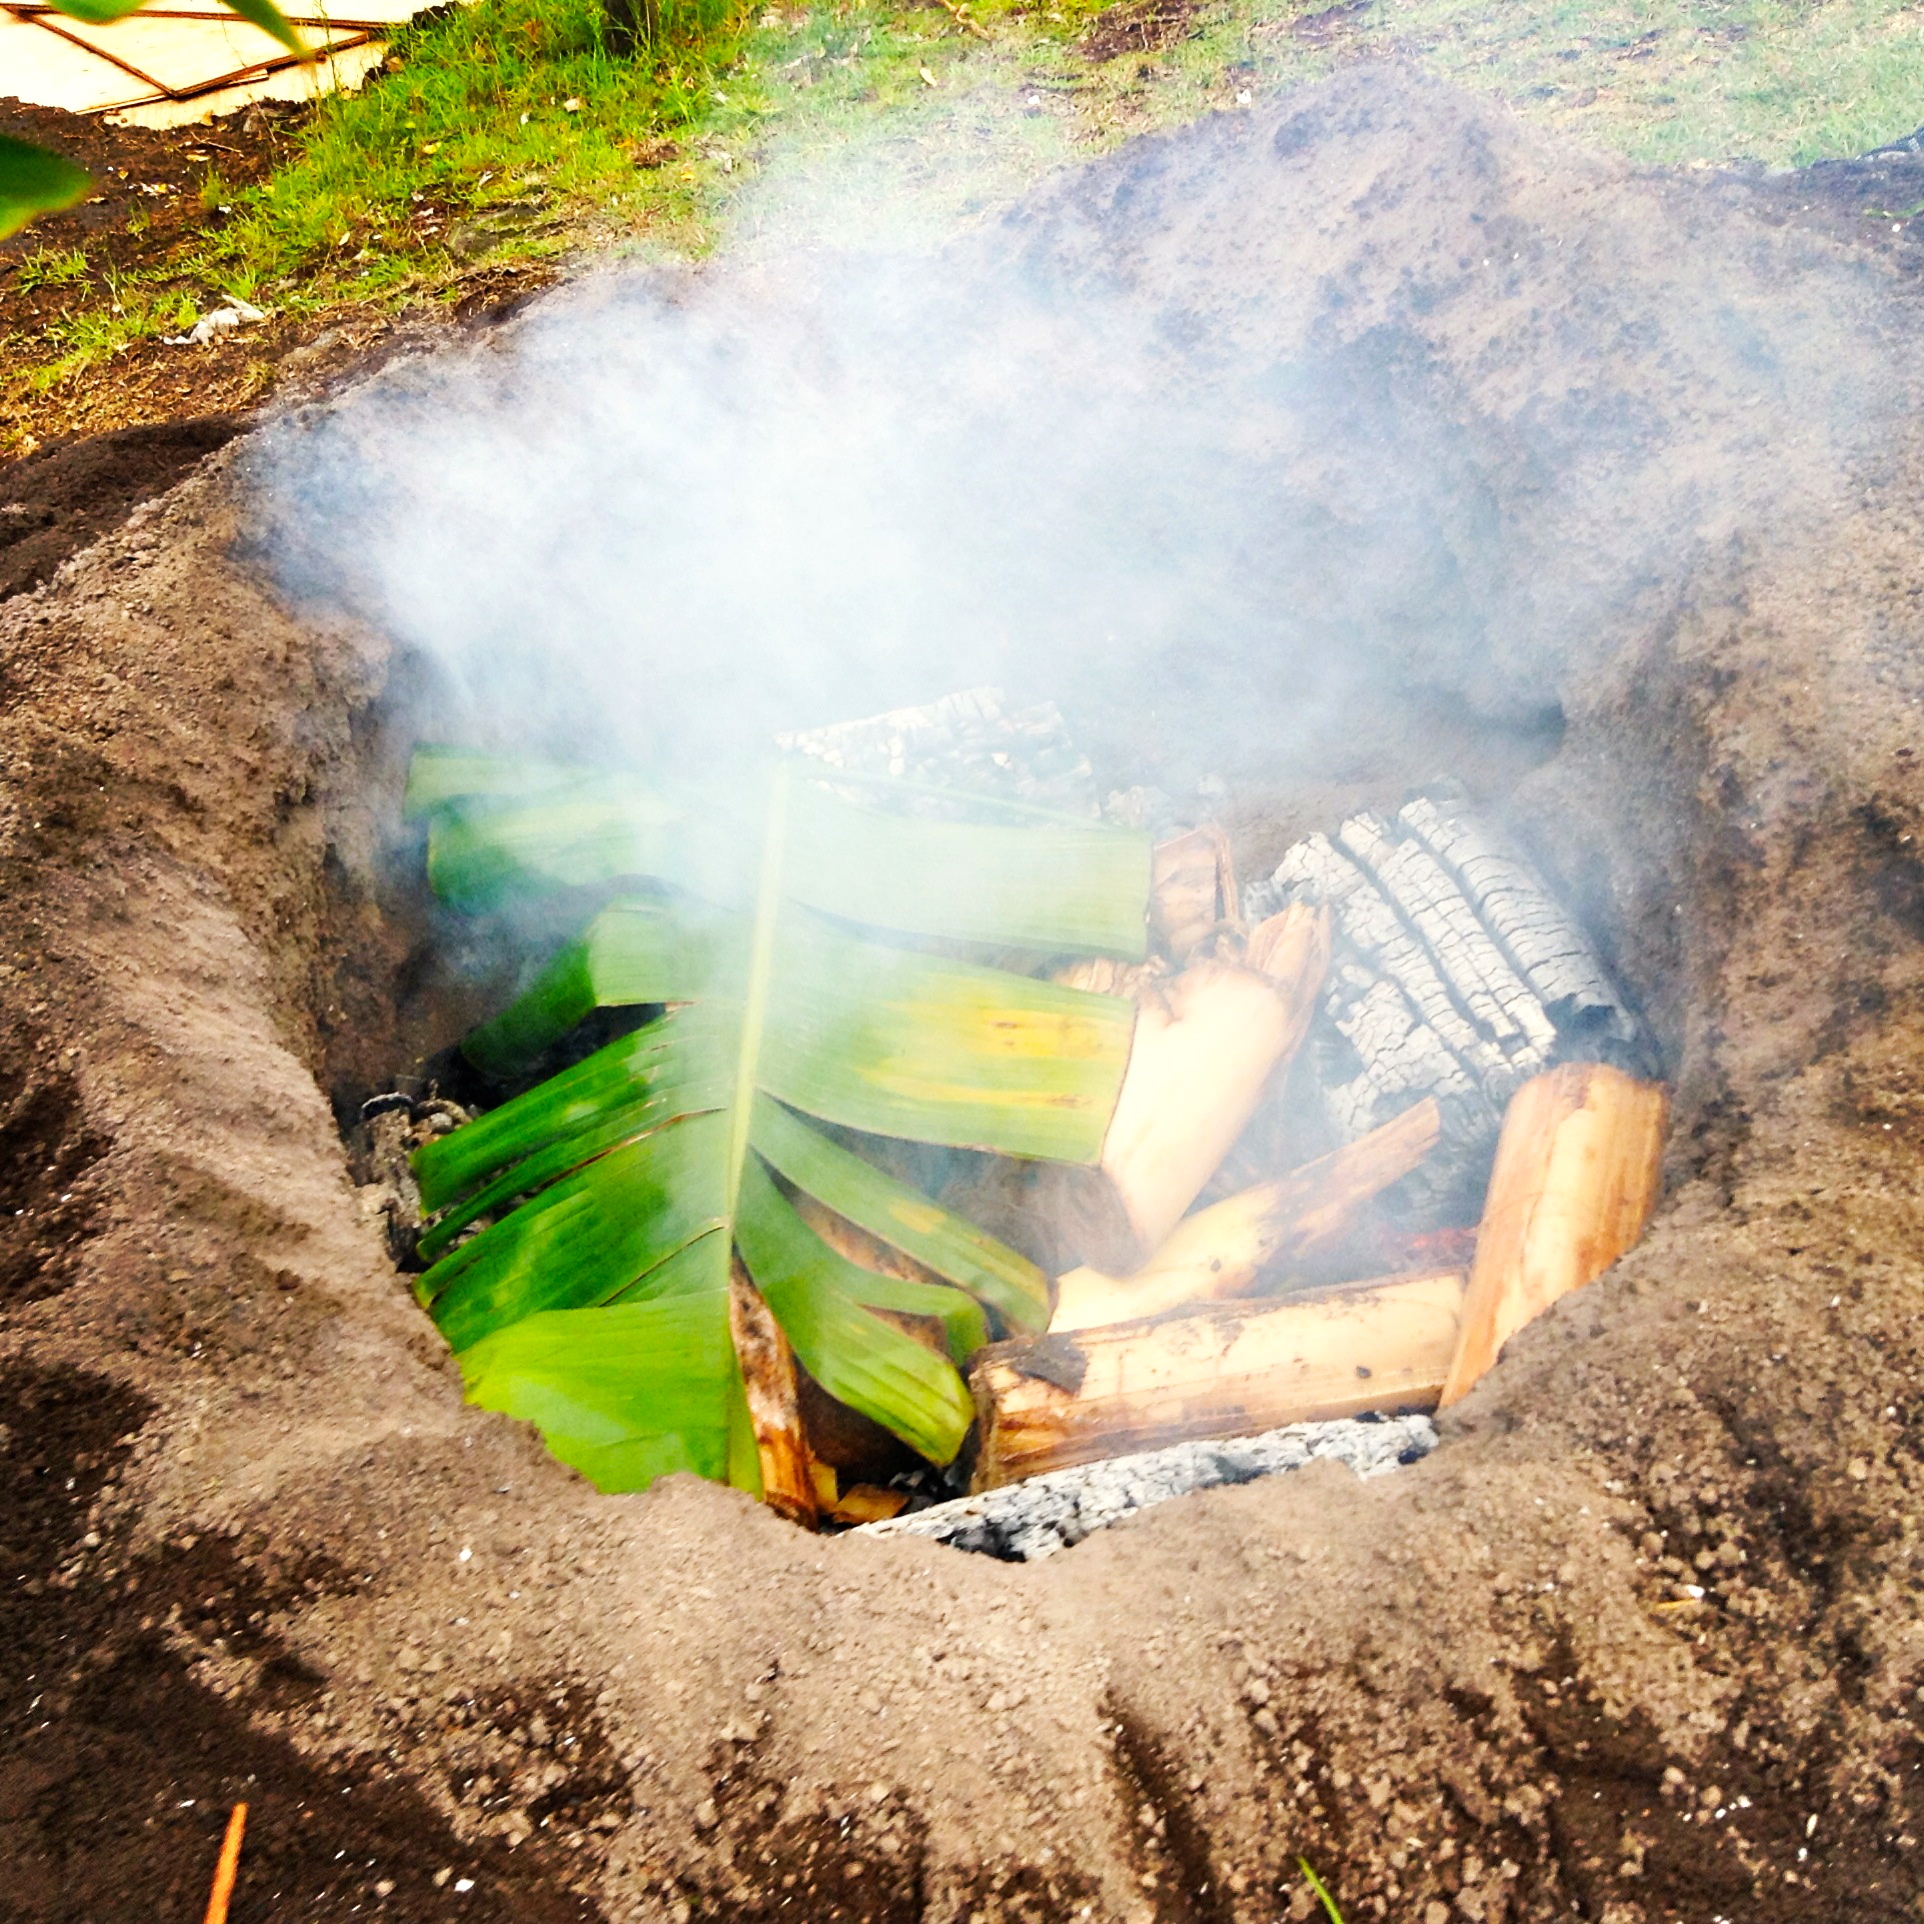
Then we built a fire, starting off small but adding to it consistently over an hour or so.

One of the best fire starters is dryer lint - we save all of ours specifically for this purpose!

It is very important to get the fire burning really hot for a long time so we added a bunch of large logs.

And then we waited.

And waited.

And while we waited, there were the obligatory volcano jokes because our imu looked remarkably like a volcano. Sam sacrificed our youngest "child" to the imu volcano.
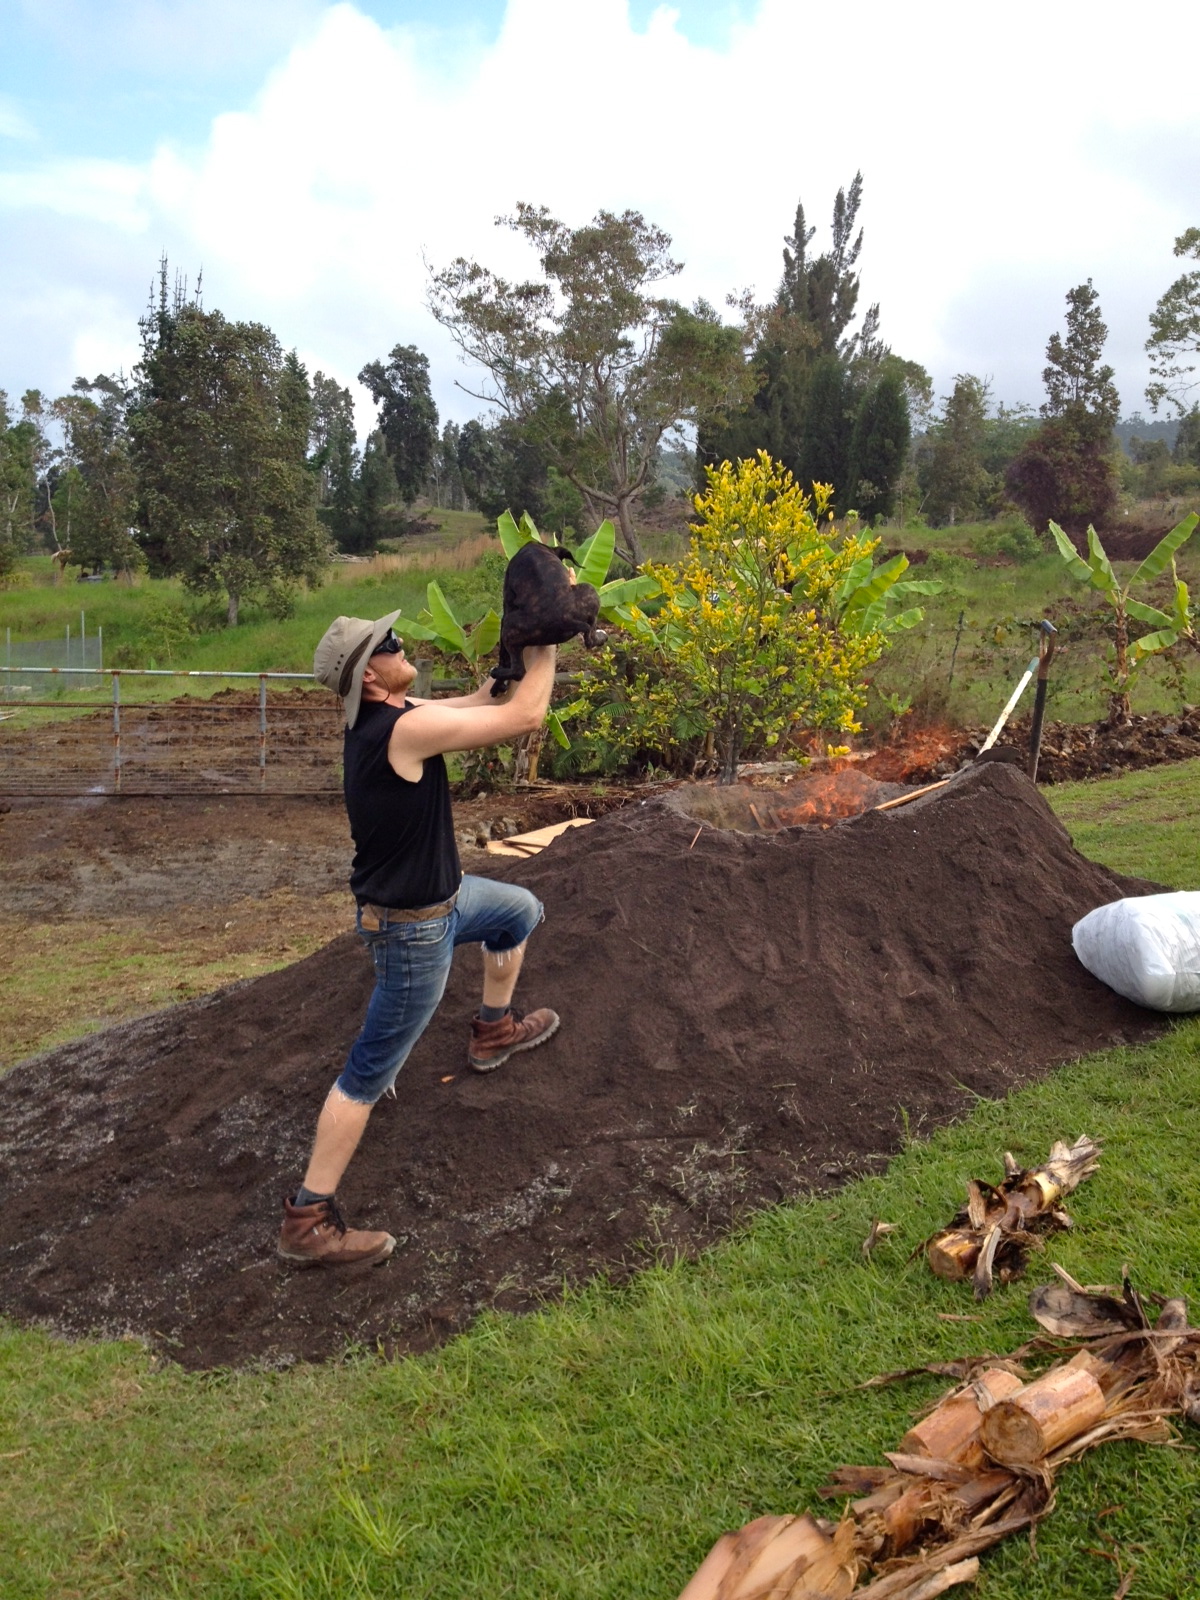
Mike had to make his quest to the Cracks of Doom to destroy the One Ring...
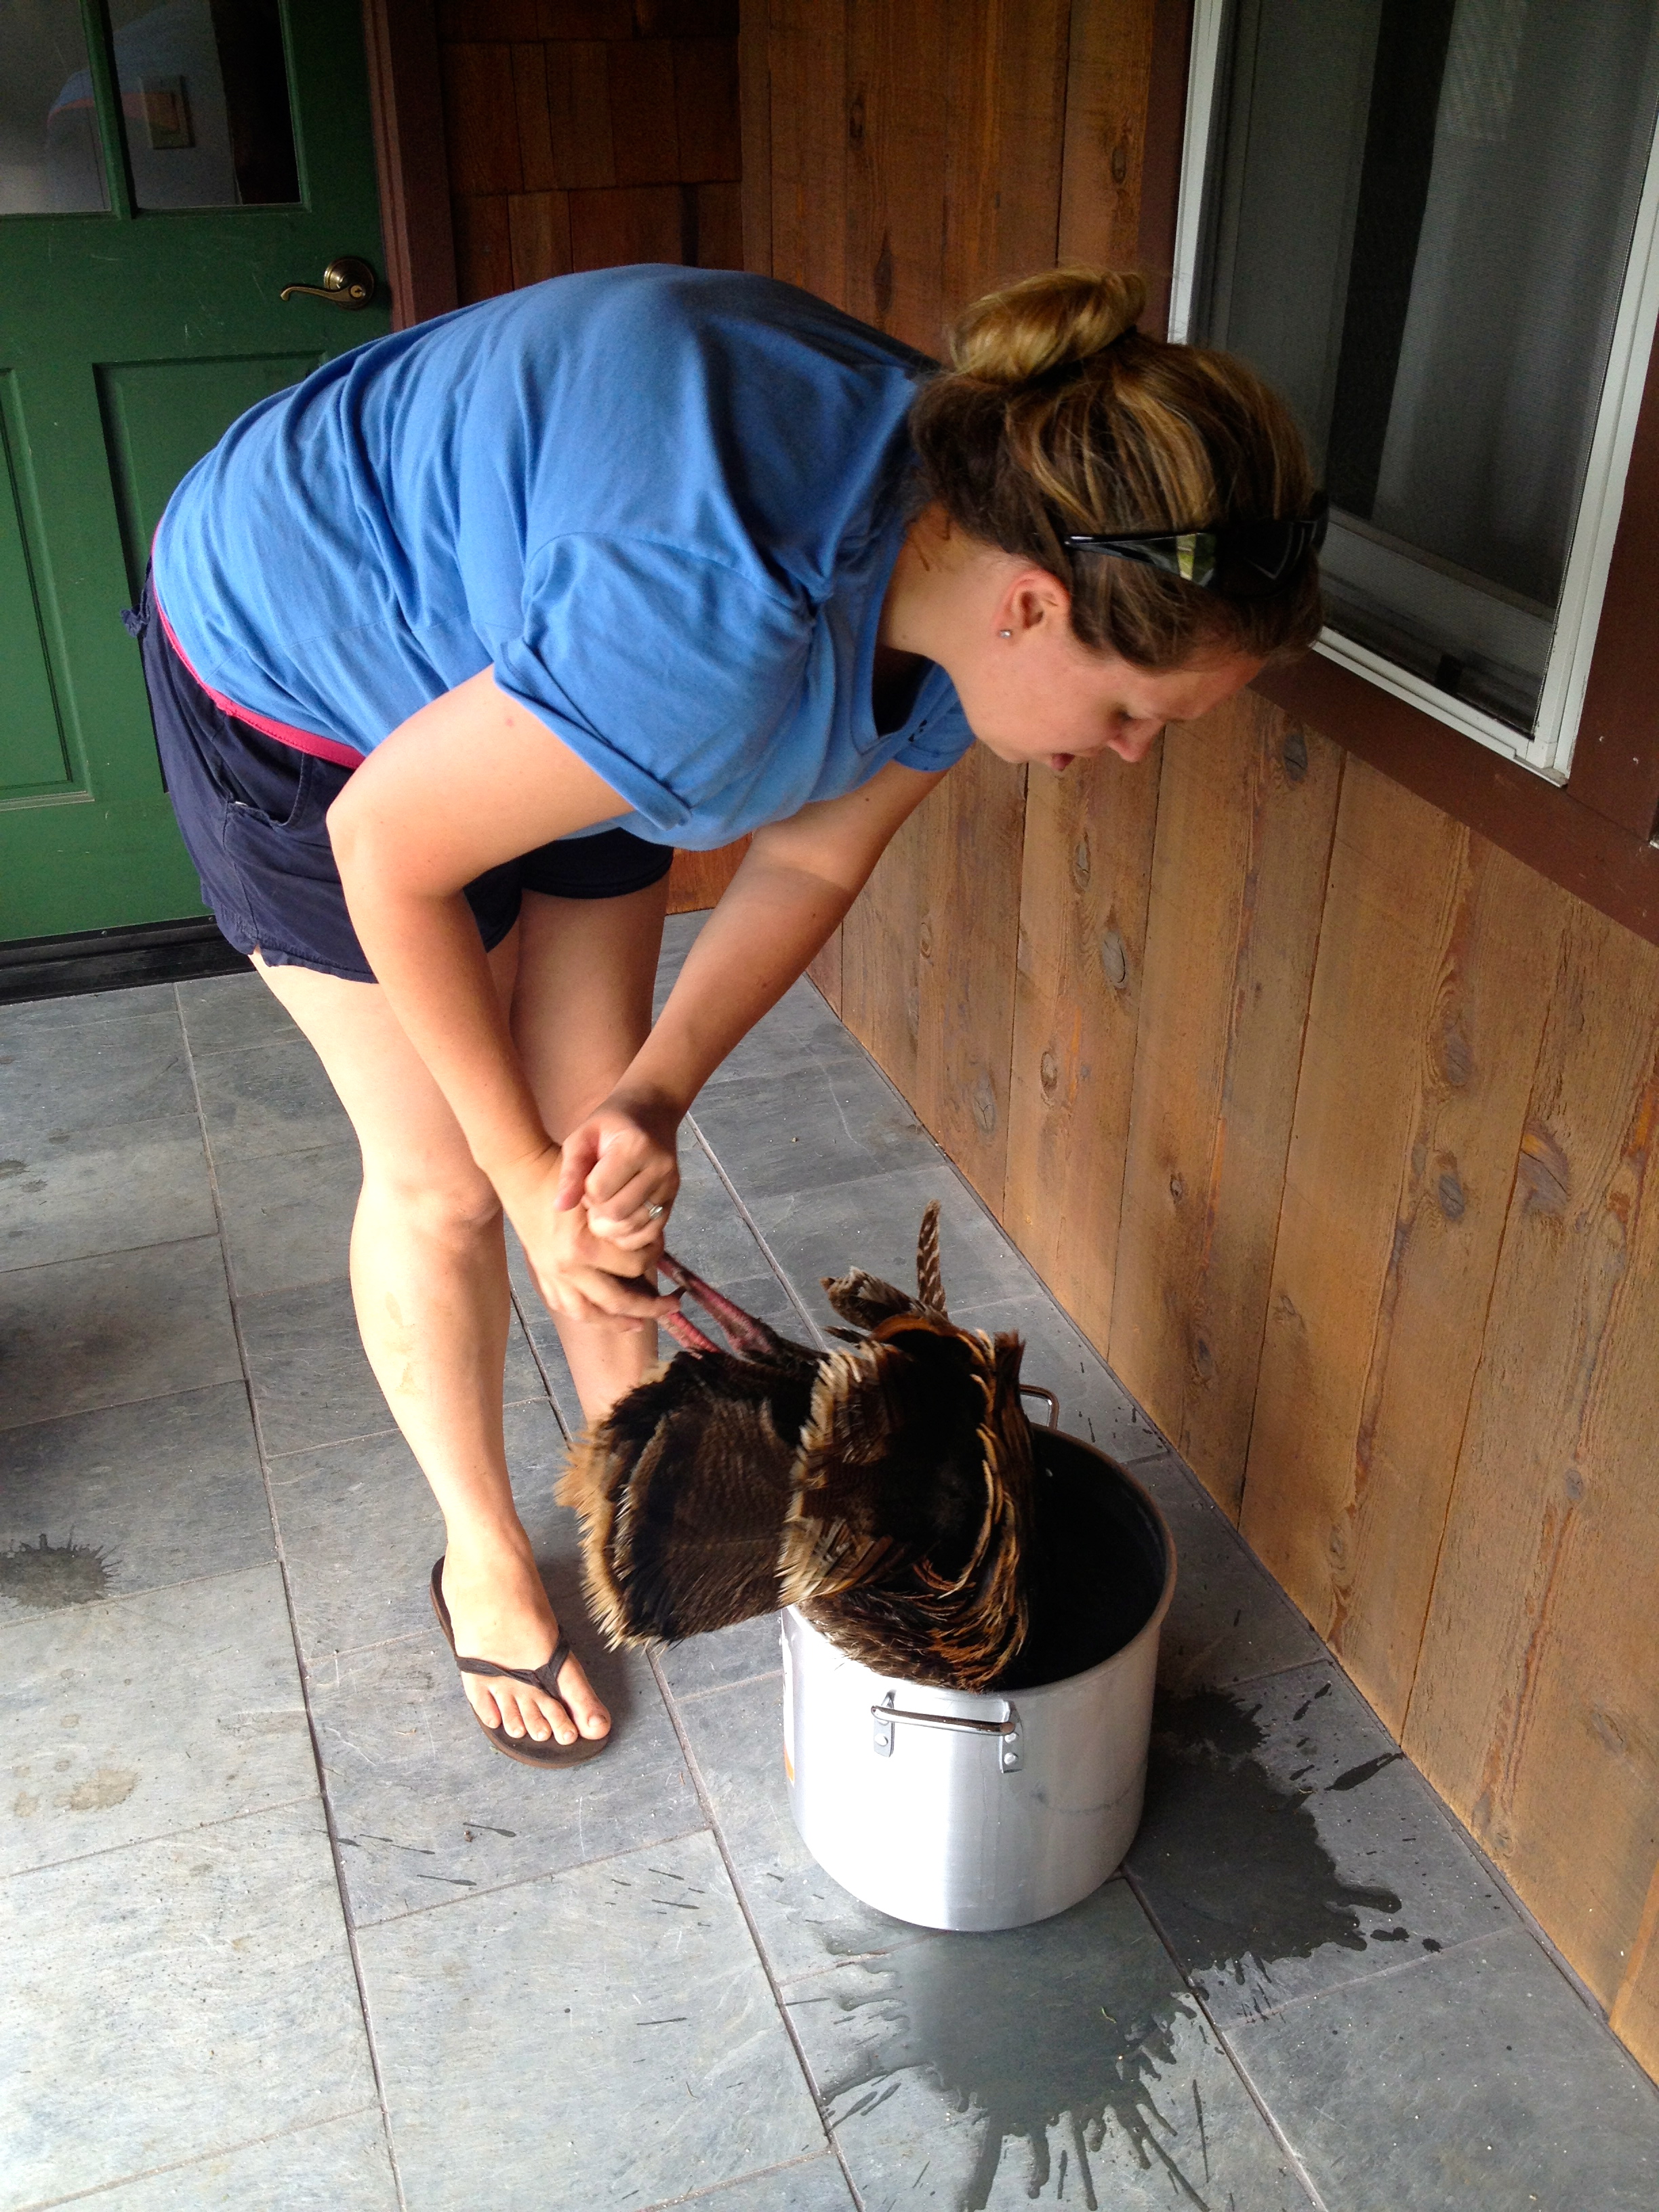
Meanwhile, Ashley and I were working on getting the turkey ready for the imu. We practiced butchering, preparing and cooking a chicken last week so we felt ready for a turkey. First we boiled a 5 gallon pot of water to scald the turkey.

Scalding it loosens up the feathers and makes it much easier to pluck! All you have to do is dunk it in, and swish it around a bit, making sure to scald everywhere. It is best to do this part outside because the water splashes out. The real first step in preparing a turkey (or probably any type of poultry) is to cut off the head and drain the blood. Mike cut off the head (mostly) when he shot the turkey and had already drained the blood so I didn't have to do that step.
After scalding the turkey, we set it up in a tub with a garbage bag to catch all of the feathers. I think it is important to use gloves for this step because the feathers stick to you otherwise and it is really gross. Also, we left the feet on for the plucking stage because it makes it easier to hold the turkey.
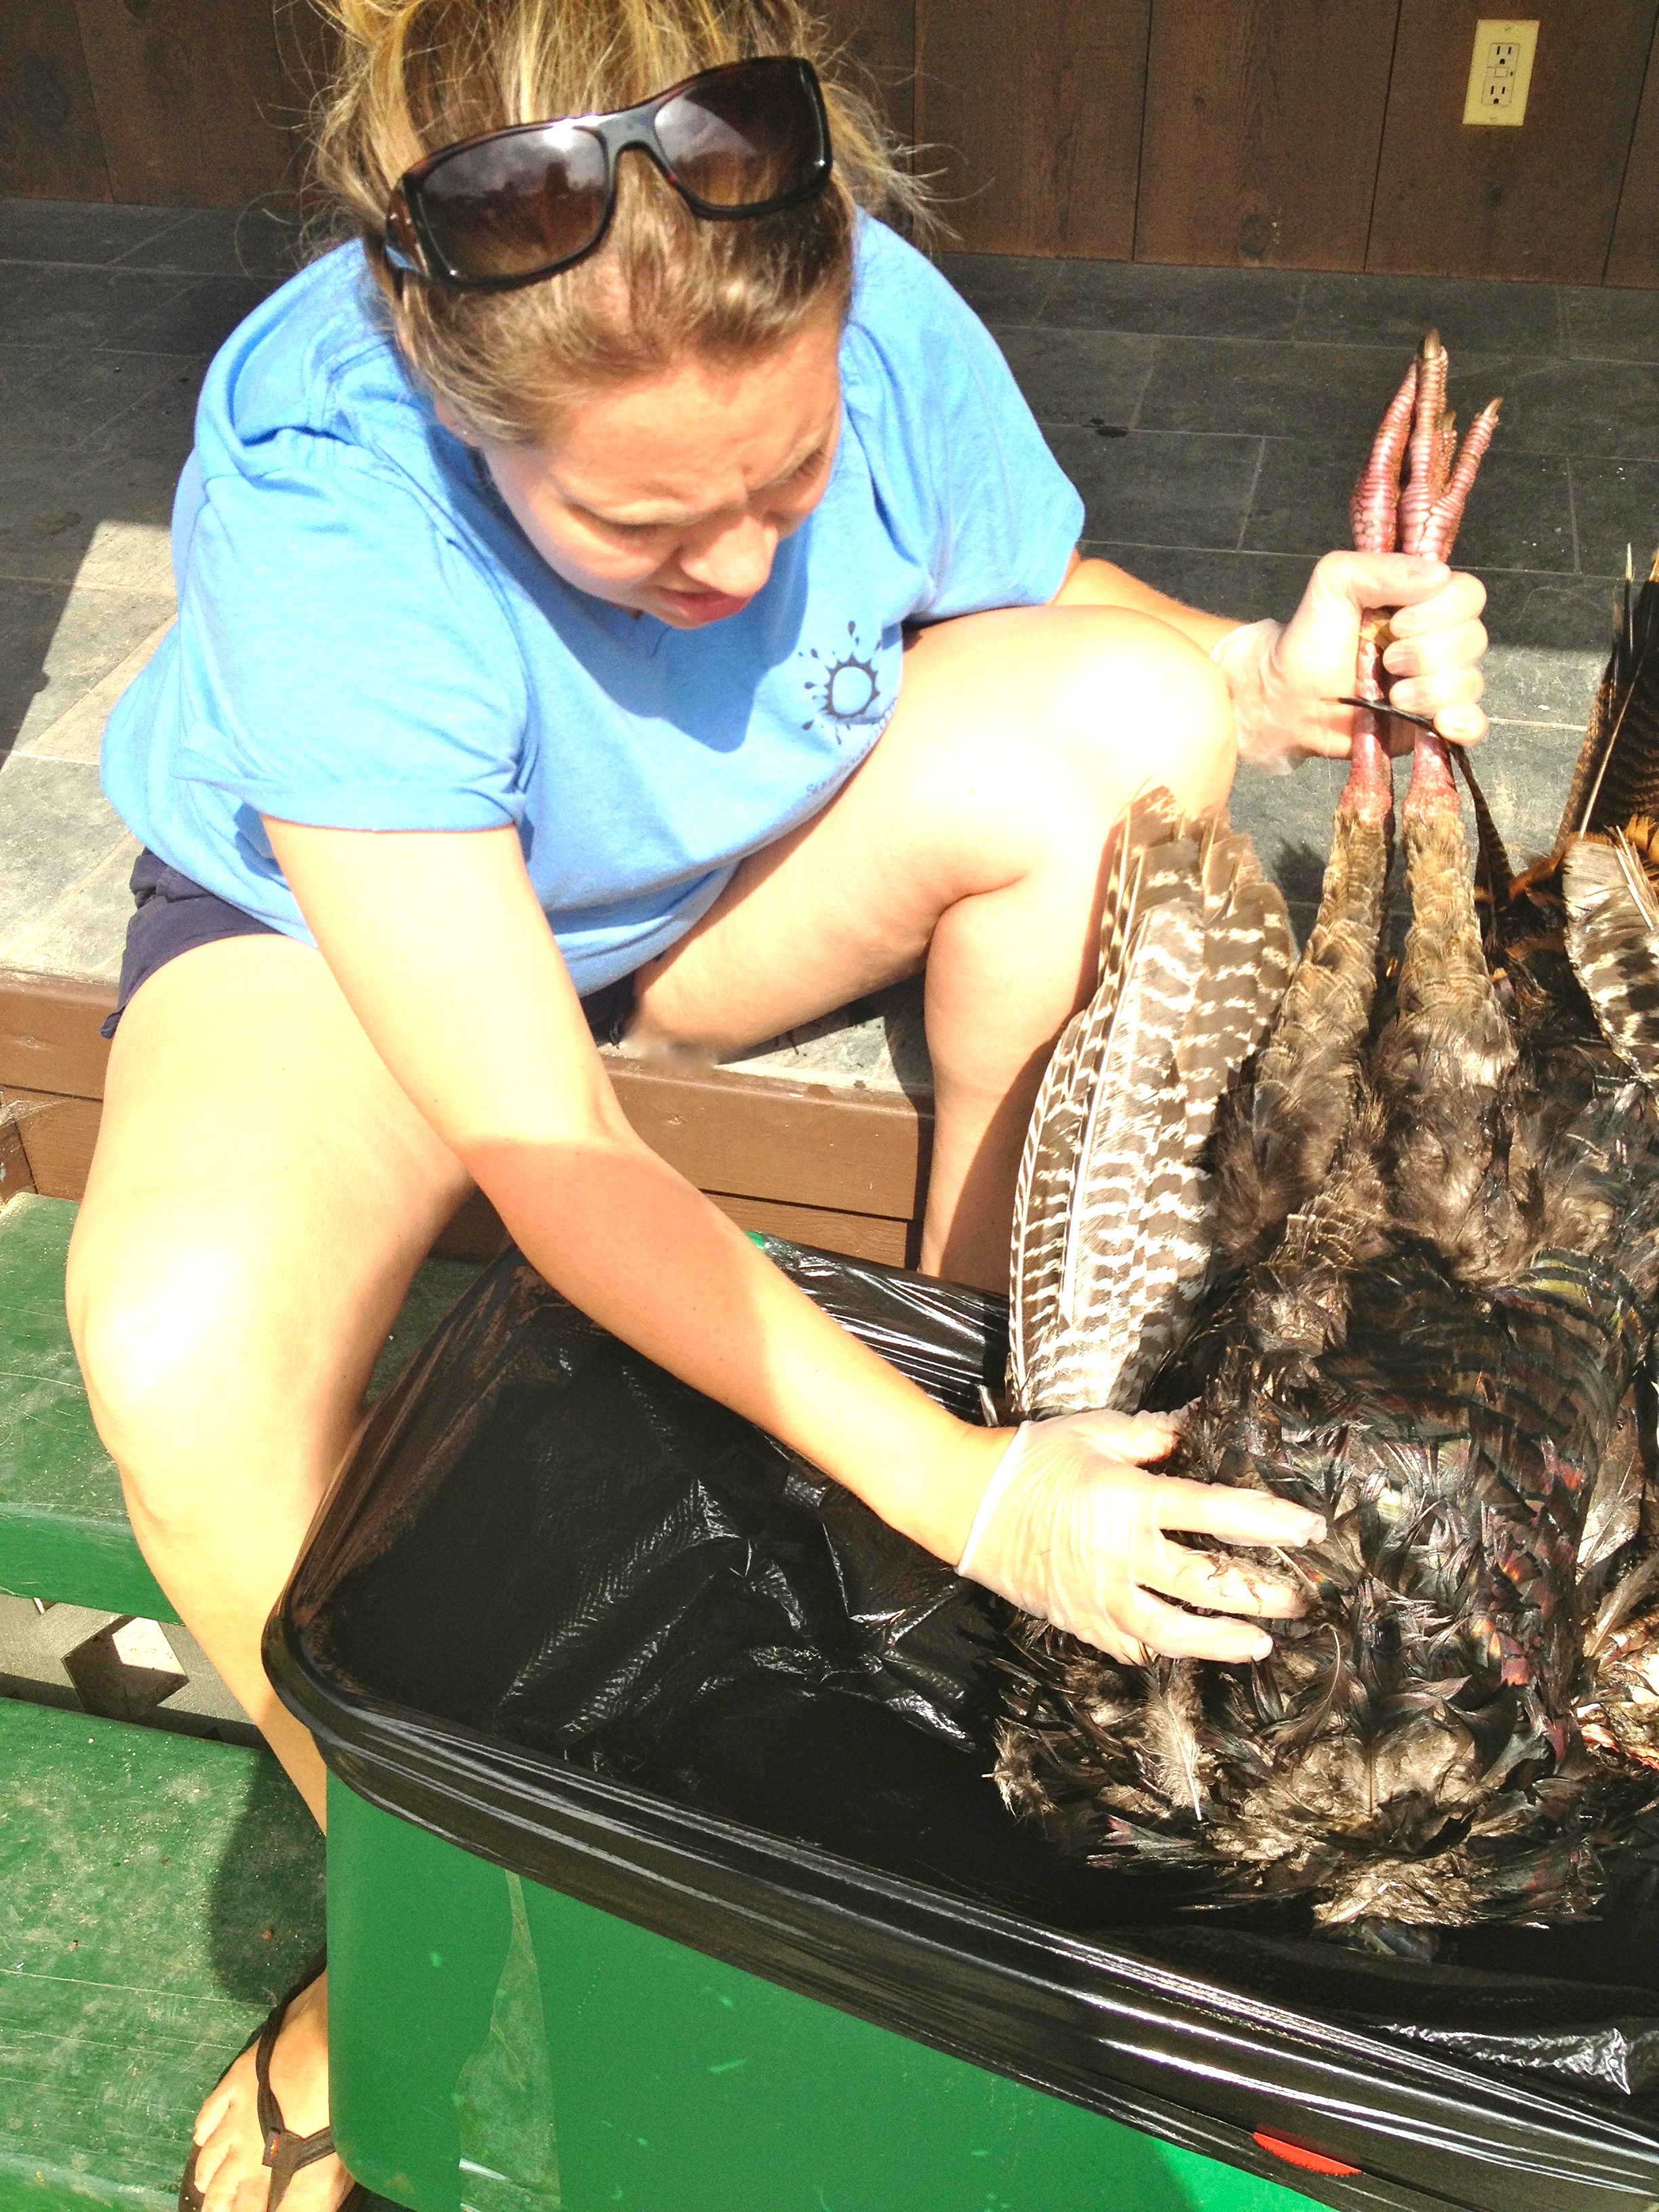
The turkey was WAY harder than the chicken to pluck, so Ashley and Joanie (Mike's mom who is here visiting) helped.
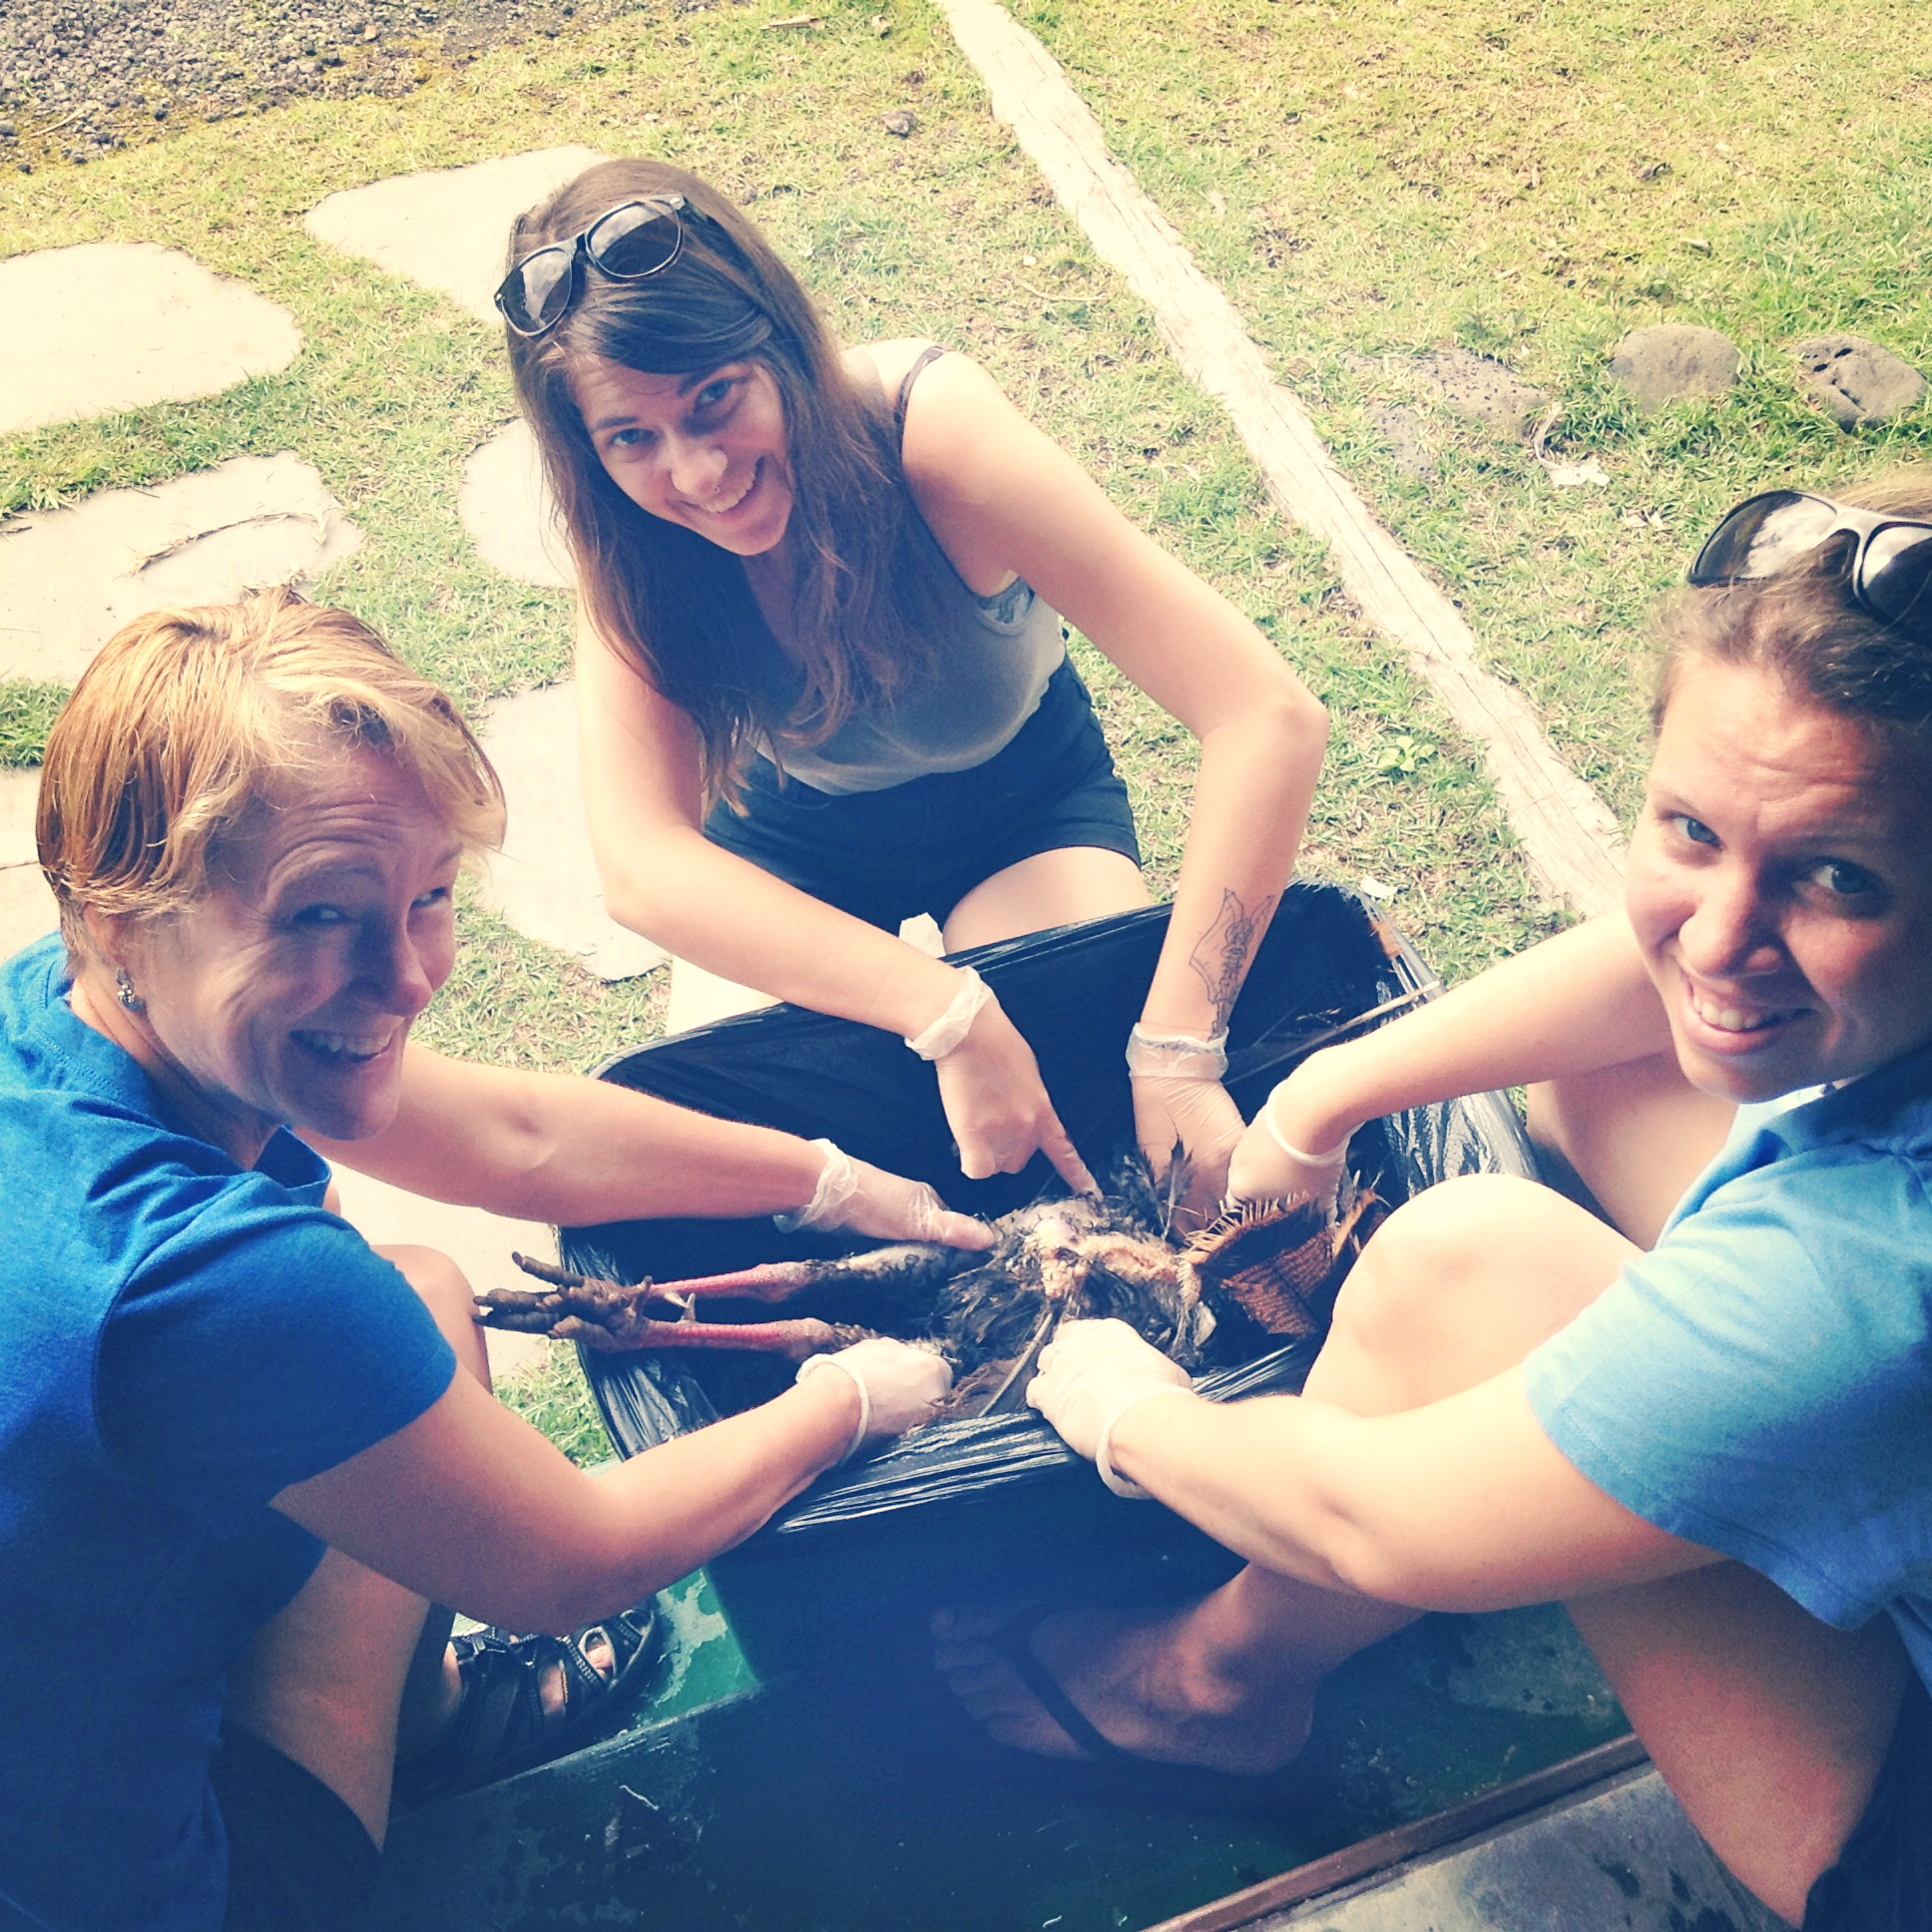 The turkey just had way more feathers and also the butt and wing feathers were really big and took a lot of effort to pull out.


It wasn't that bad though, despite the face I am making in the picture haha. The next step was to make a small incision in the butt and pull out all of the innards. I will spare you a picture of this step. Although Ashley did take a picture of many of the internal organs so if you ask her I am sure she will share.
When we were mostly finished prepping the turkey, Mike and I axed off the feet.

At this point, we could have put the whole turkey into the imu, but I chose to butcher it into the good parts (legs, thighs, breasts etc.), season, butter and wrap the whole thing in foil. By wrapping it in foil, it is better protected from possible dirt getting on it in the imu.

When the meat was all ready to go in, we raked the coals and got our imu hole ready for cooking!
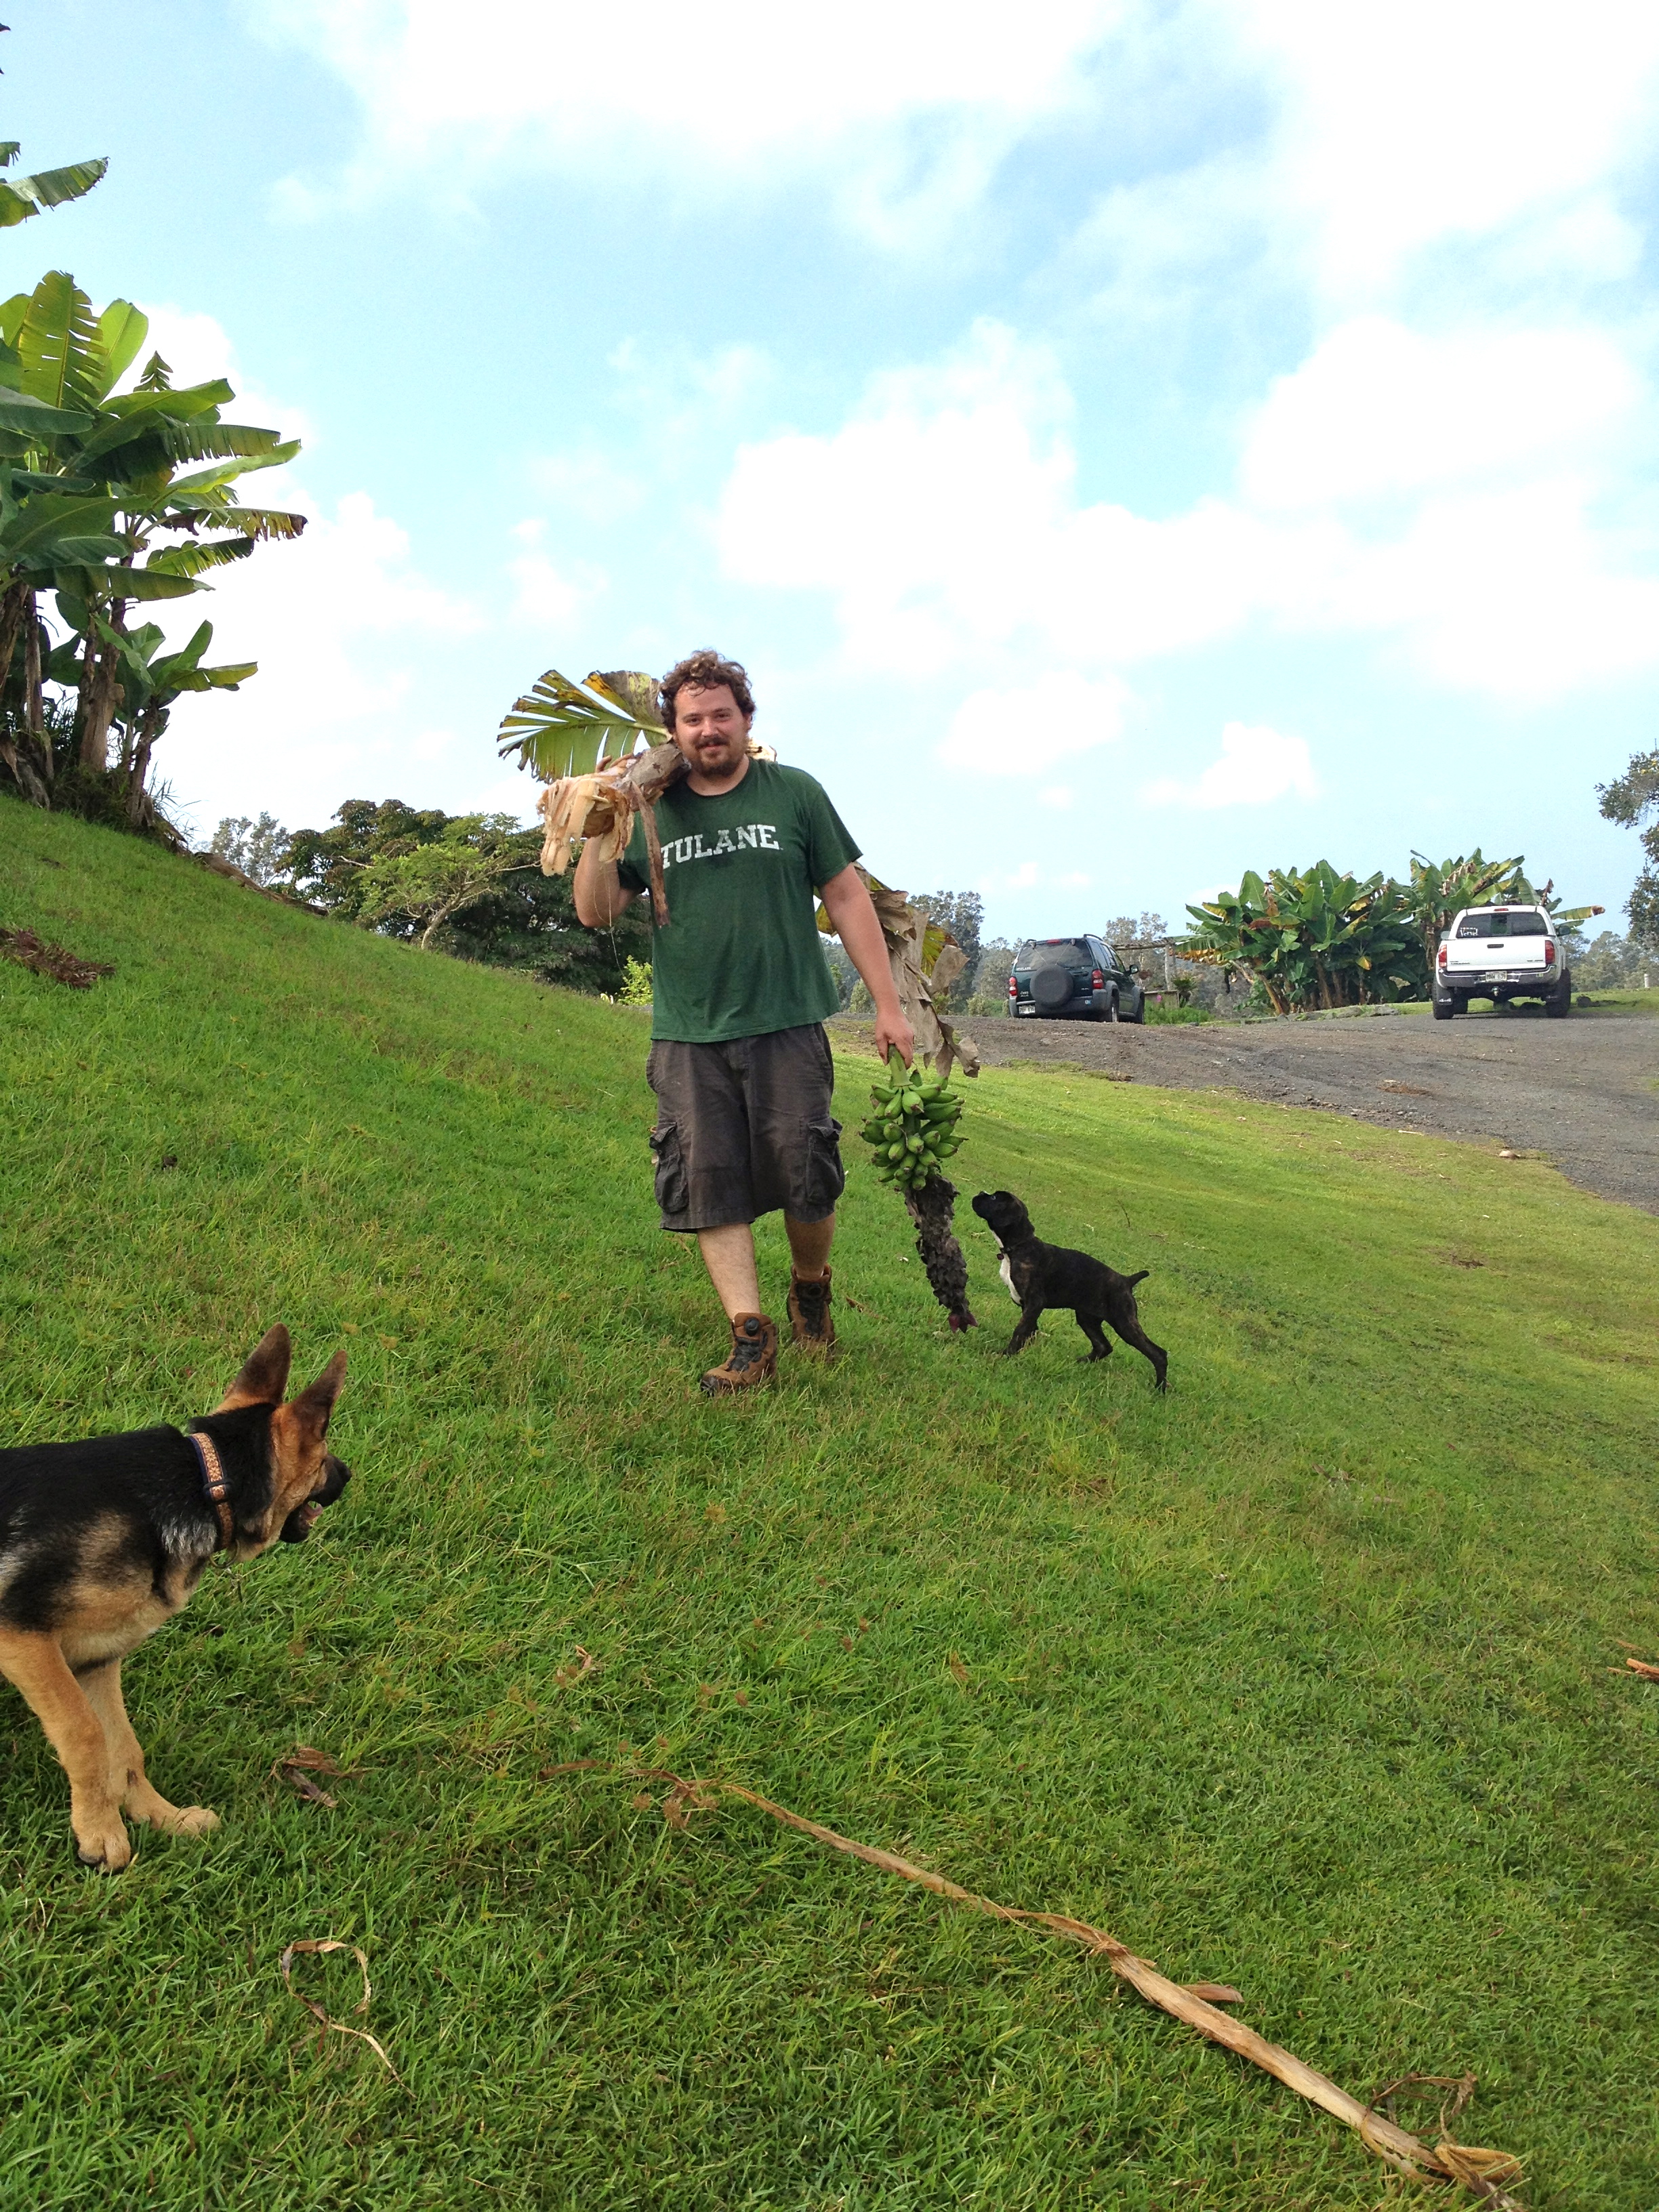
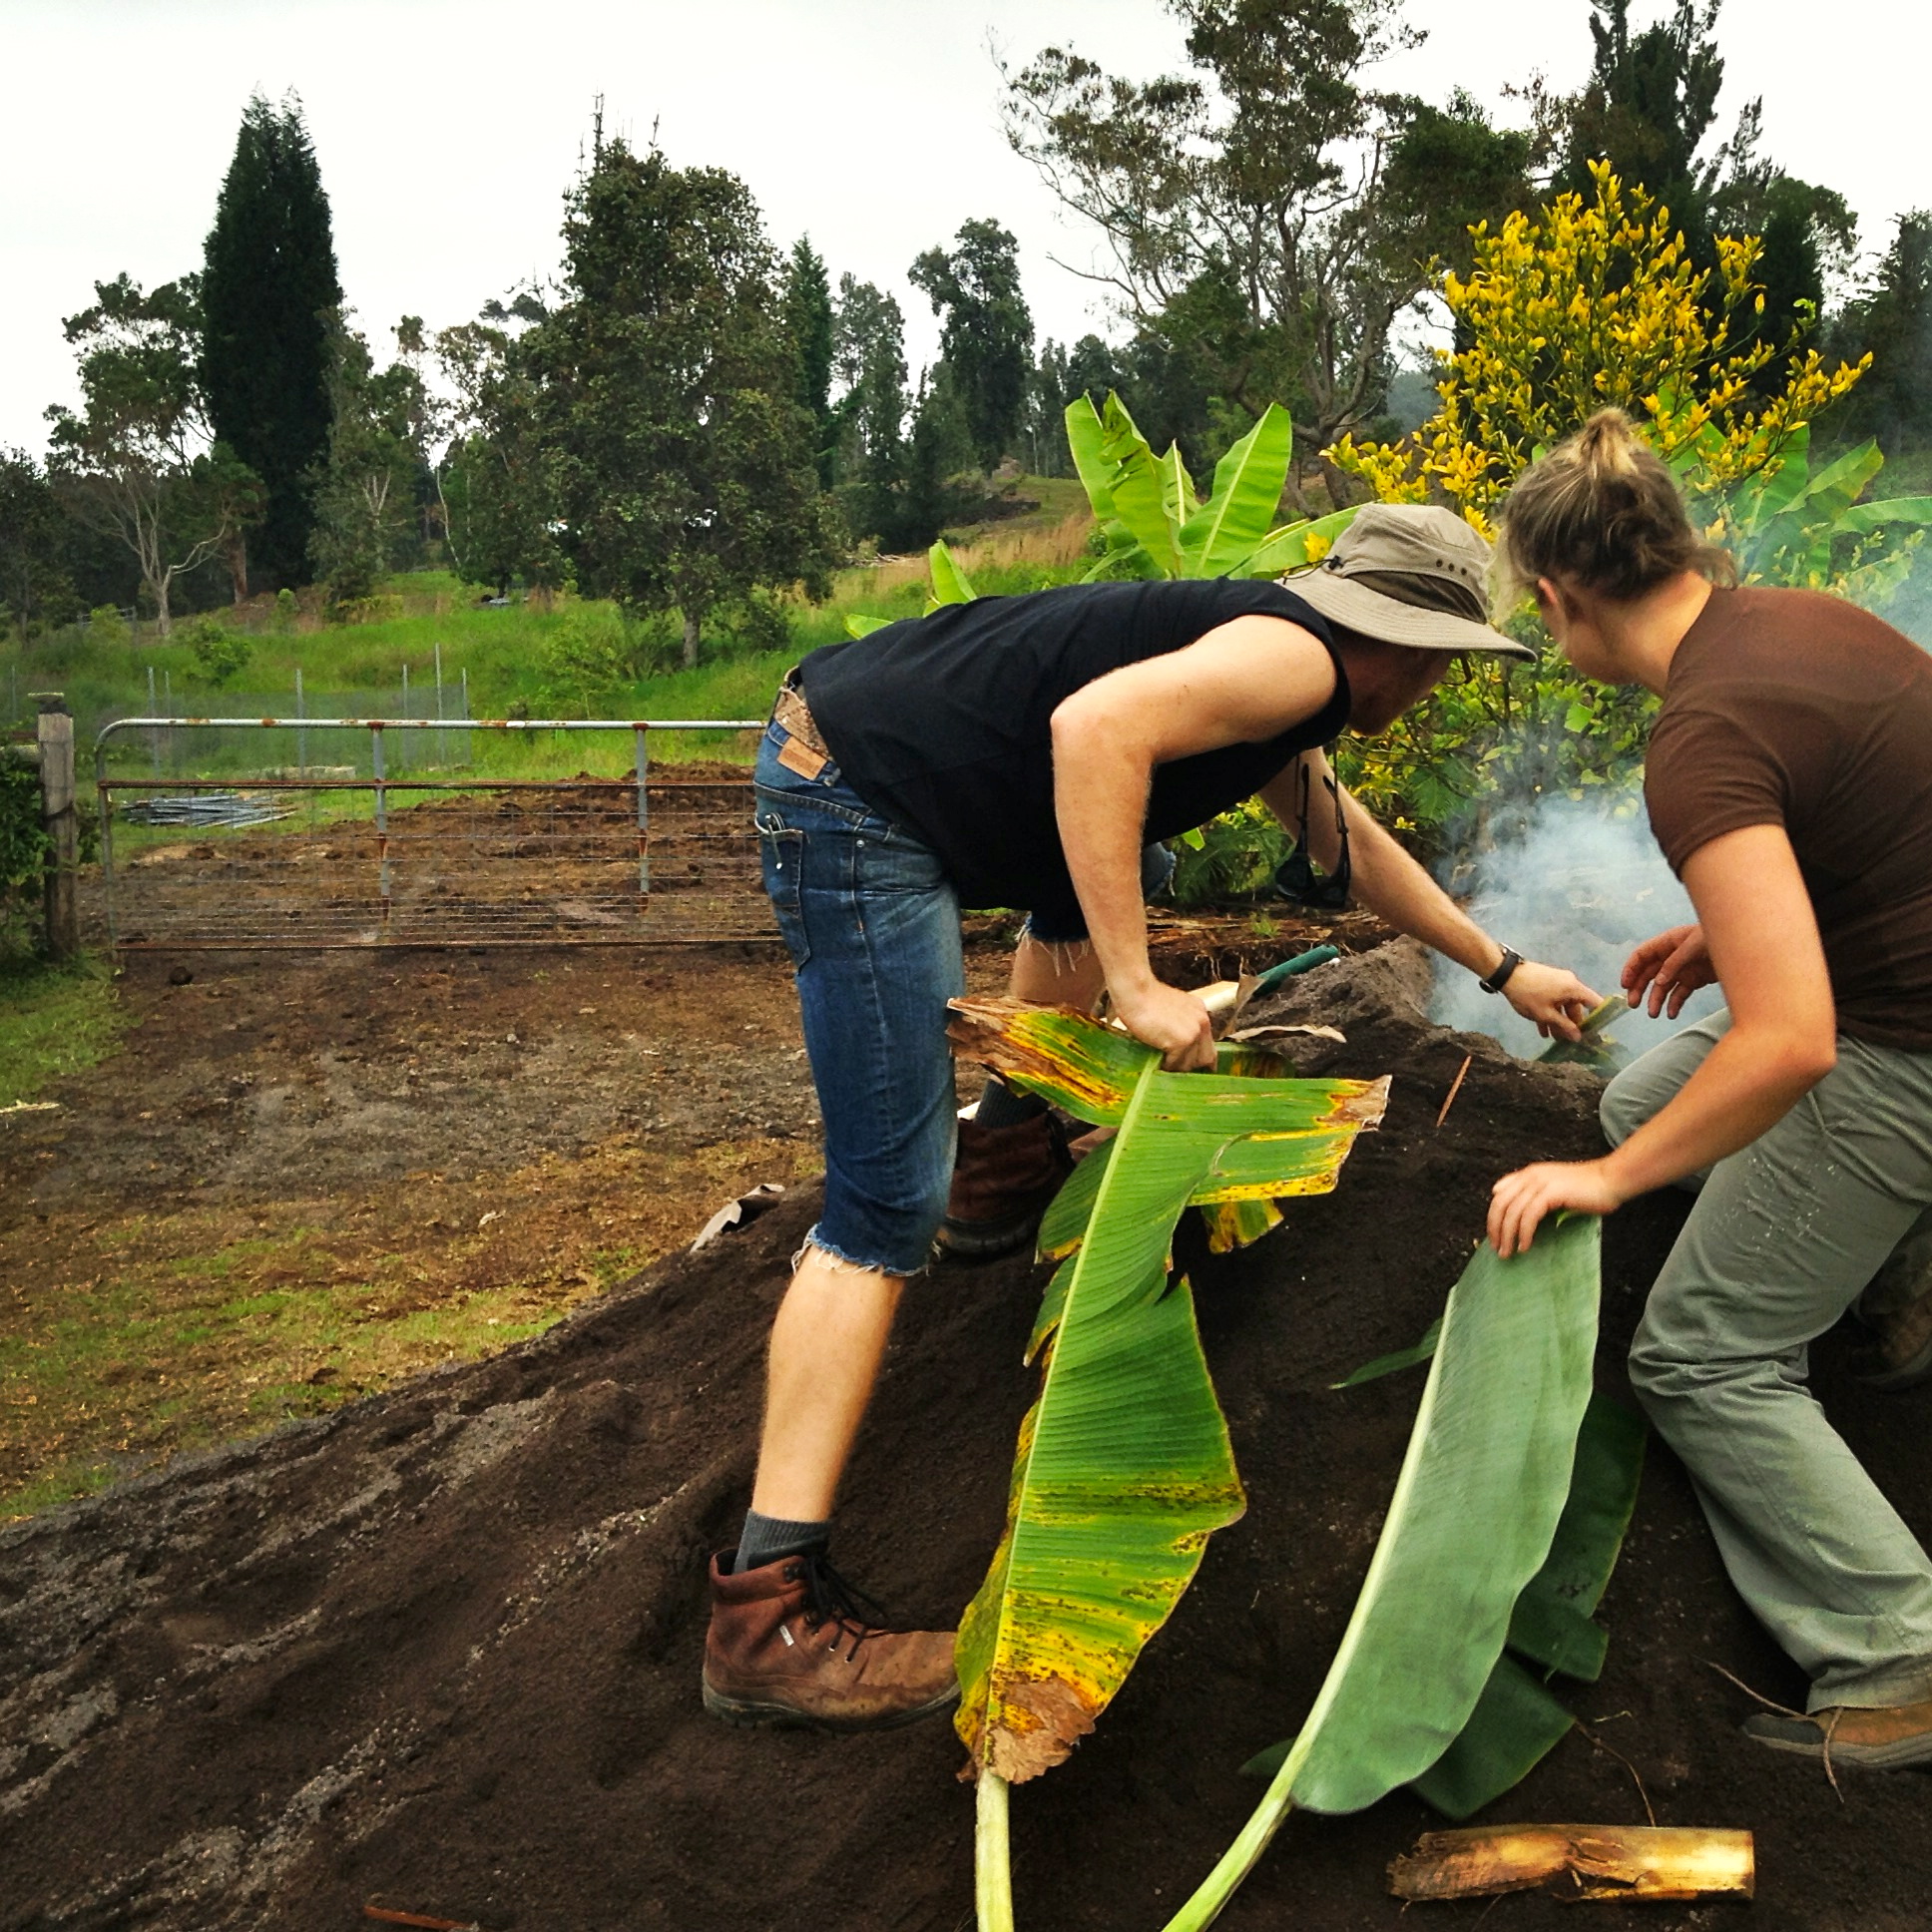
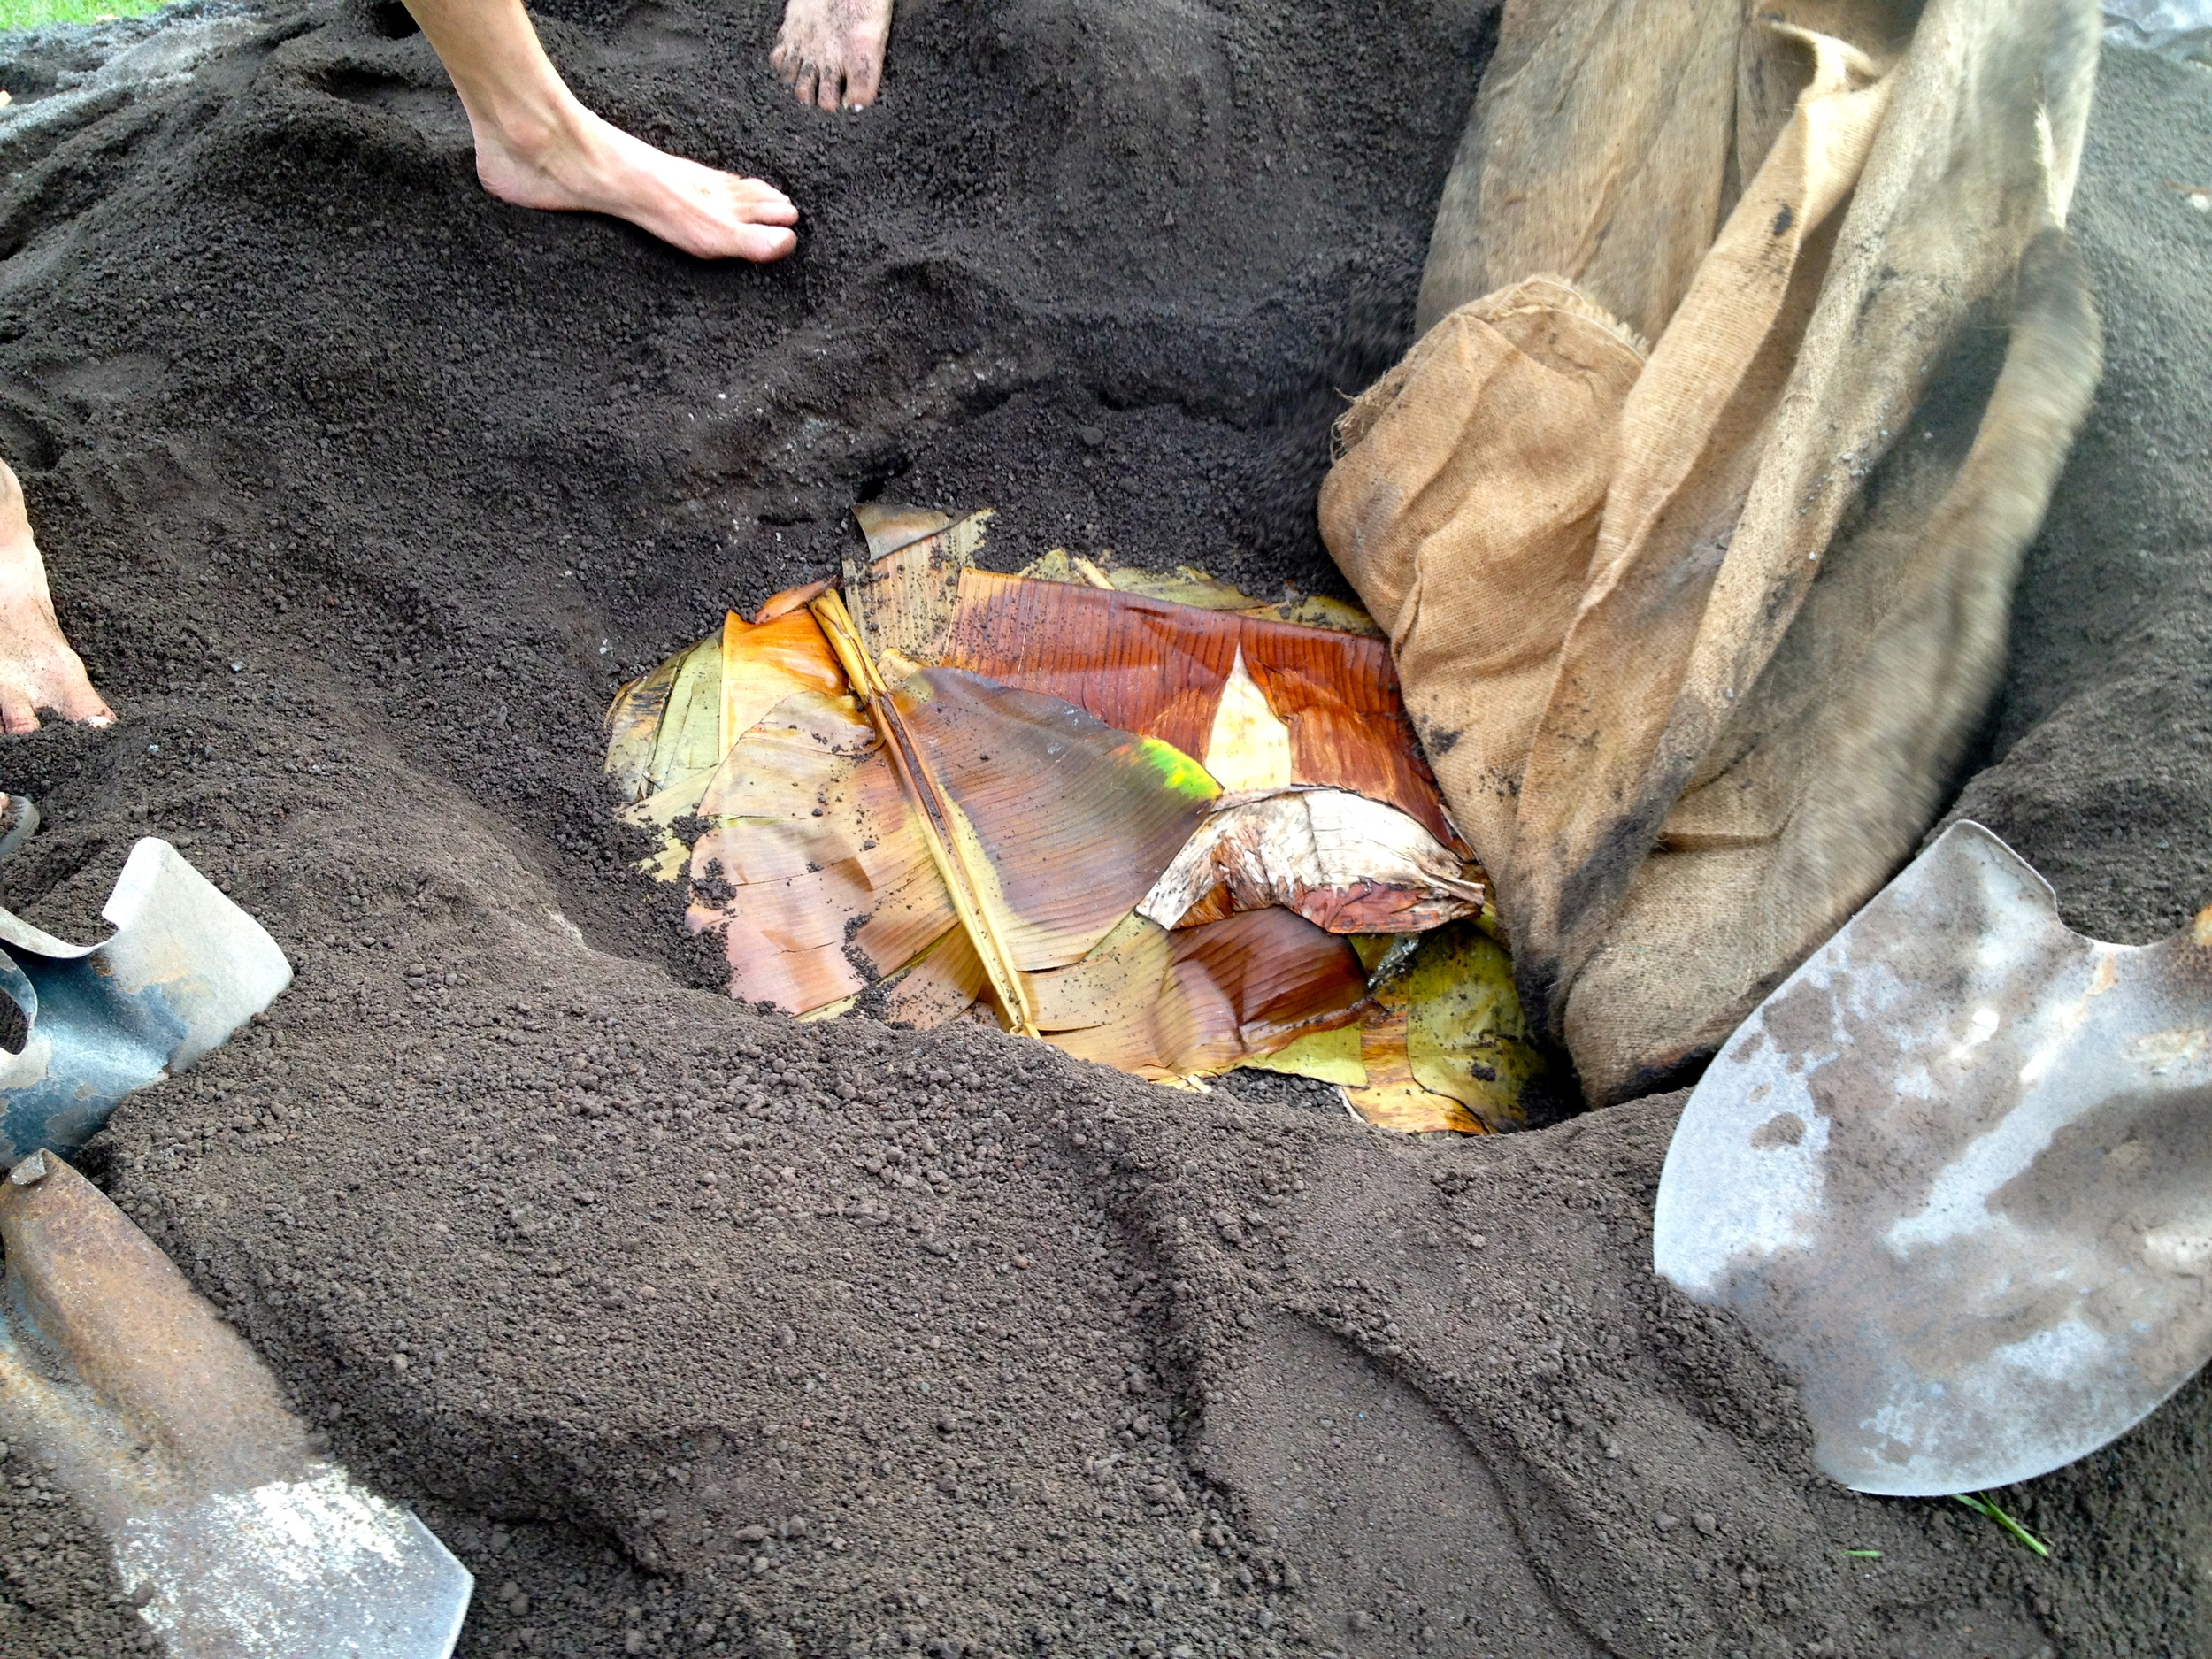
The first step was to add banana stalks and banana leaves over the coals. Doug got to axe some of our banana trees for this step.
Banana stalks specifically, have a TON of water in them. So when you add them to the hot coals, it creates steam which fills the hole and cooks the meat.
Over the stalks we added a few more banana leaves to create a thick layer.
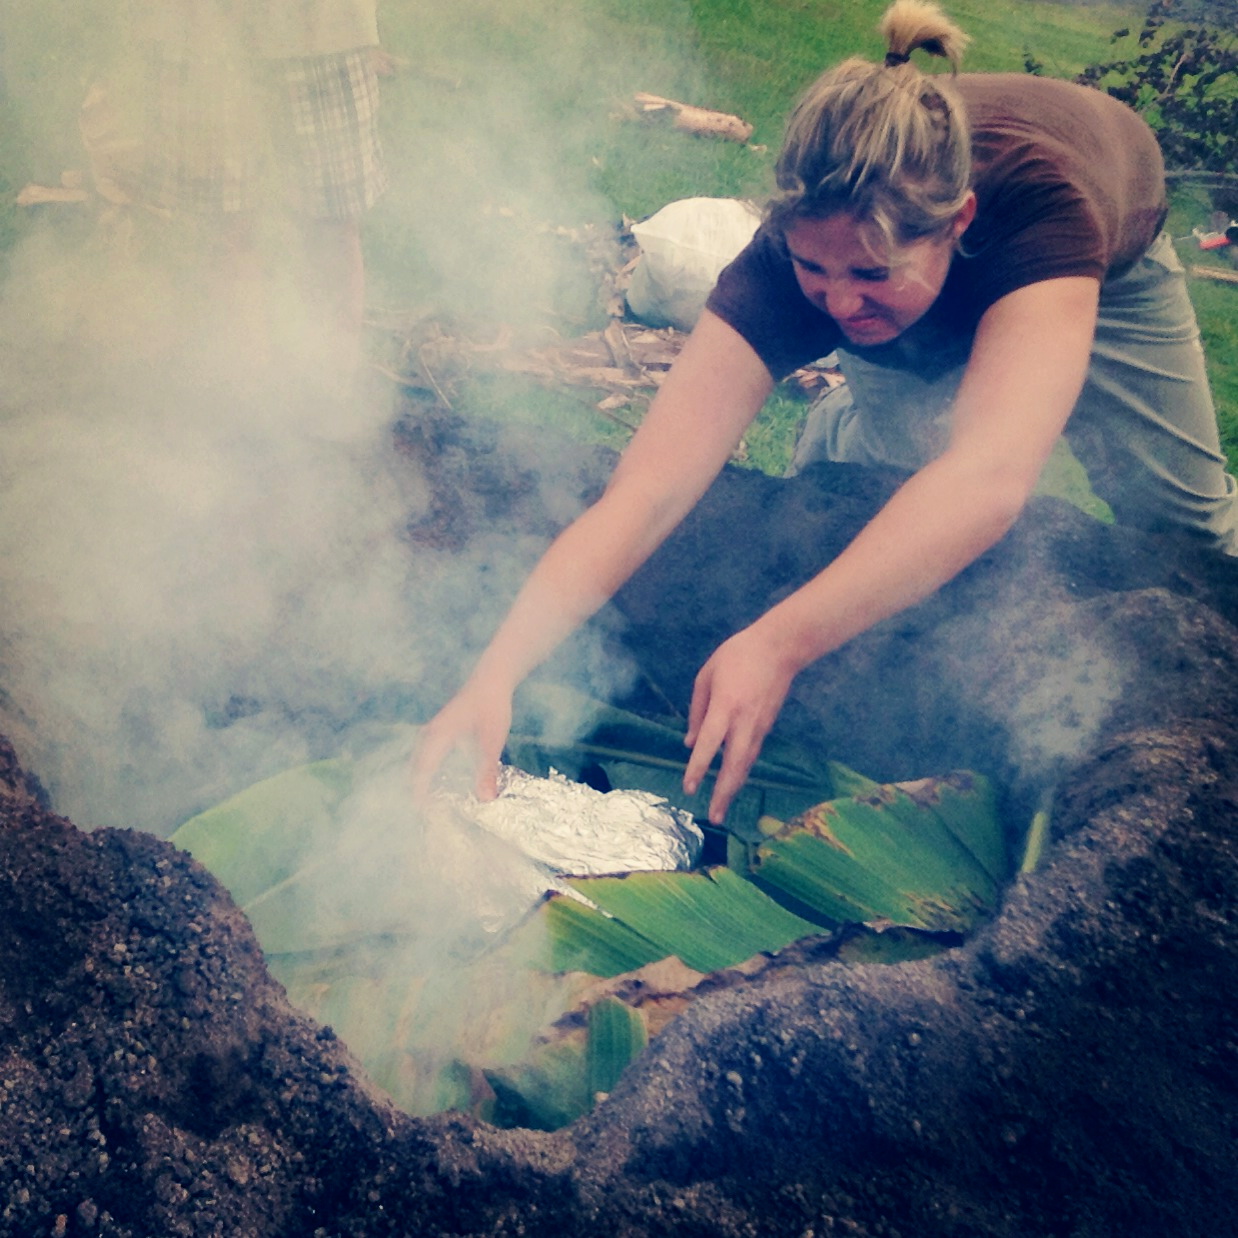
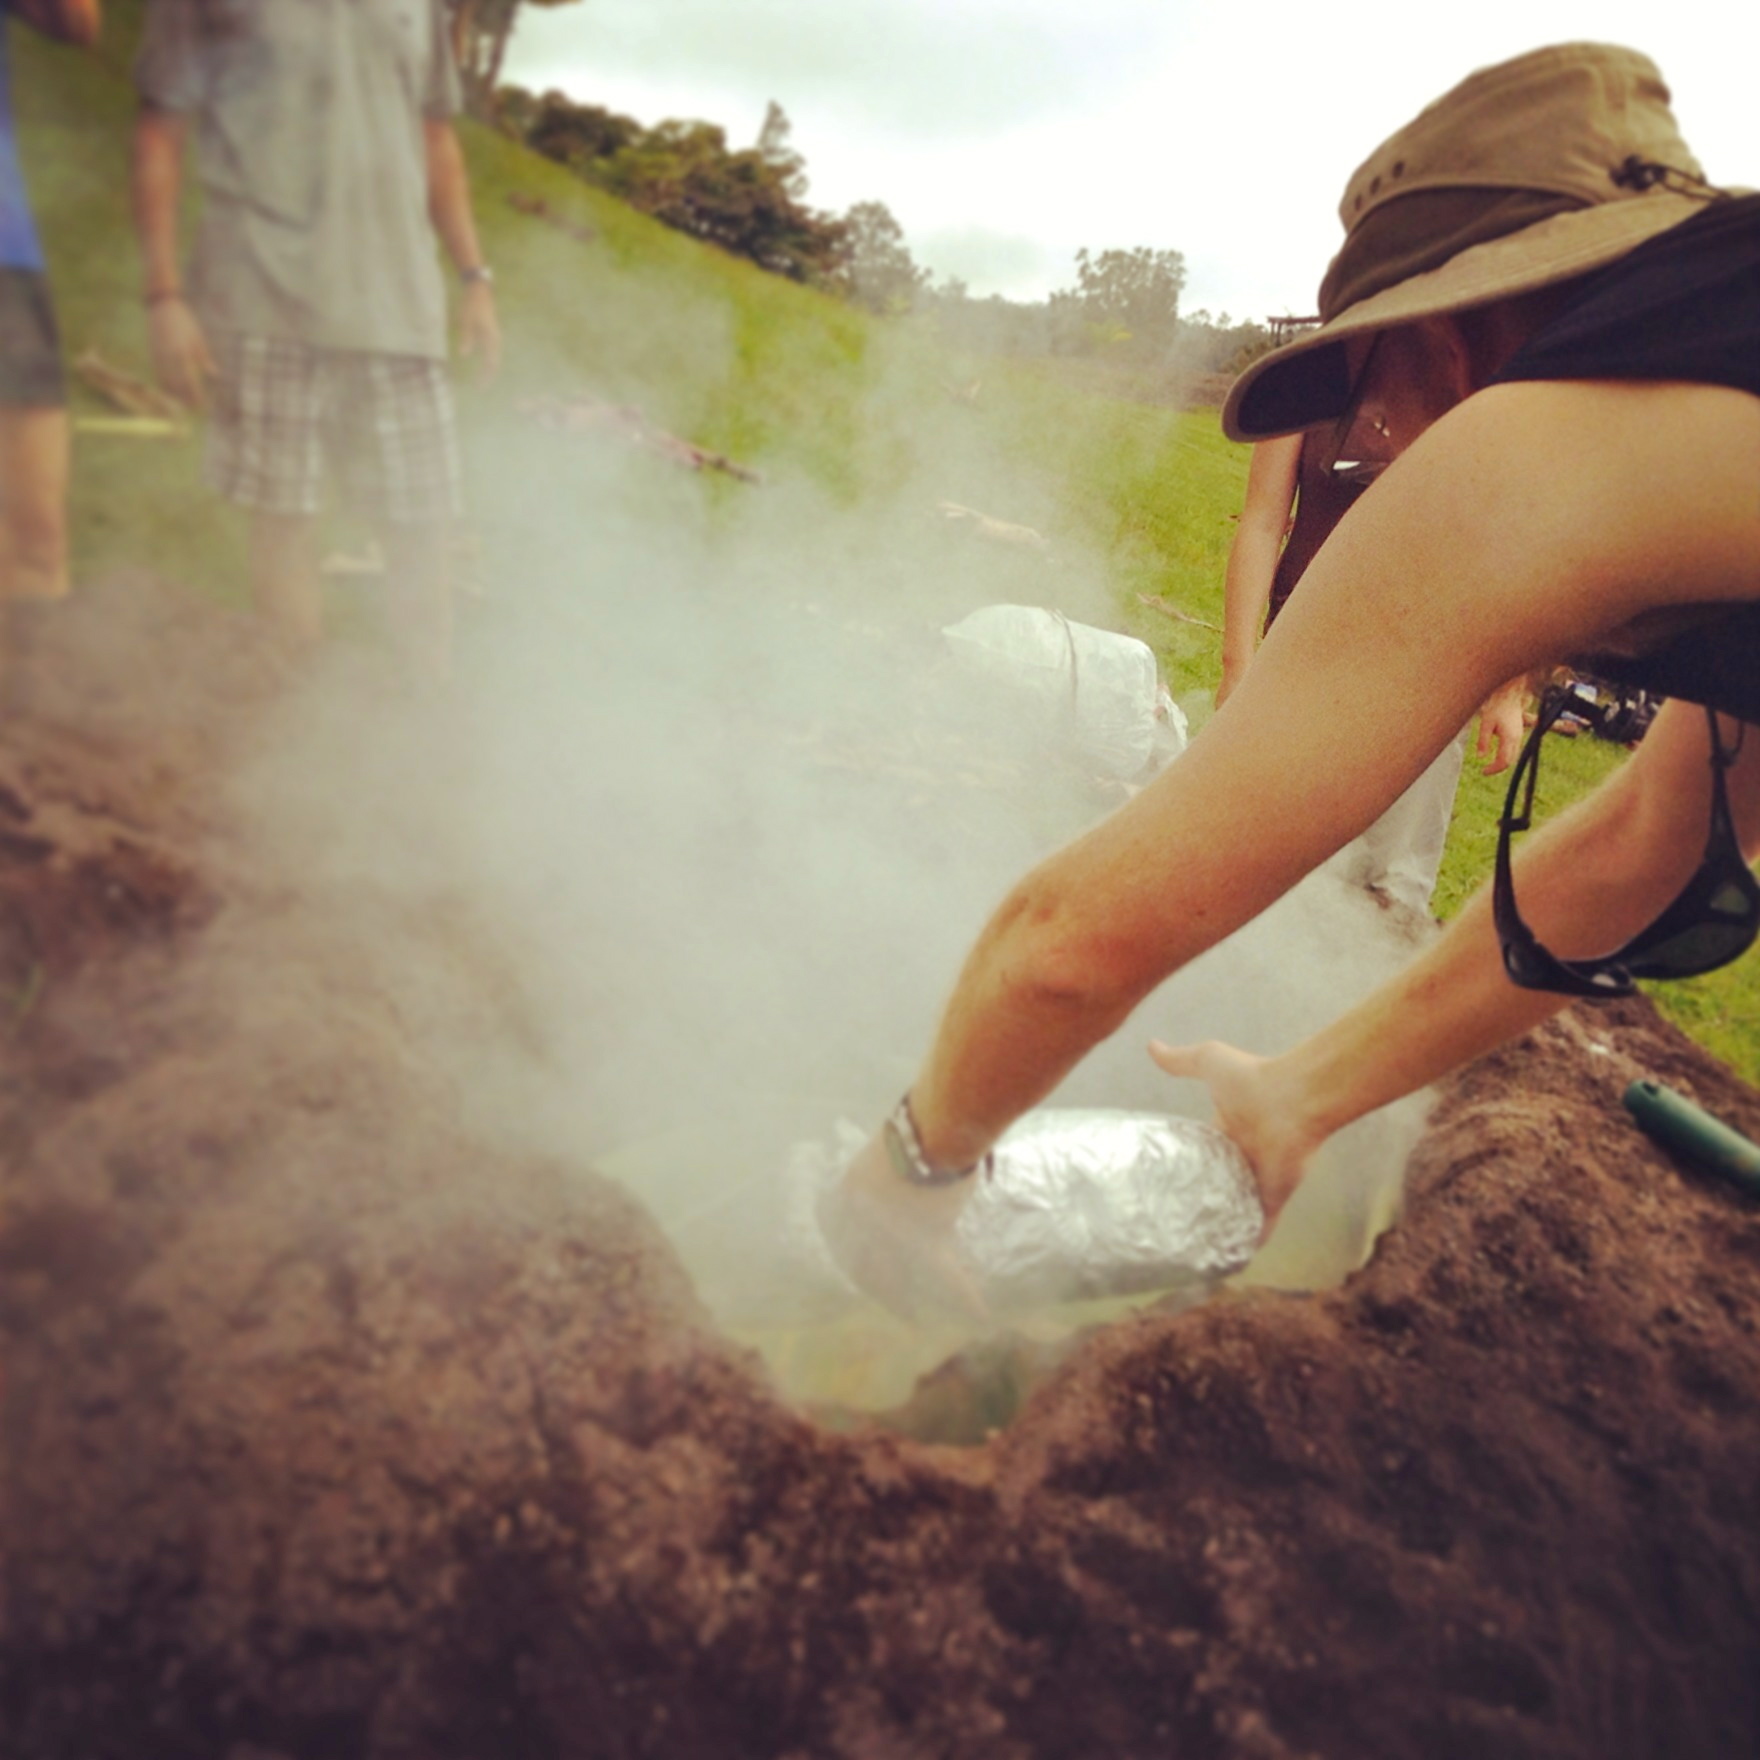
Then we carefully placed our meat on the leaves.
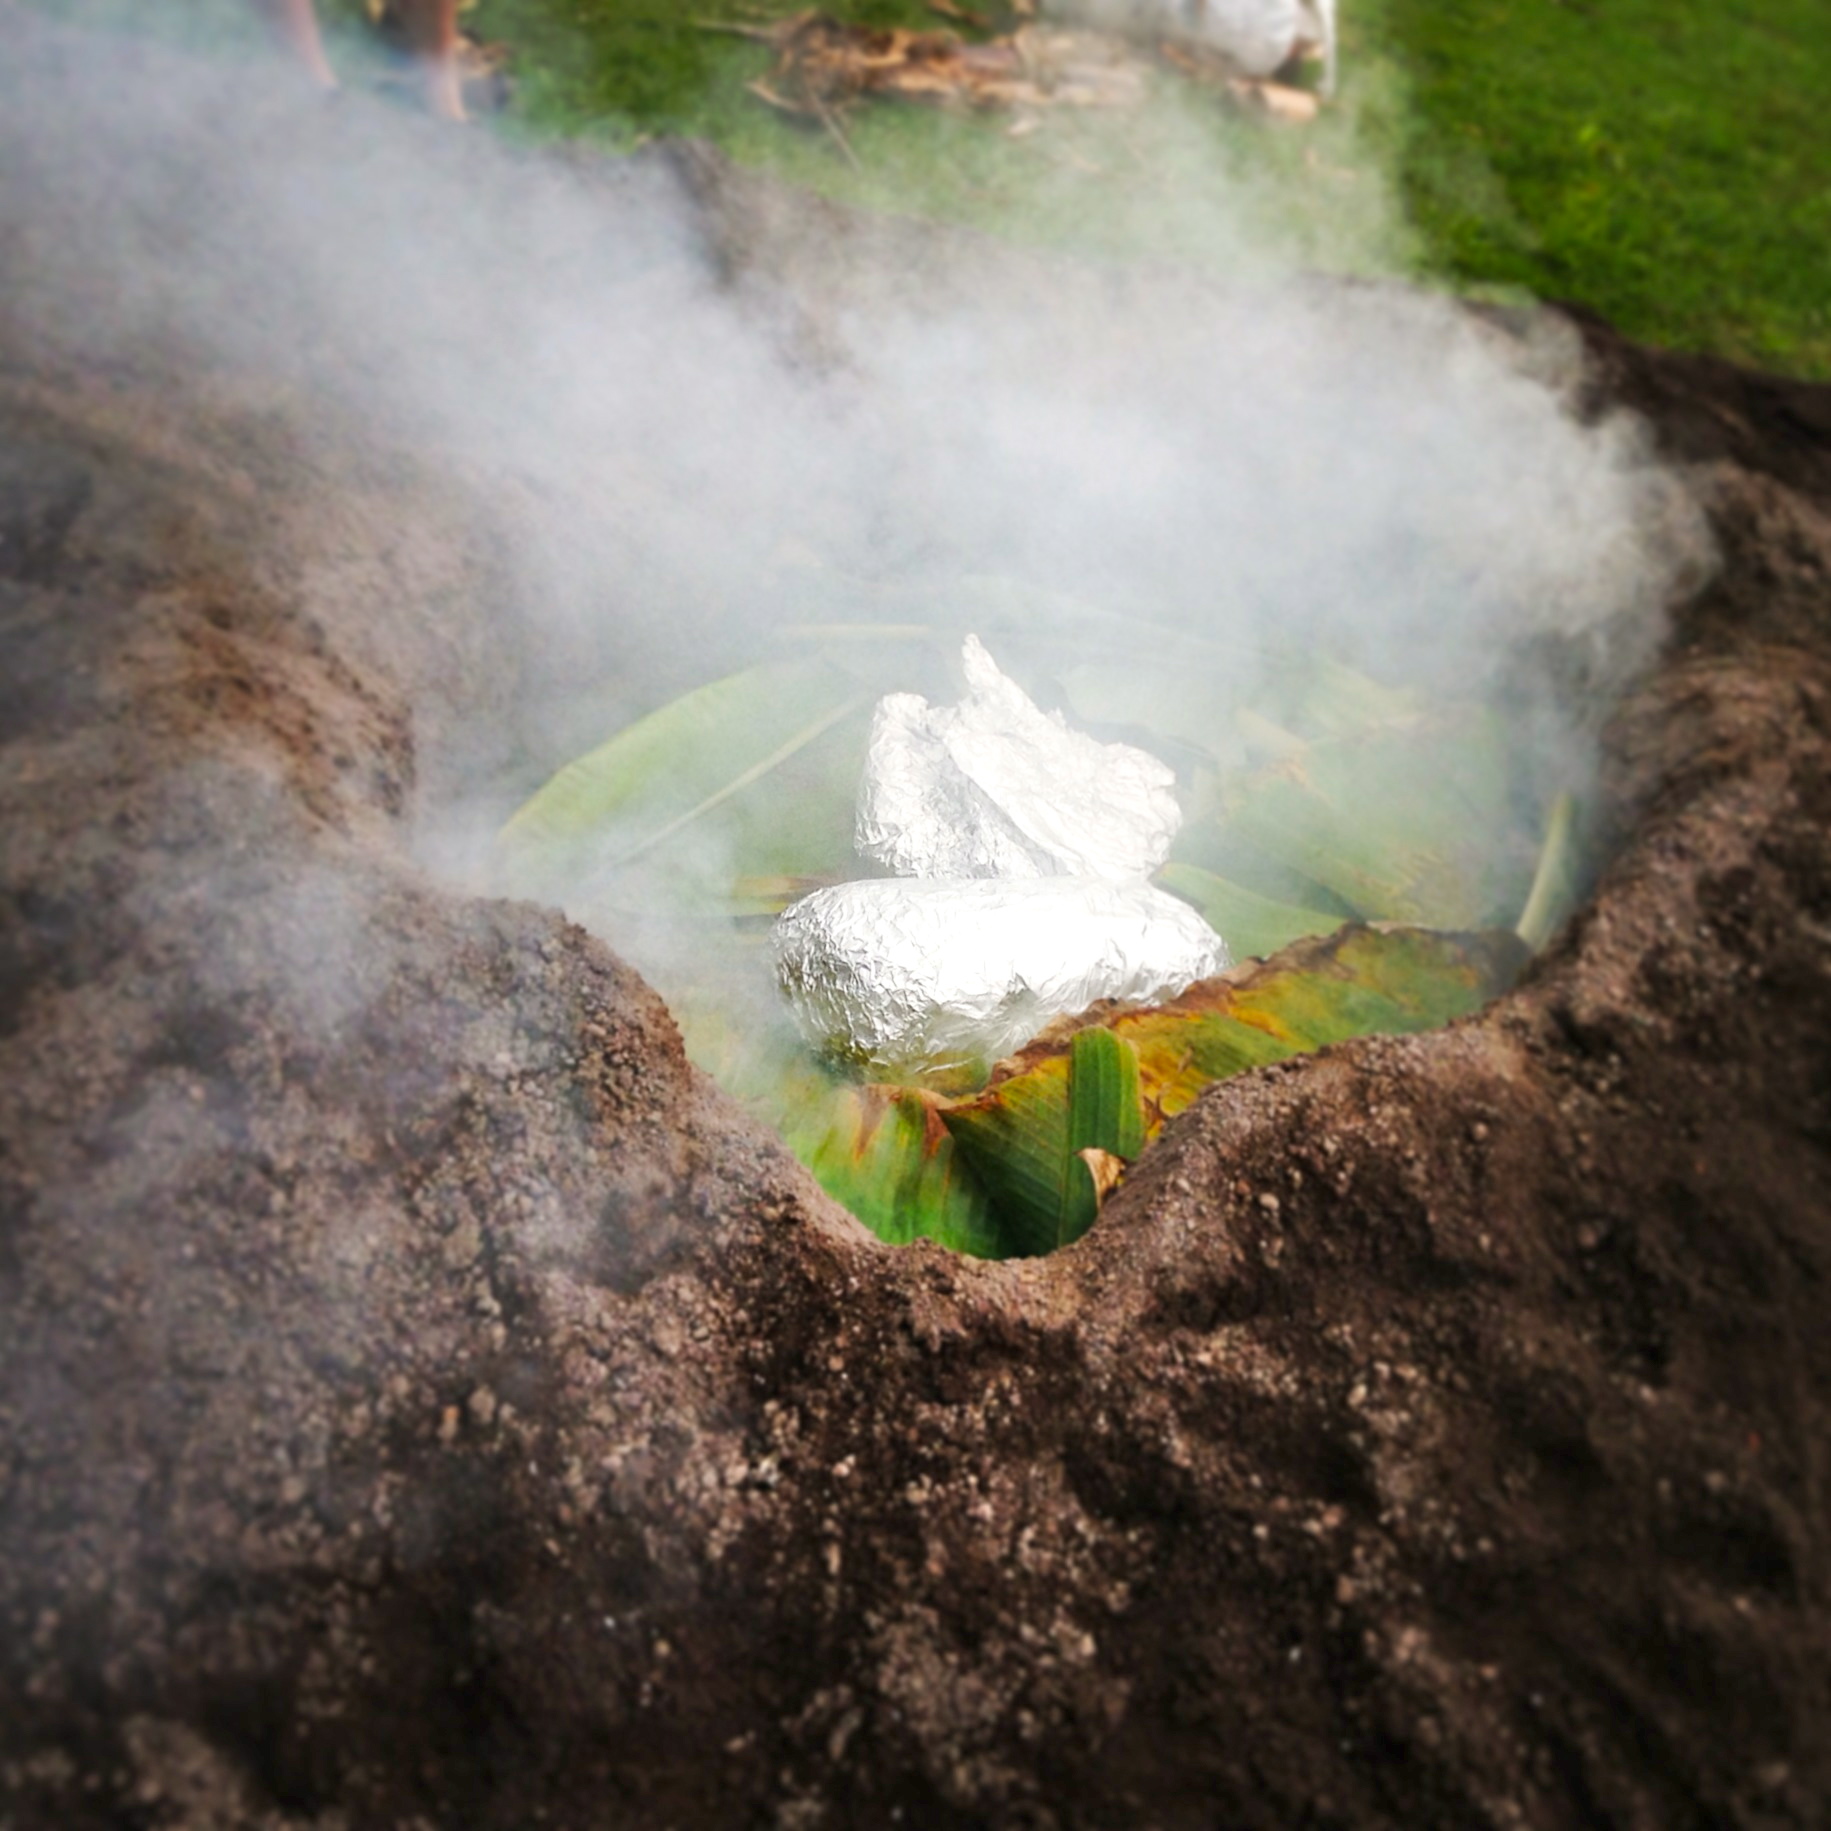

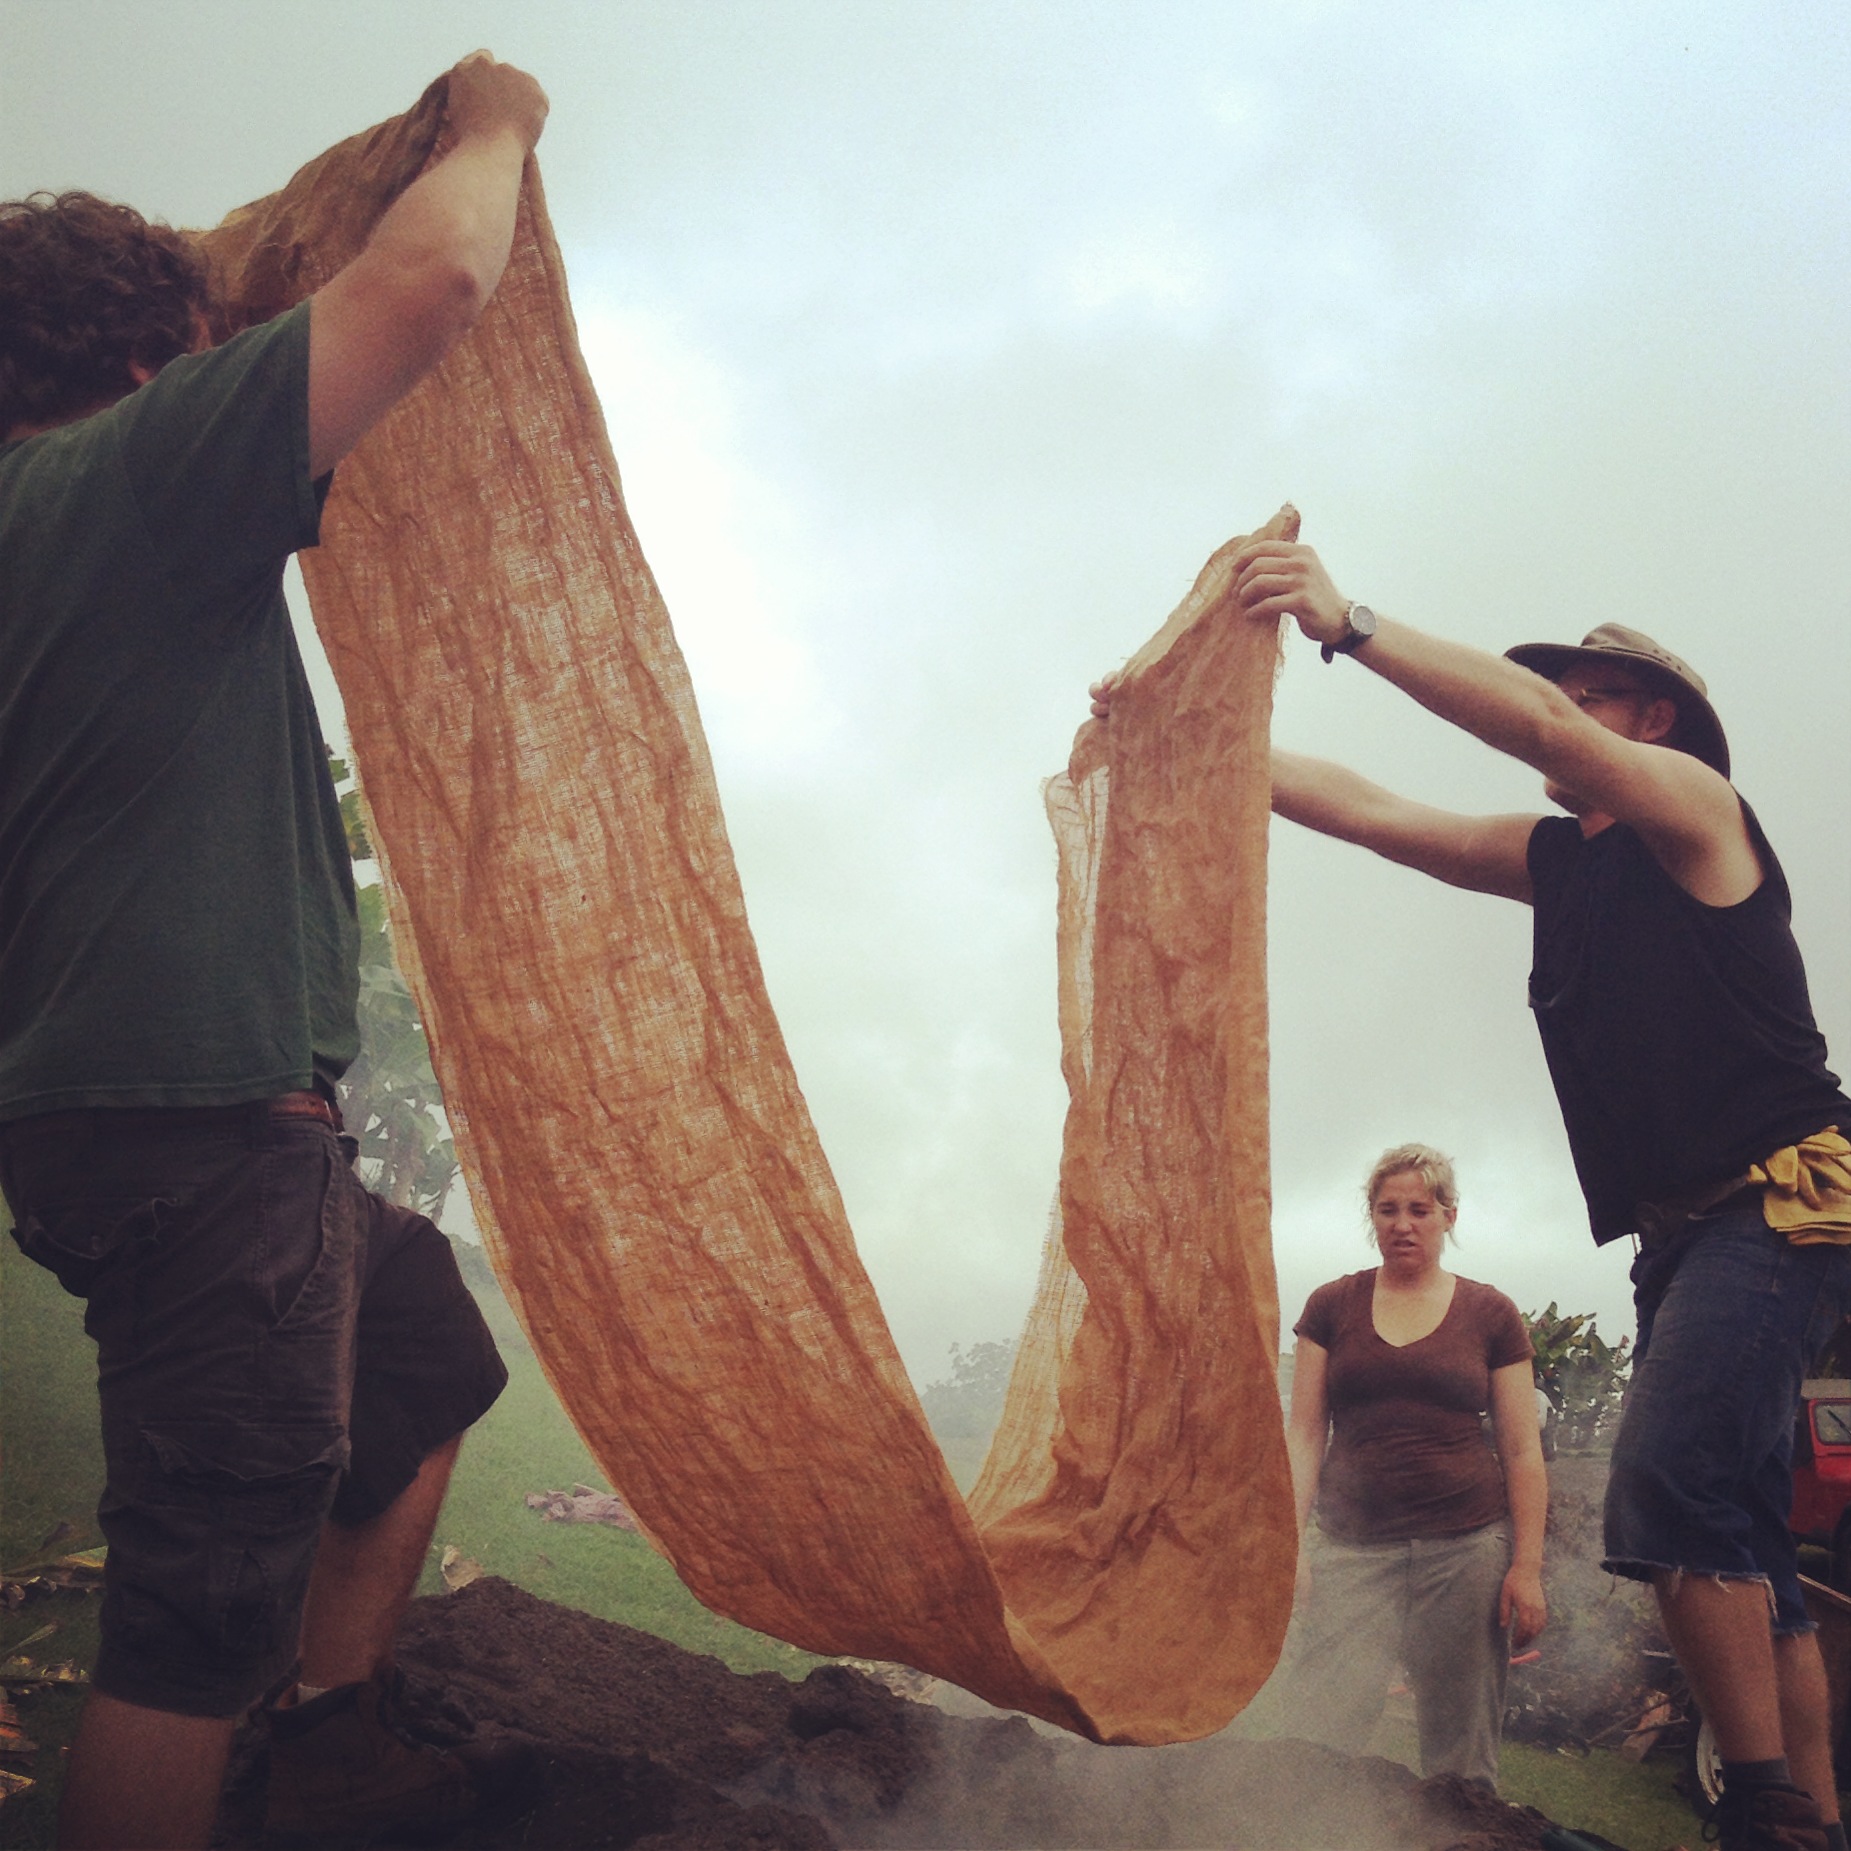
Then we added more banana leaves and a layer of wet burlap to hold in the heat and the steam.
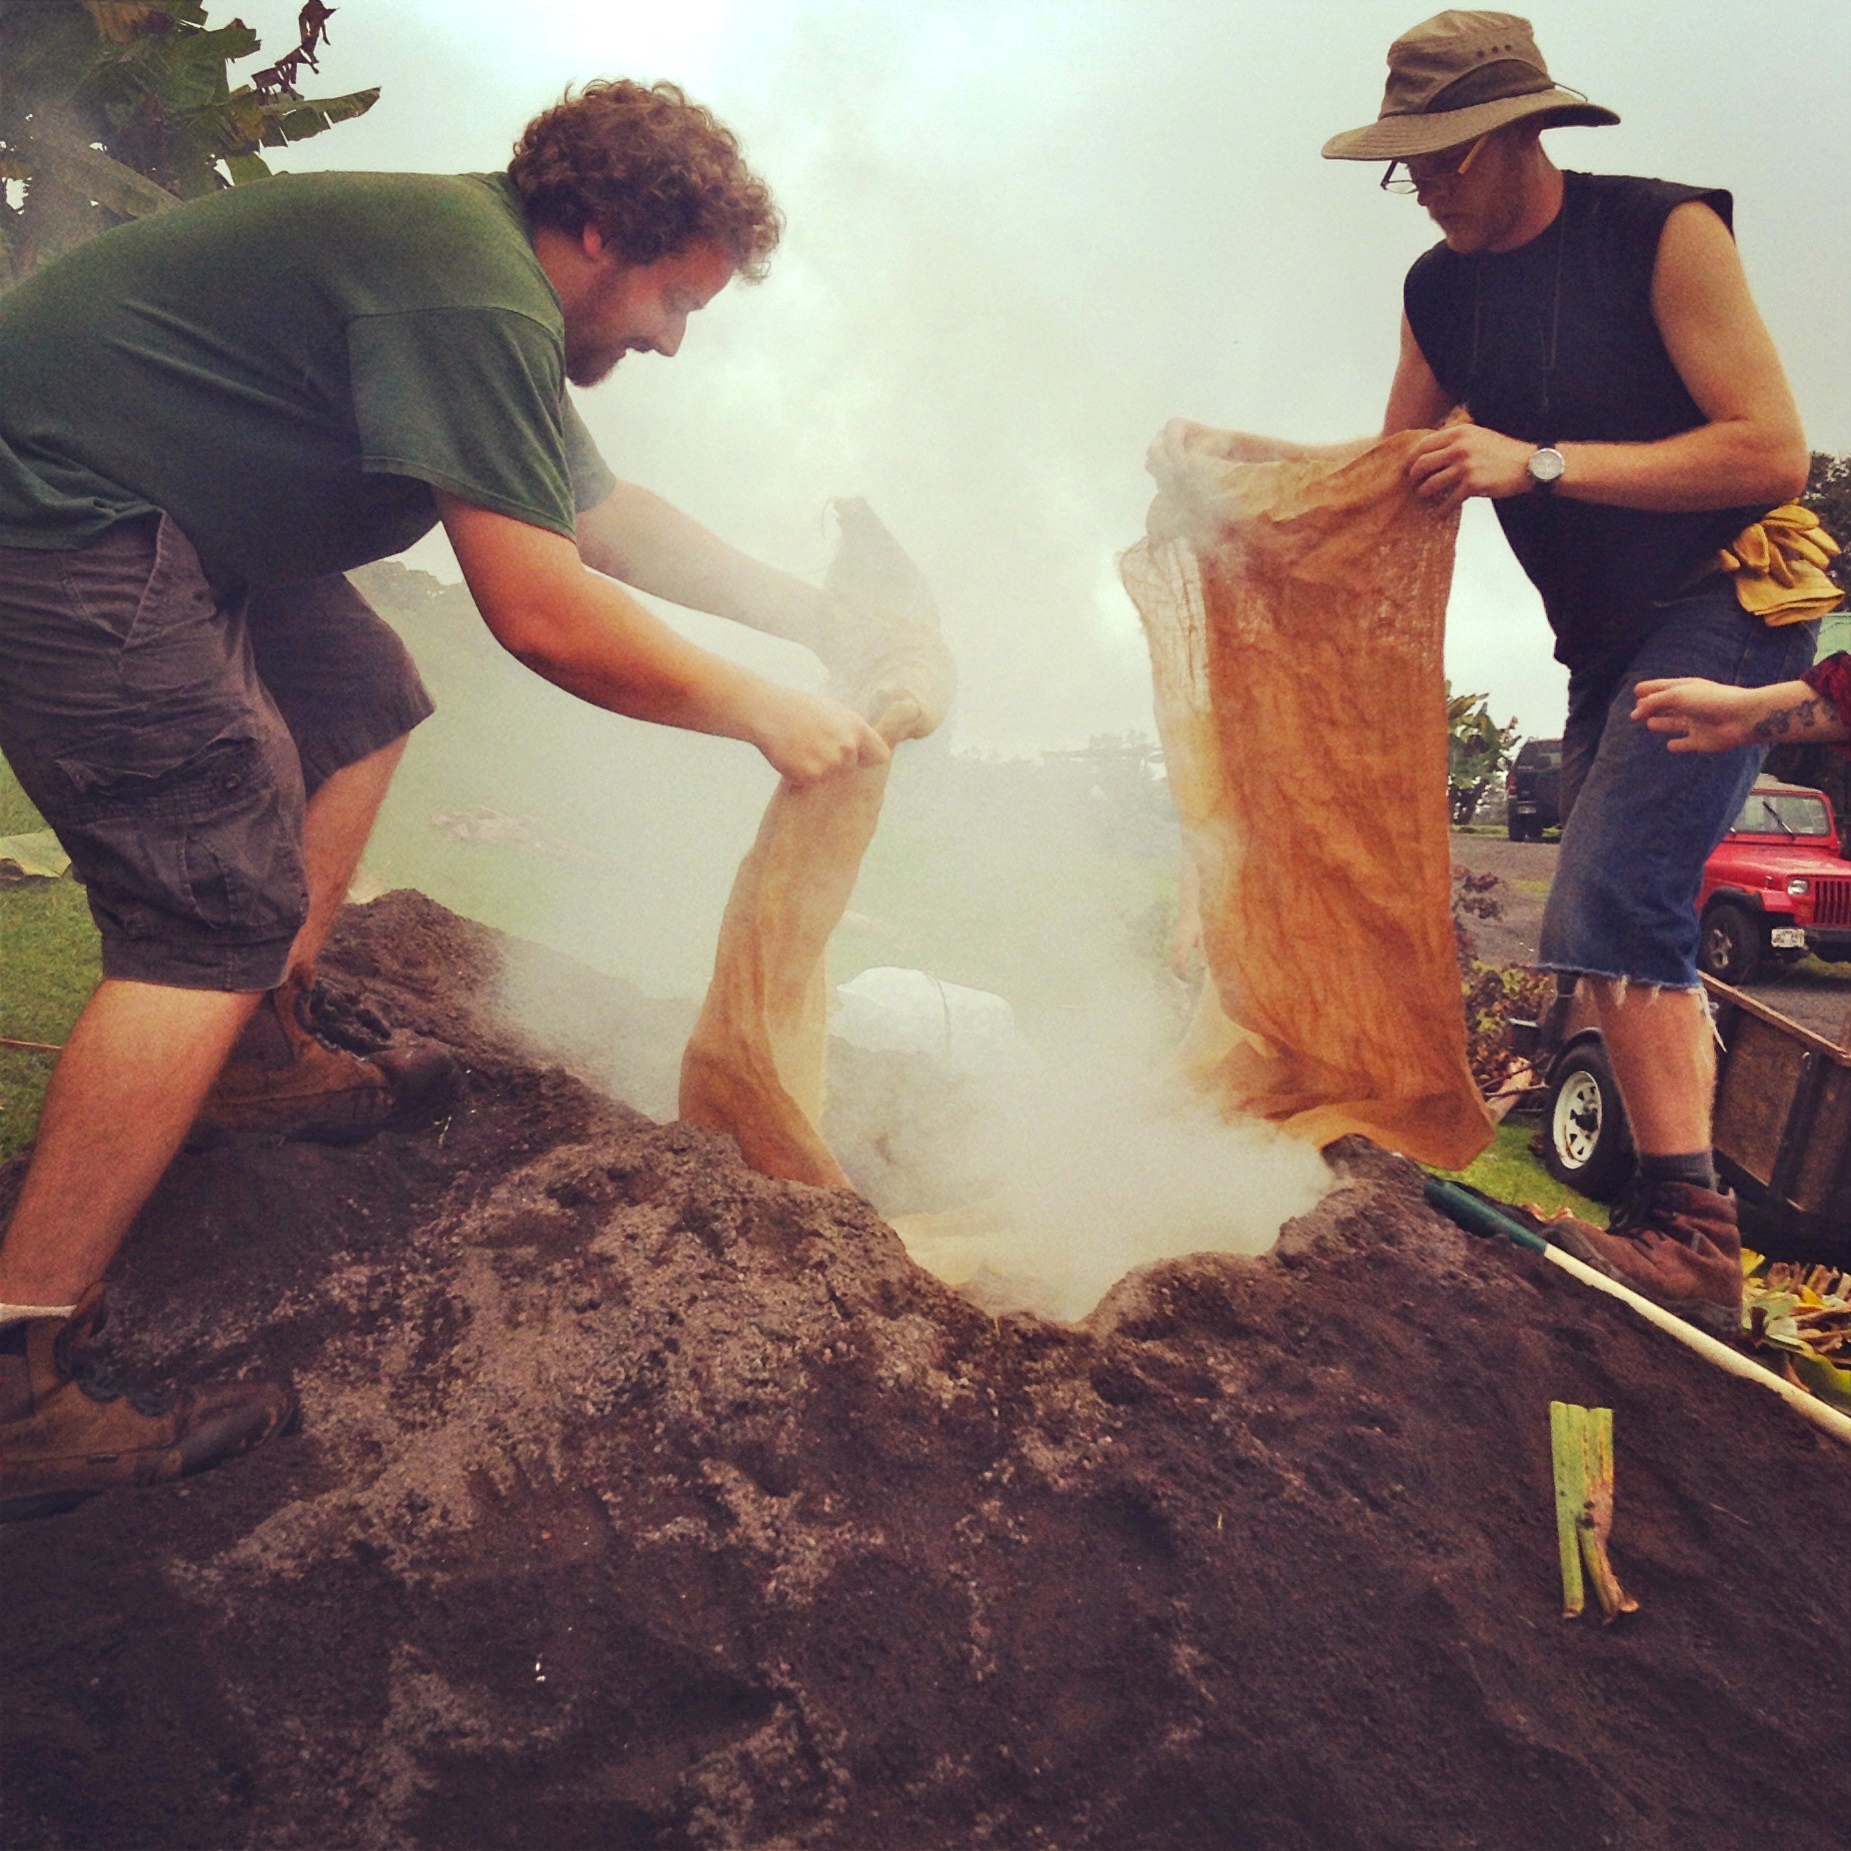
Over the burlap, we added a tarp just to keep everything clean before putting on the dirt. And then shoveled on a ton of dirt! It is important to really bury it to hold in all of the heat.

Once the imu was covered, all there was to do was wait. Keeping with the true Hawaiian tradition, we drank while we waited.

And keeping with true midwestern tradition, we played bags while we drank.


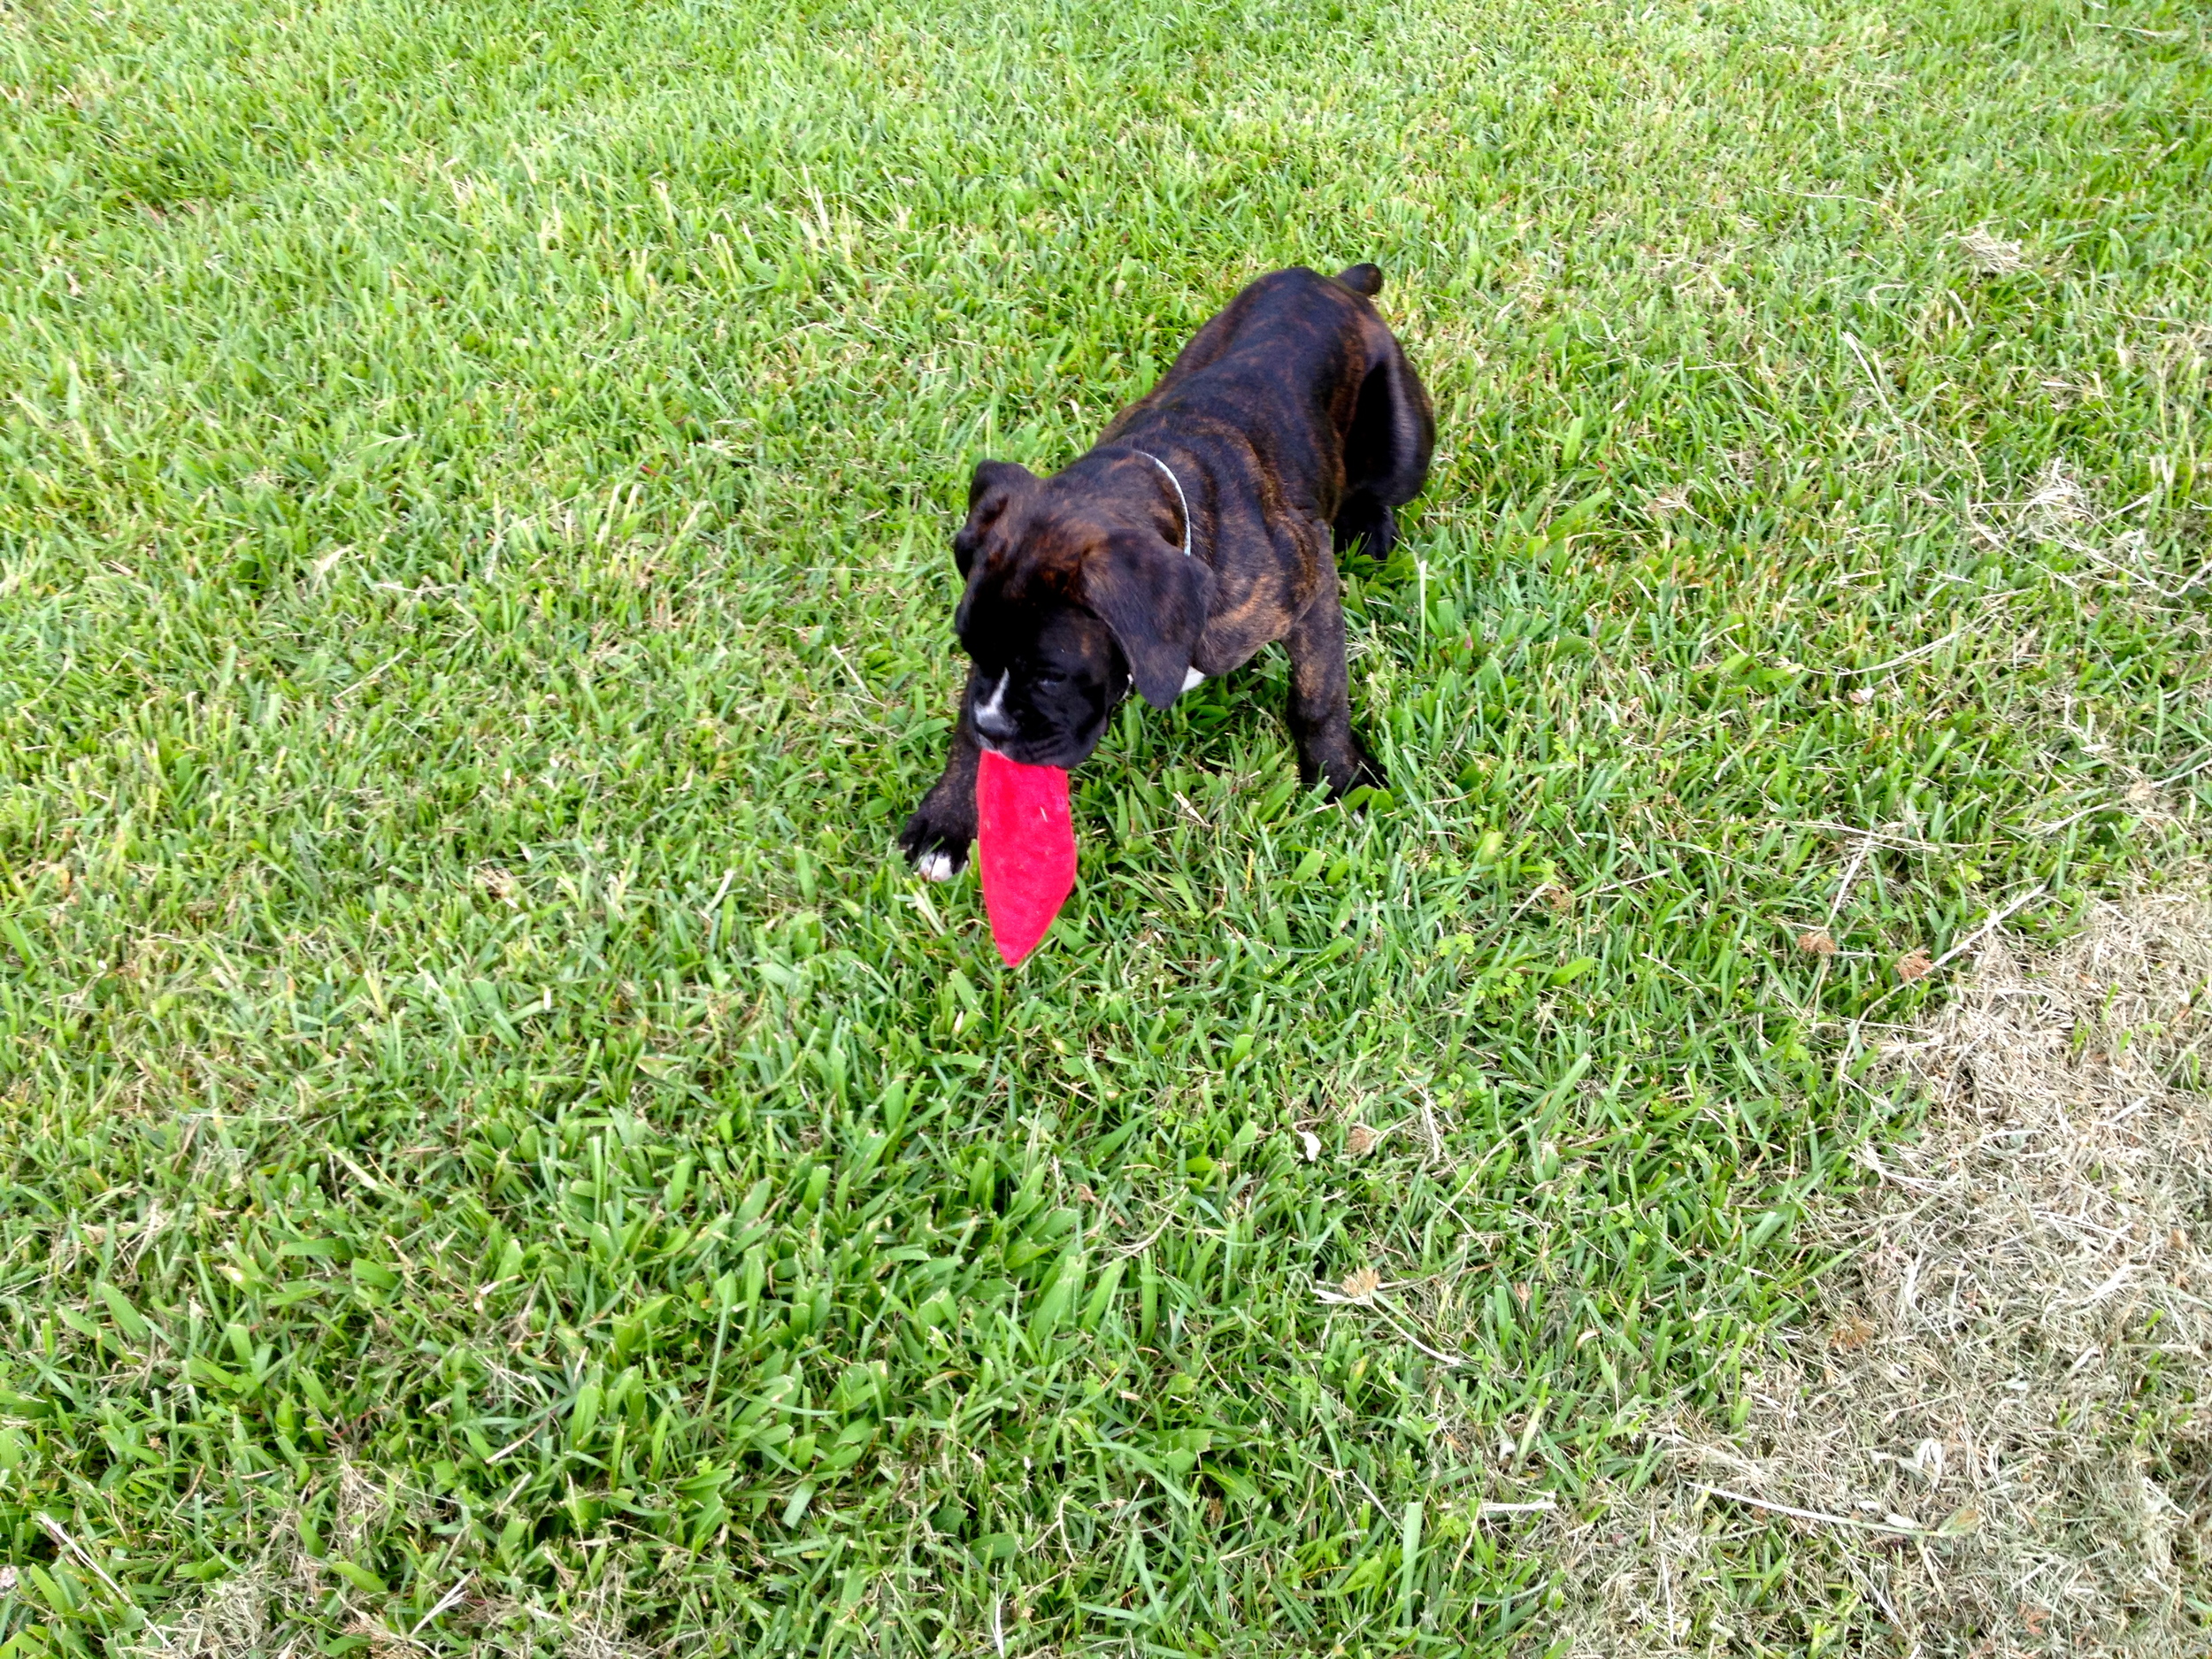
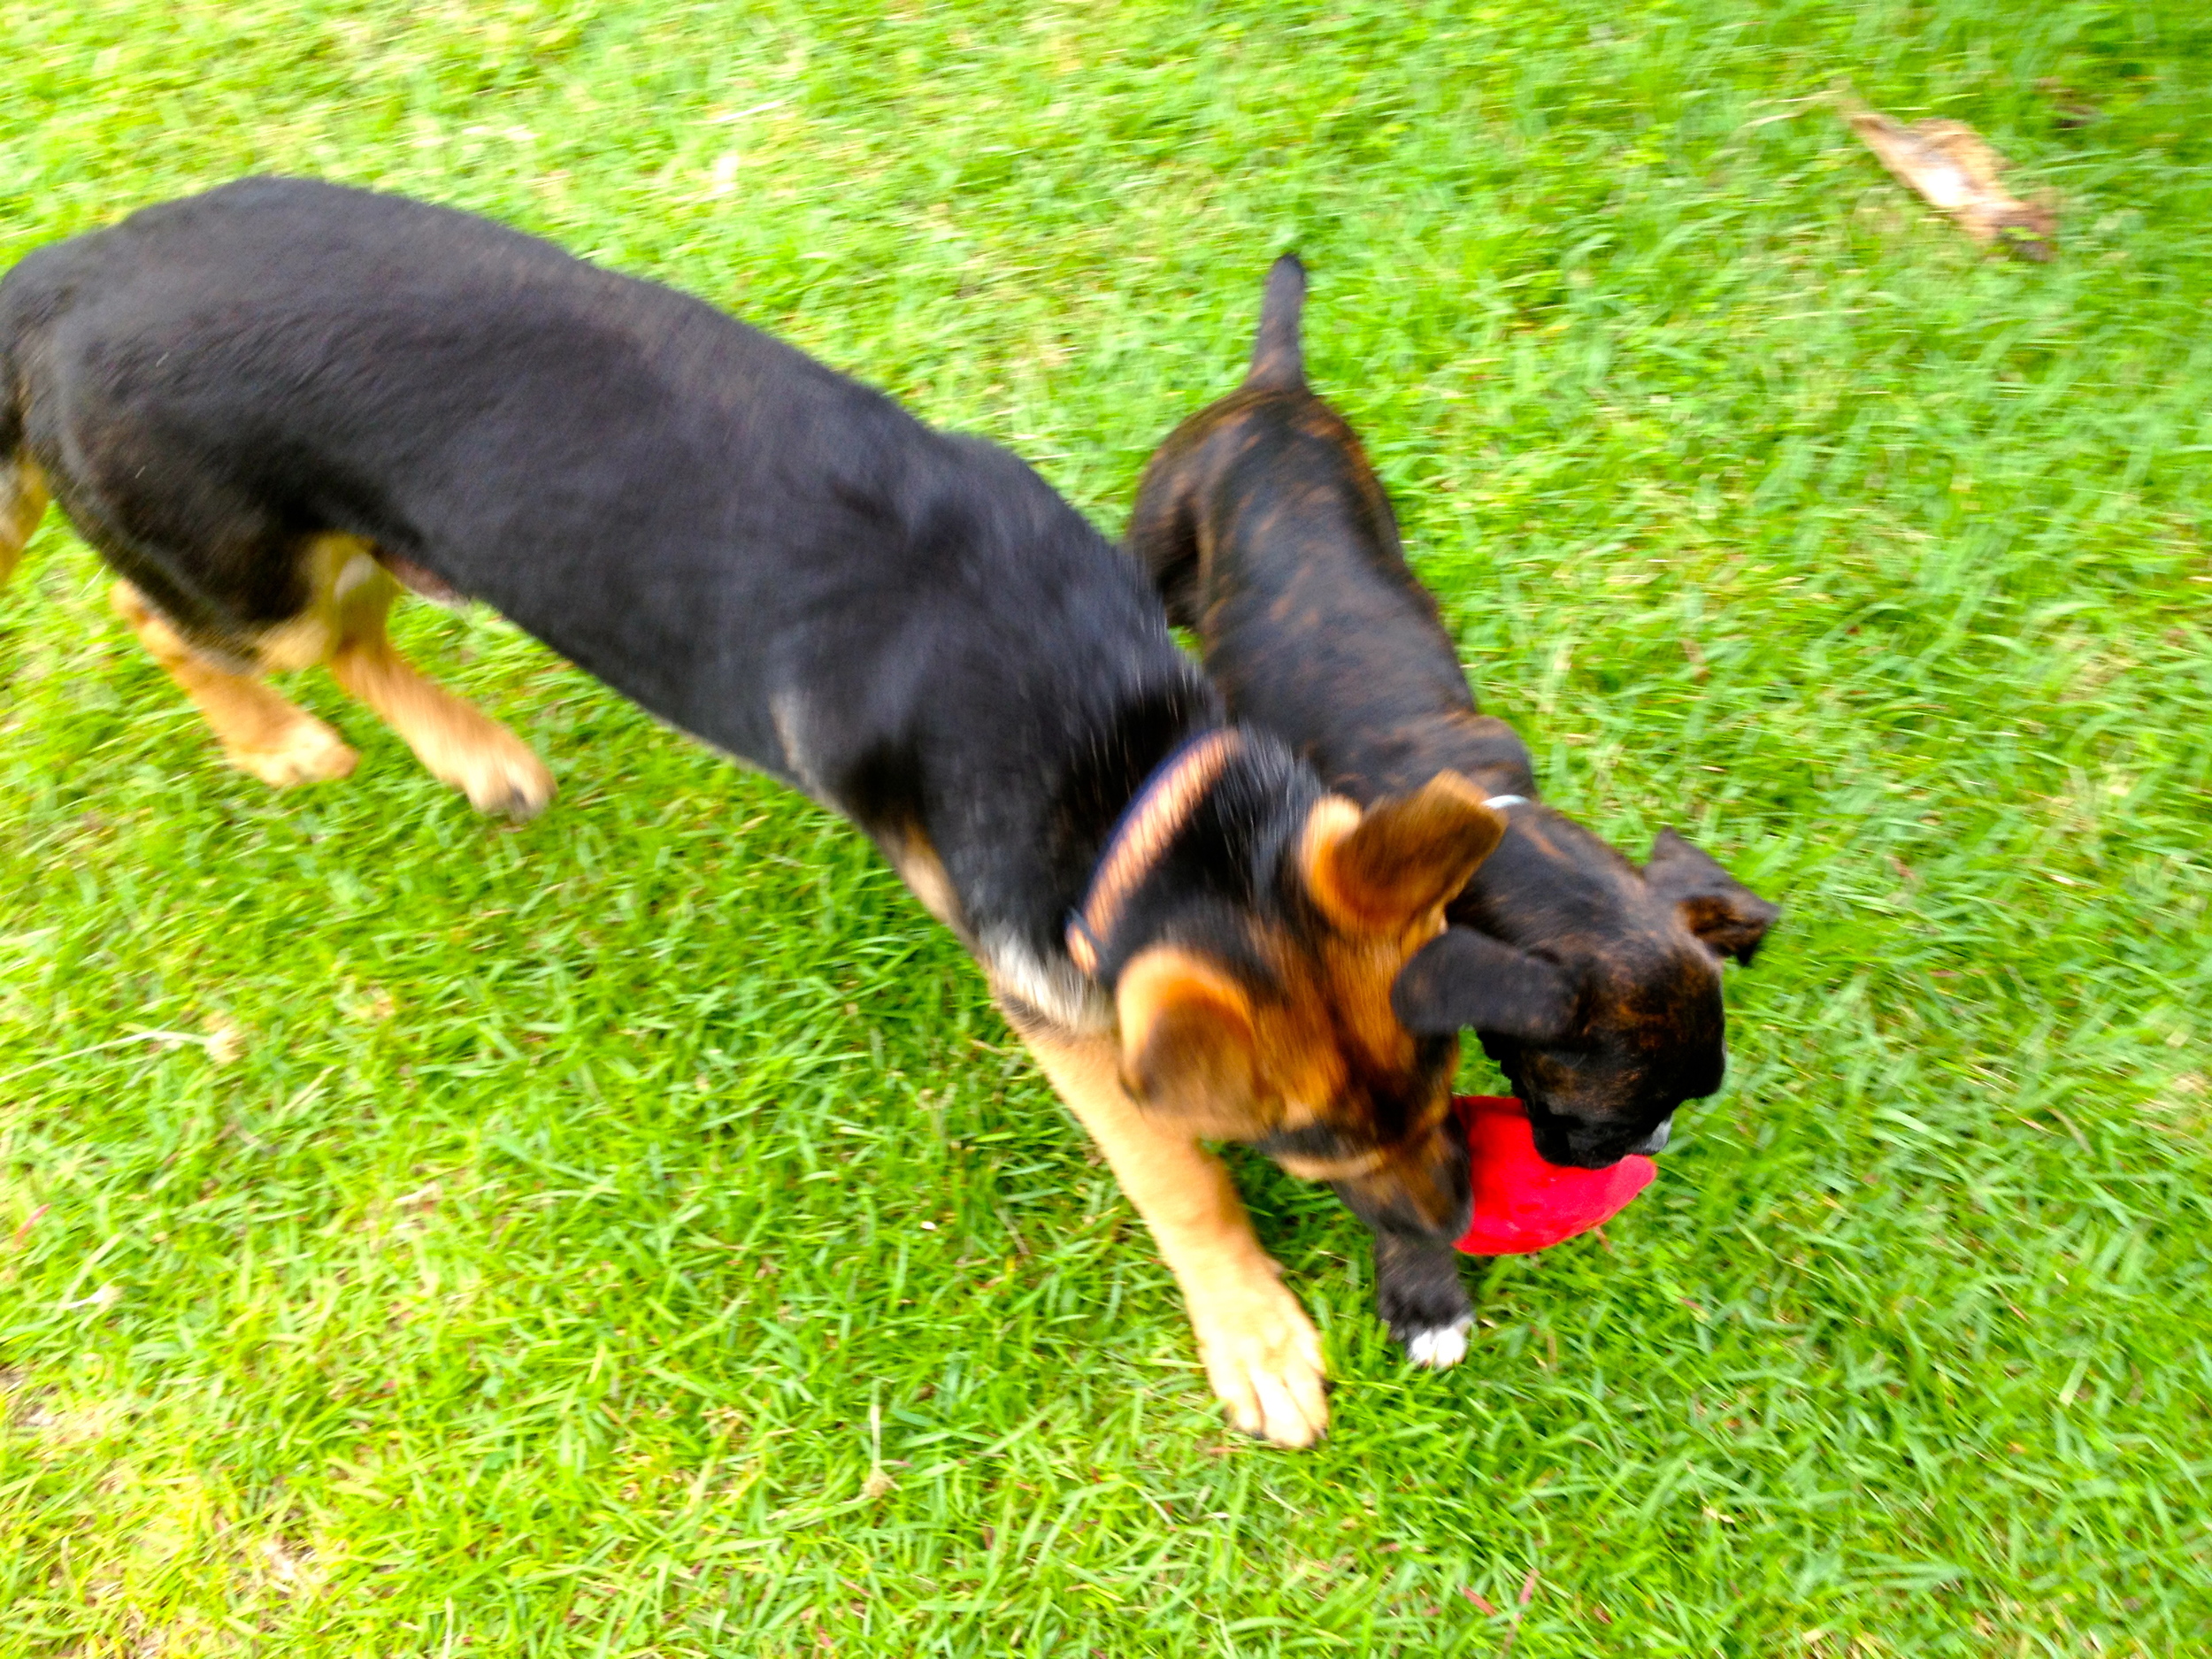
Bruce and Bells "helped."
After 7 hours, we went back to the imu and uncovered it layer by layer.


I wish I could tell you that then we ate the meat and it came out perfectly. However, we actually didn't leave it in there long enough for the pork to cook so we had to finish it in the oven. One unfortunate thing about imu cooking is that you cannot check the meat! Next time we will leave it in 10ish hours instead of 7. It was definitely good practice for next time though. The turkey was done after 7 hours, but it was very very tough. Alas, the product of using a wild turkey. We sadly ended up giving most of it to the dogs - they were thrilled though. The lesson is that next time we imu, leave it in longer and use store-bought meat.