
Tons of Projects!
So much has been happening at the farm, and I know that I really need to post more often about everything. It's so hard though with all of the projects that we have going on around here! Also, I keep forgetting to take pictures of anything besides the final product of our projects which does not make for good blog posts - I have little pieces of a bunch of full posts.First, I will give you a little update on my herbs! Most of my herbs are doing awesome. Look at the growth of my basil in just a little over a month!
We went from this -

to this

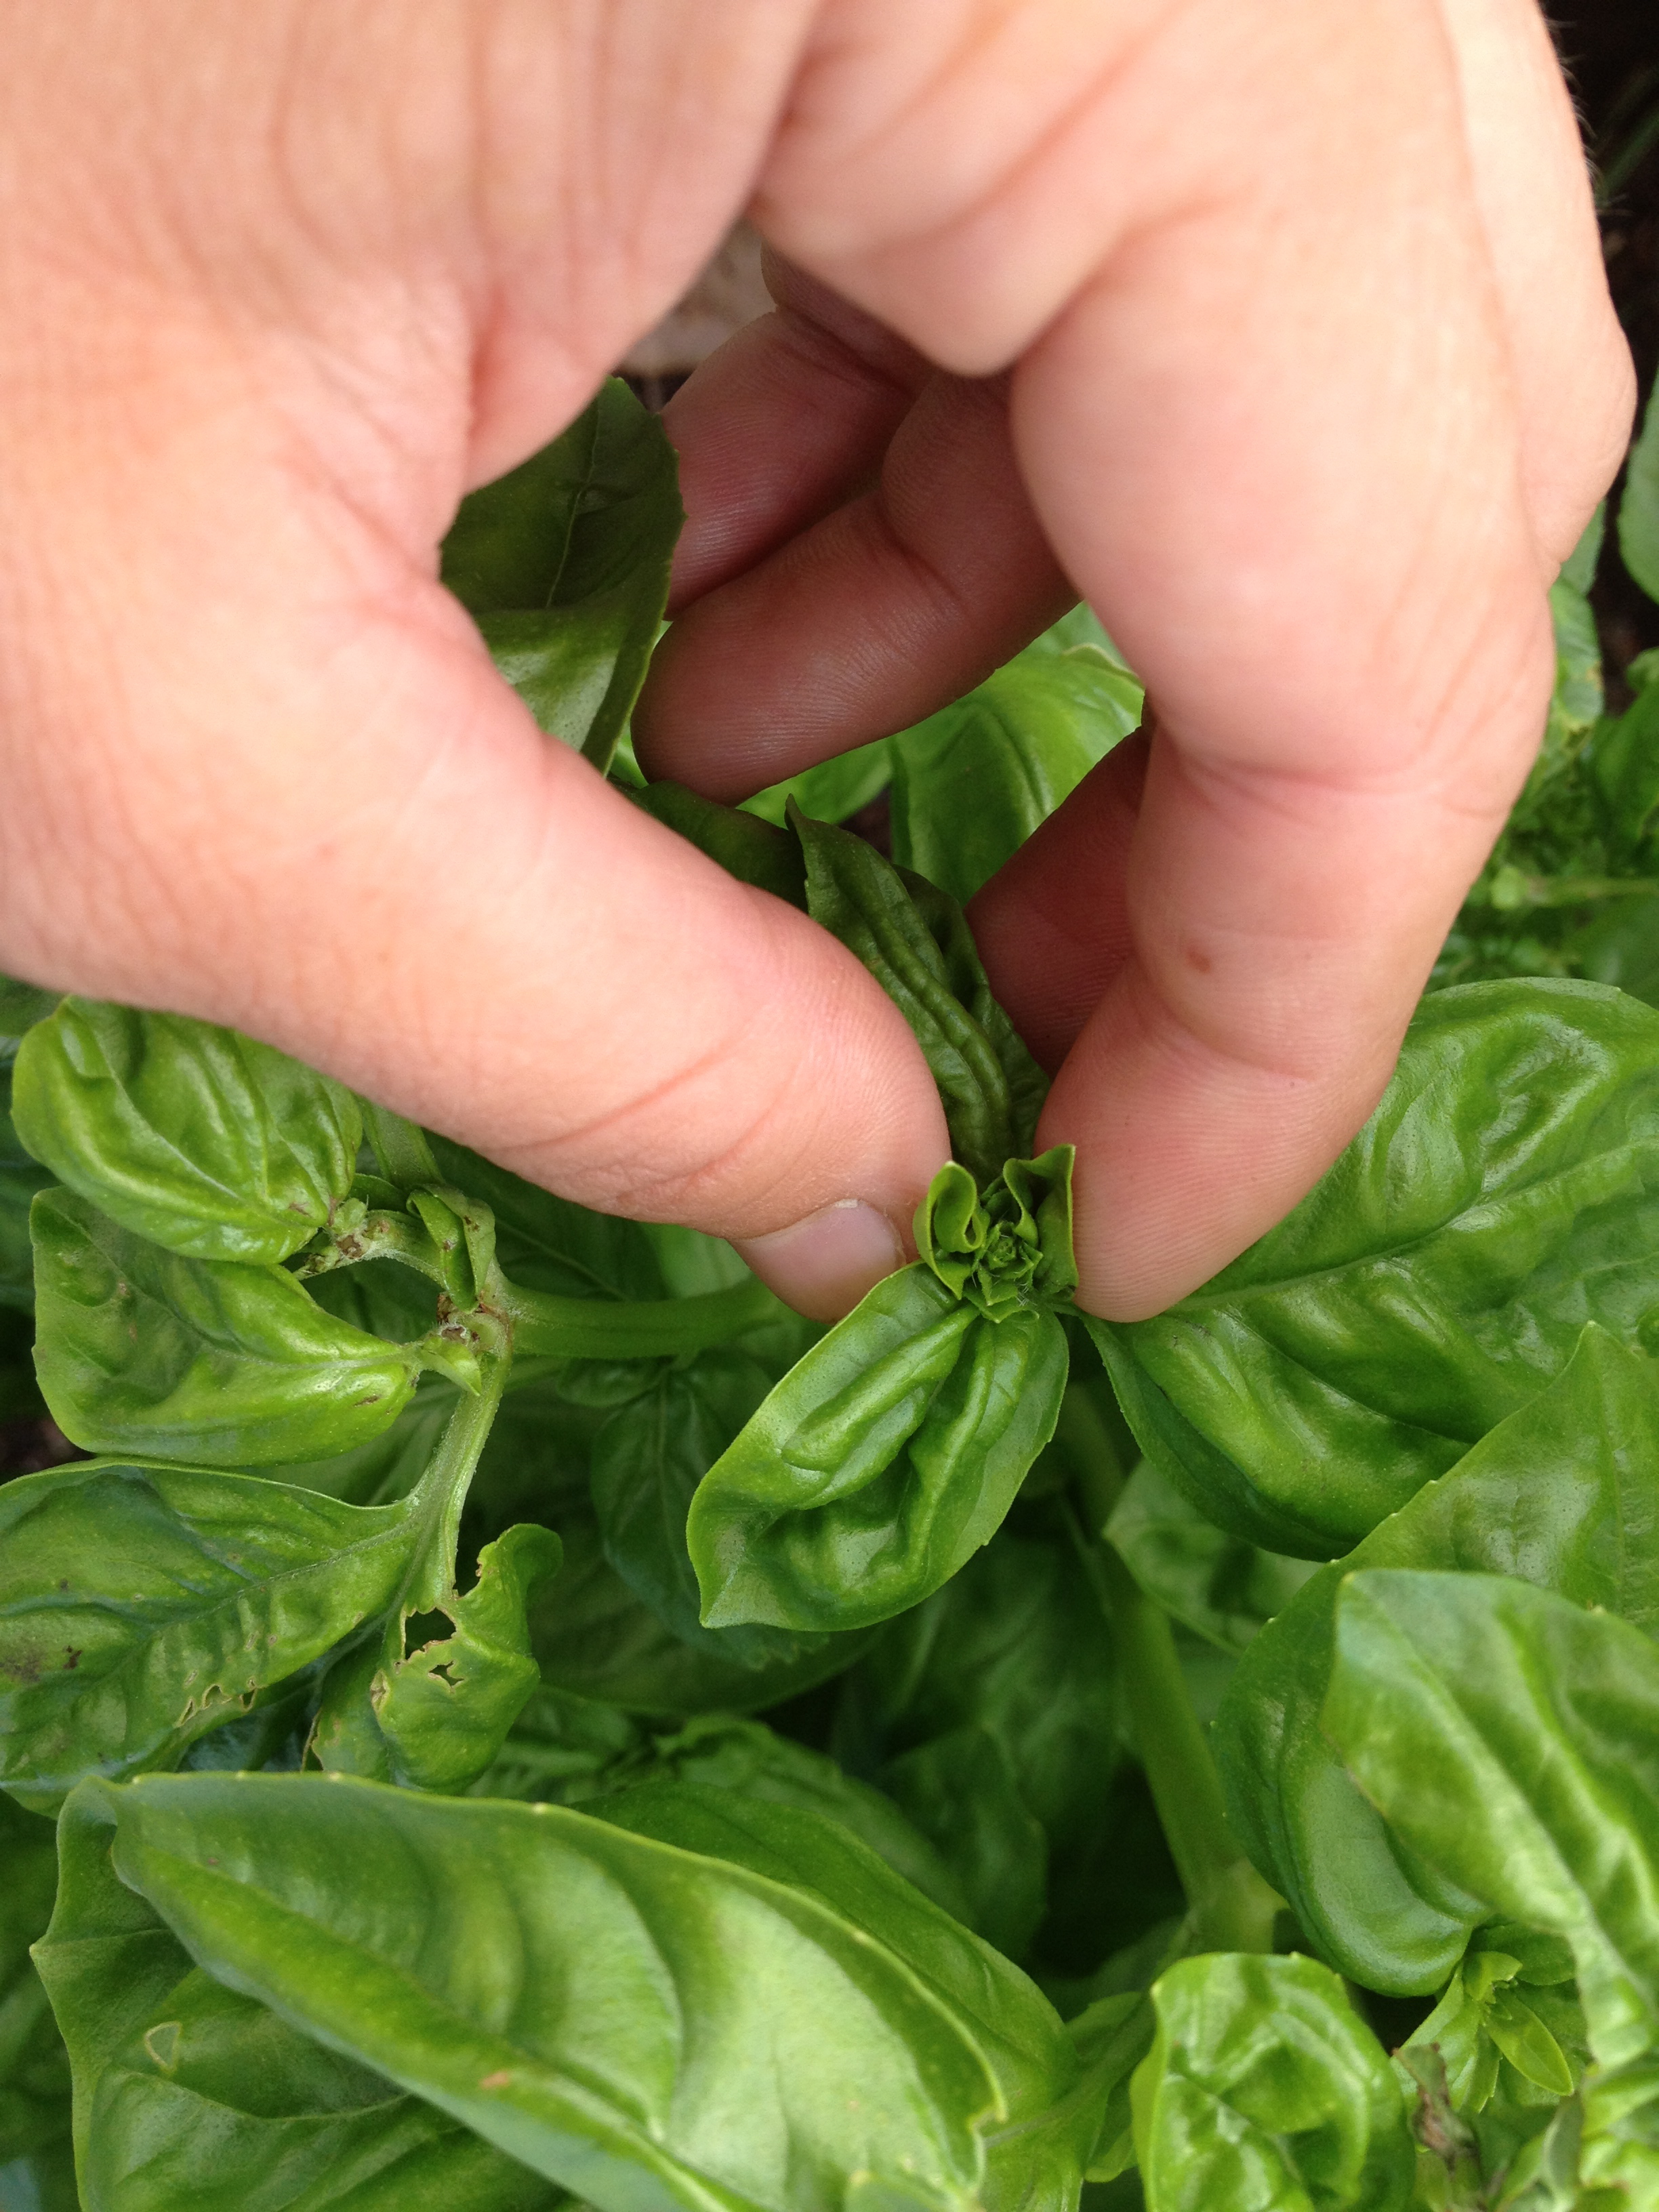
Mike taught me the way to get your basil to grow huge like this is to diligently pinch off any flowers. Every other day, I go out to the basil and look for potential flowers. They look like little leaves in a diamond pattern in the center of larger leaves.
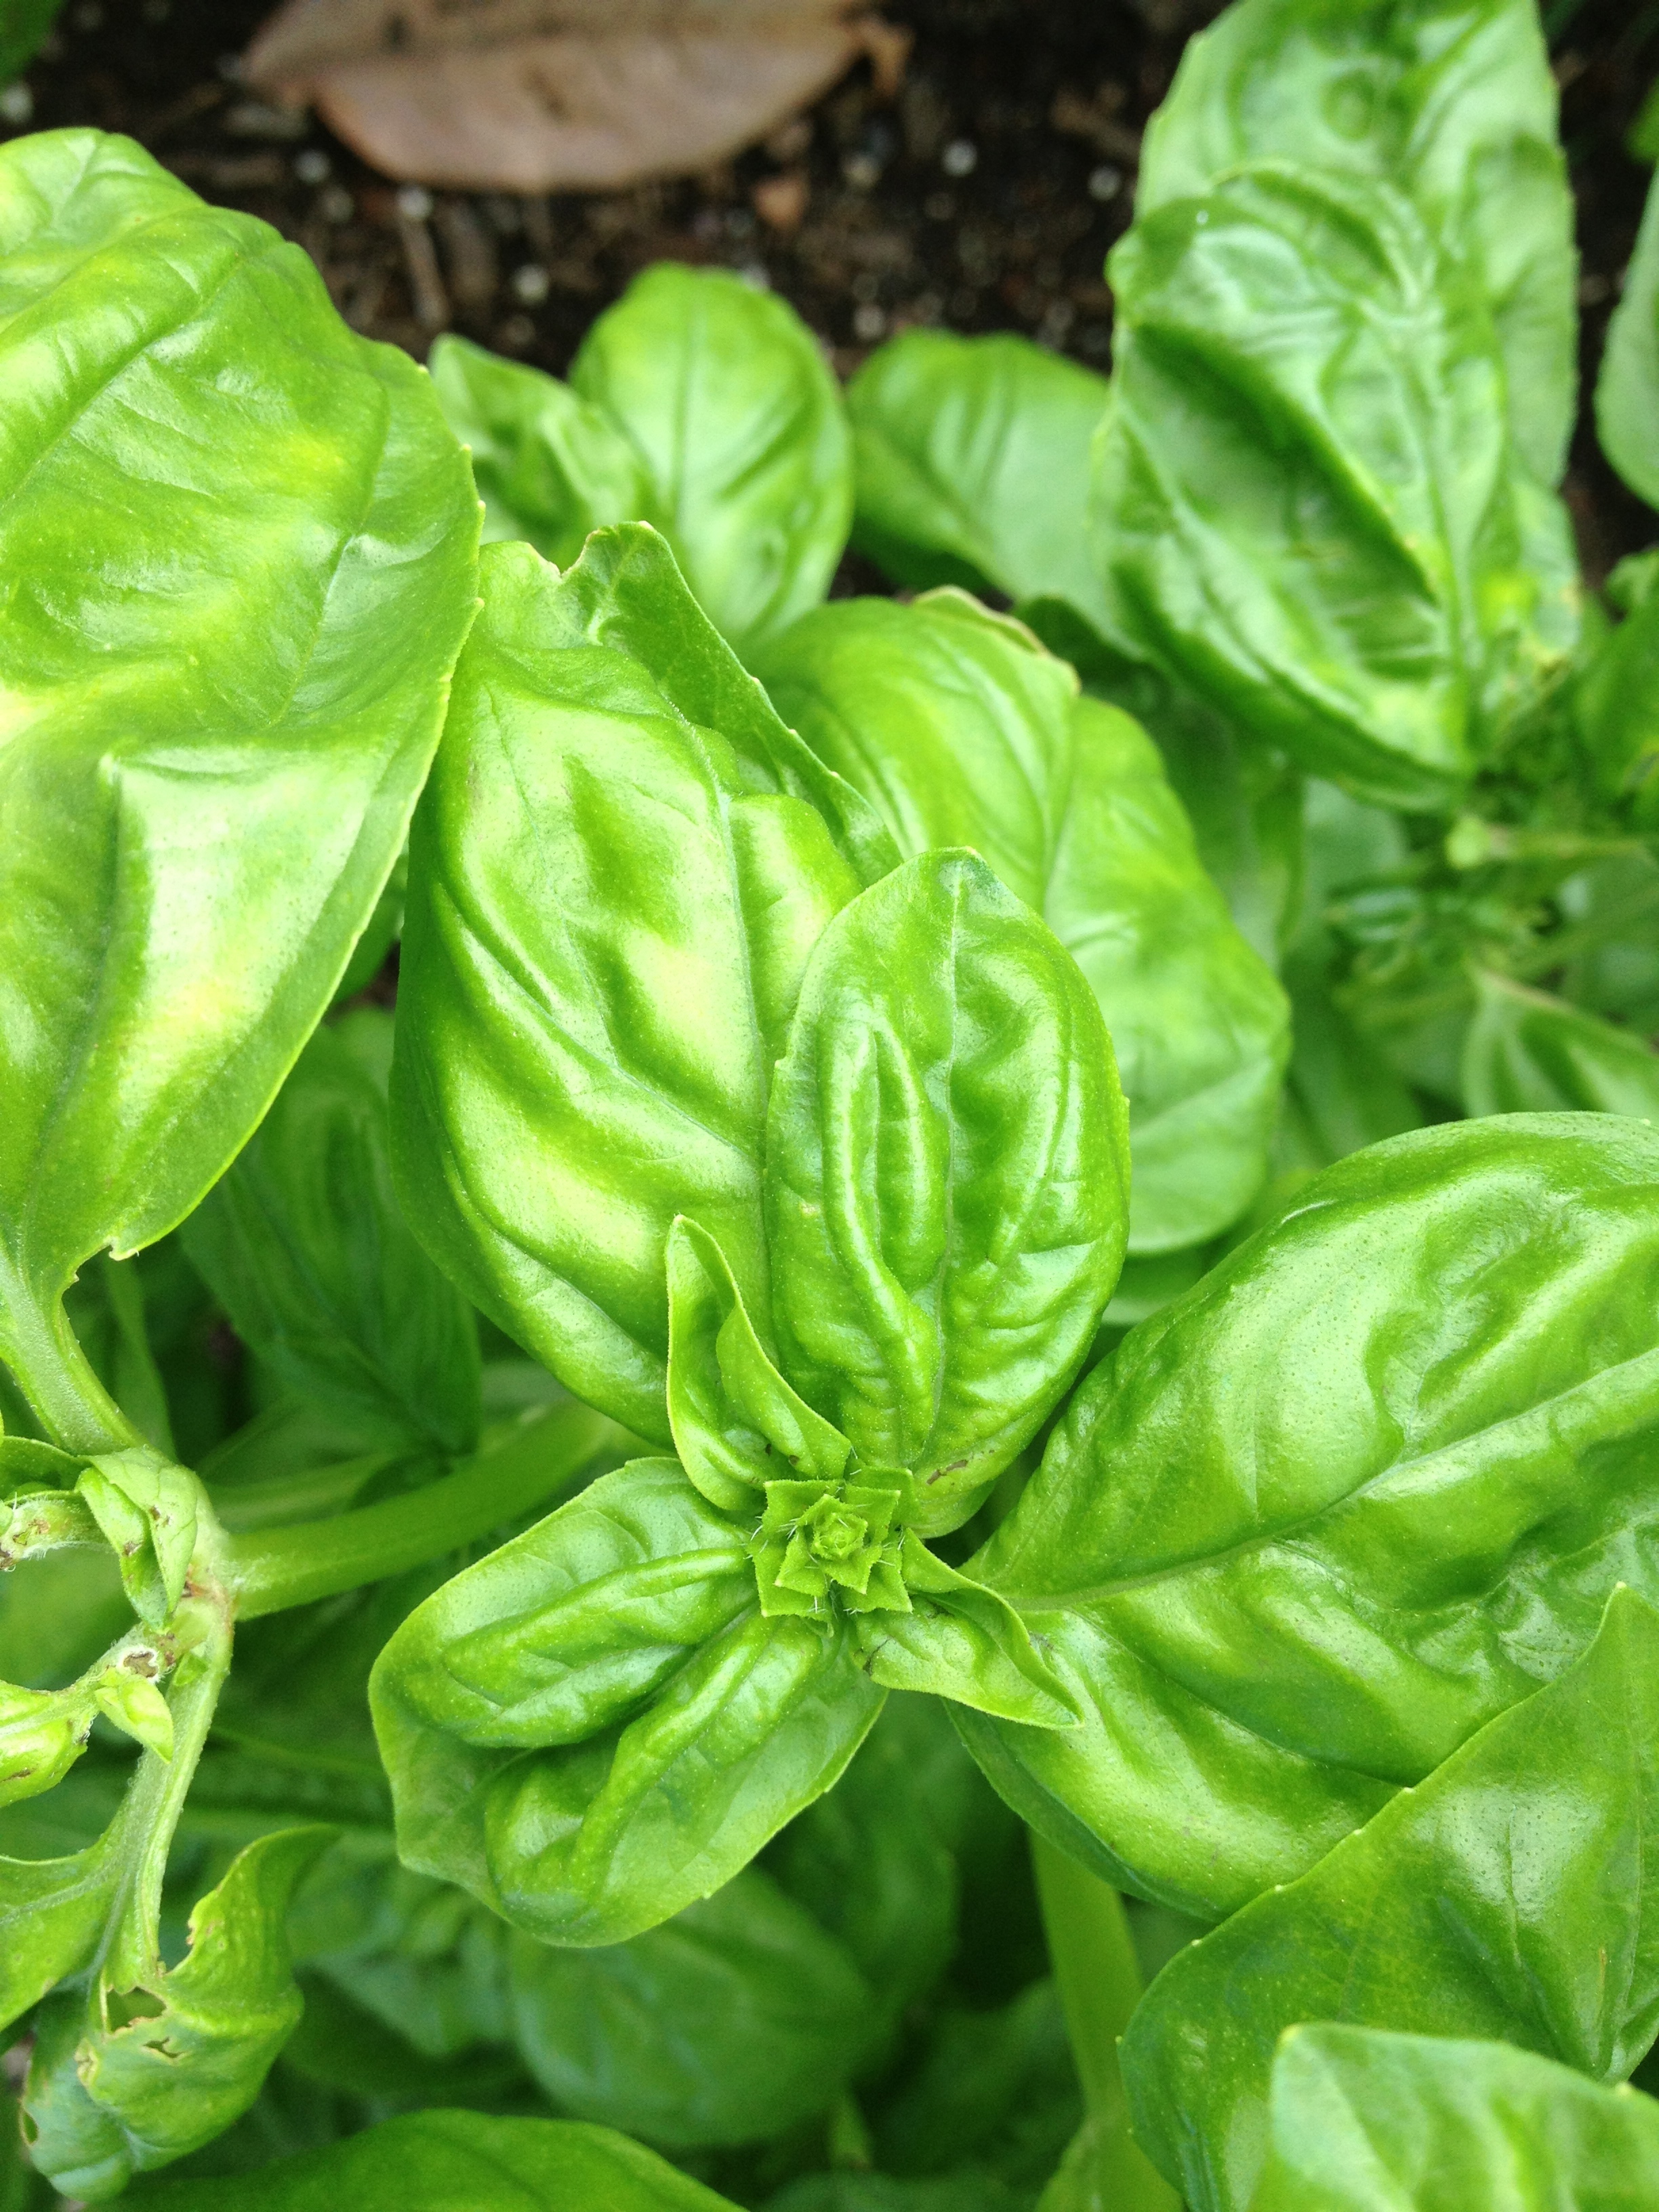
New ones pop up every two to three days and I just pinch them off. Sometimes I use them on eggs or toast, and sometimes I just leave them on the ground. But by taking the flowers off the plant, the leaves grow bigger and more numerous and the plant doesn't put its energy into flowering.
Another project we recently finished was staining our new coffee table. If you remember from a couple posts ago, Doug and I designed and built this 5' x 7' behemoth of a coffee table.

It took me a week or so to finish the staining and finishing process because I kept putting it off. I decided to use a technique called wood oxidation to stain the table because I thought it gave it a nice reclaimed/weathered look and really brought out interesting grains in the wood. Also, it is basically non-toxic (although not non-smelly!) because it is only steel and vinegar. I used this tutorial to make my solution.
Then I painted it on, did a quick sanding with a sanding sponge and waxed the top with furniture wax. Here's a close-up of the final product:
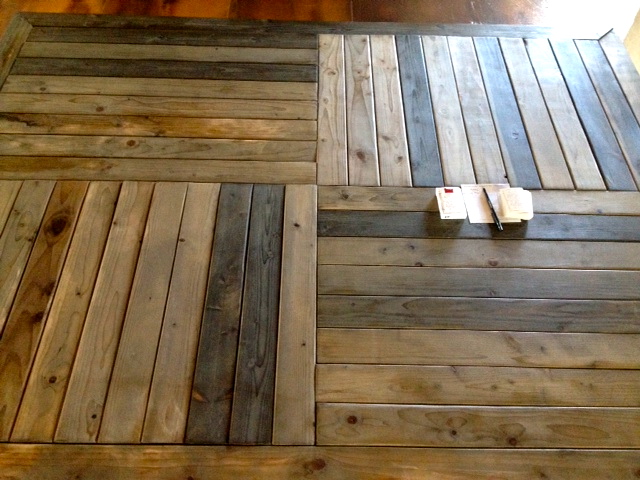
And a wide shot with the furniture -

We are all really proud of how it turned out and get a lot of compliments on it! And even though it isn't completely perfect, for about $100 in materials, we couldn't be happier.
Our next big woodworking project was building a dining table that will seat 10. Someday, Doug and I really want to buy a custom-made slab dining table. However, because that is really expensive, for now we decided to just build a table that can be used either in our dining room or out on the deck once we get the slab table. I looked at a bunch of plans online of different table sizes and heights and decided on a 10' x 3' table that is 30" tall. Ashley and I drew it all out on graph paper and got all of the materials. First we built the table top, taking care to leave gaps between the boards for rain water for when we move it to the deck.
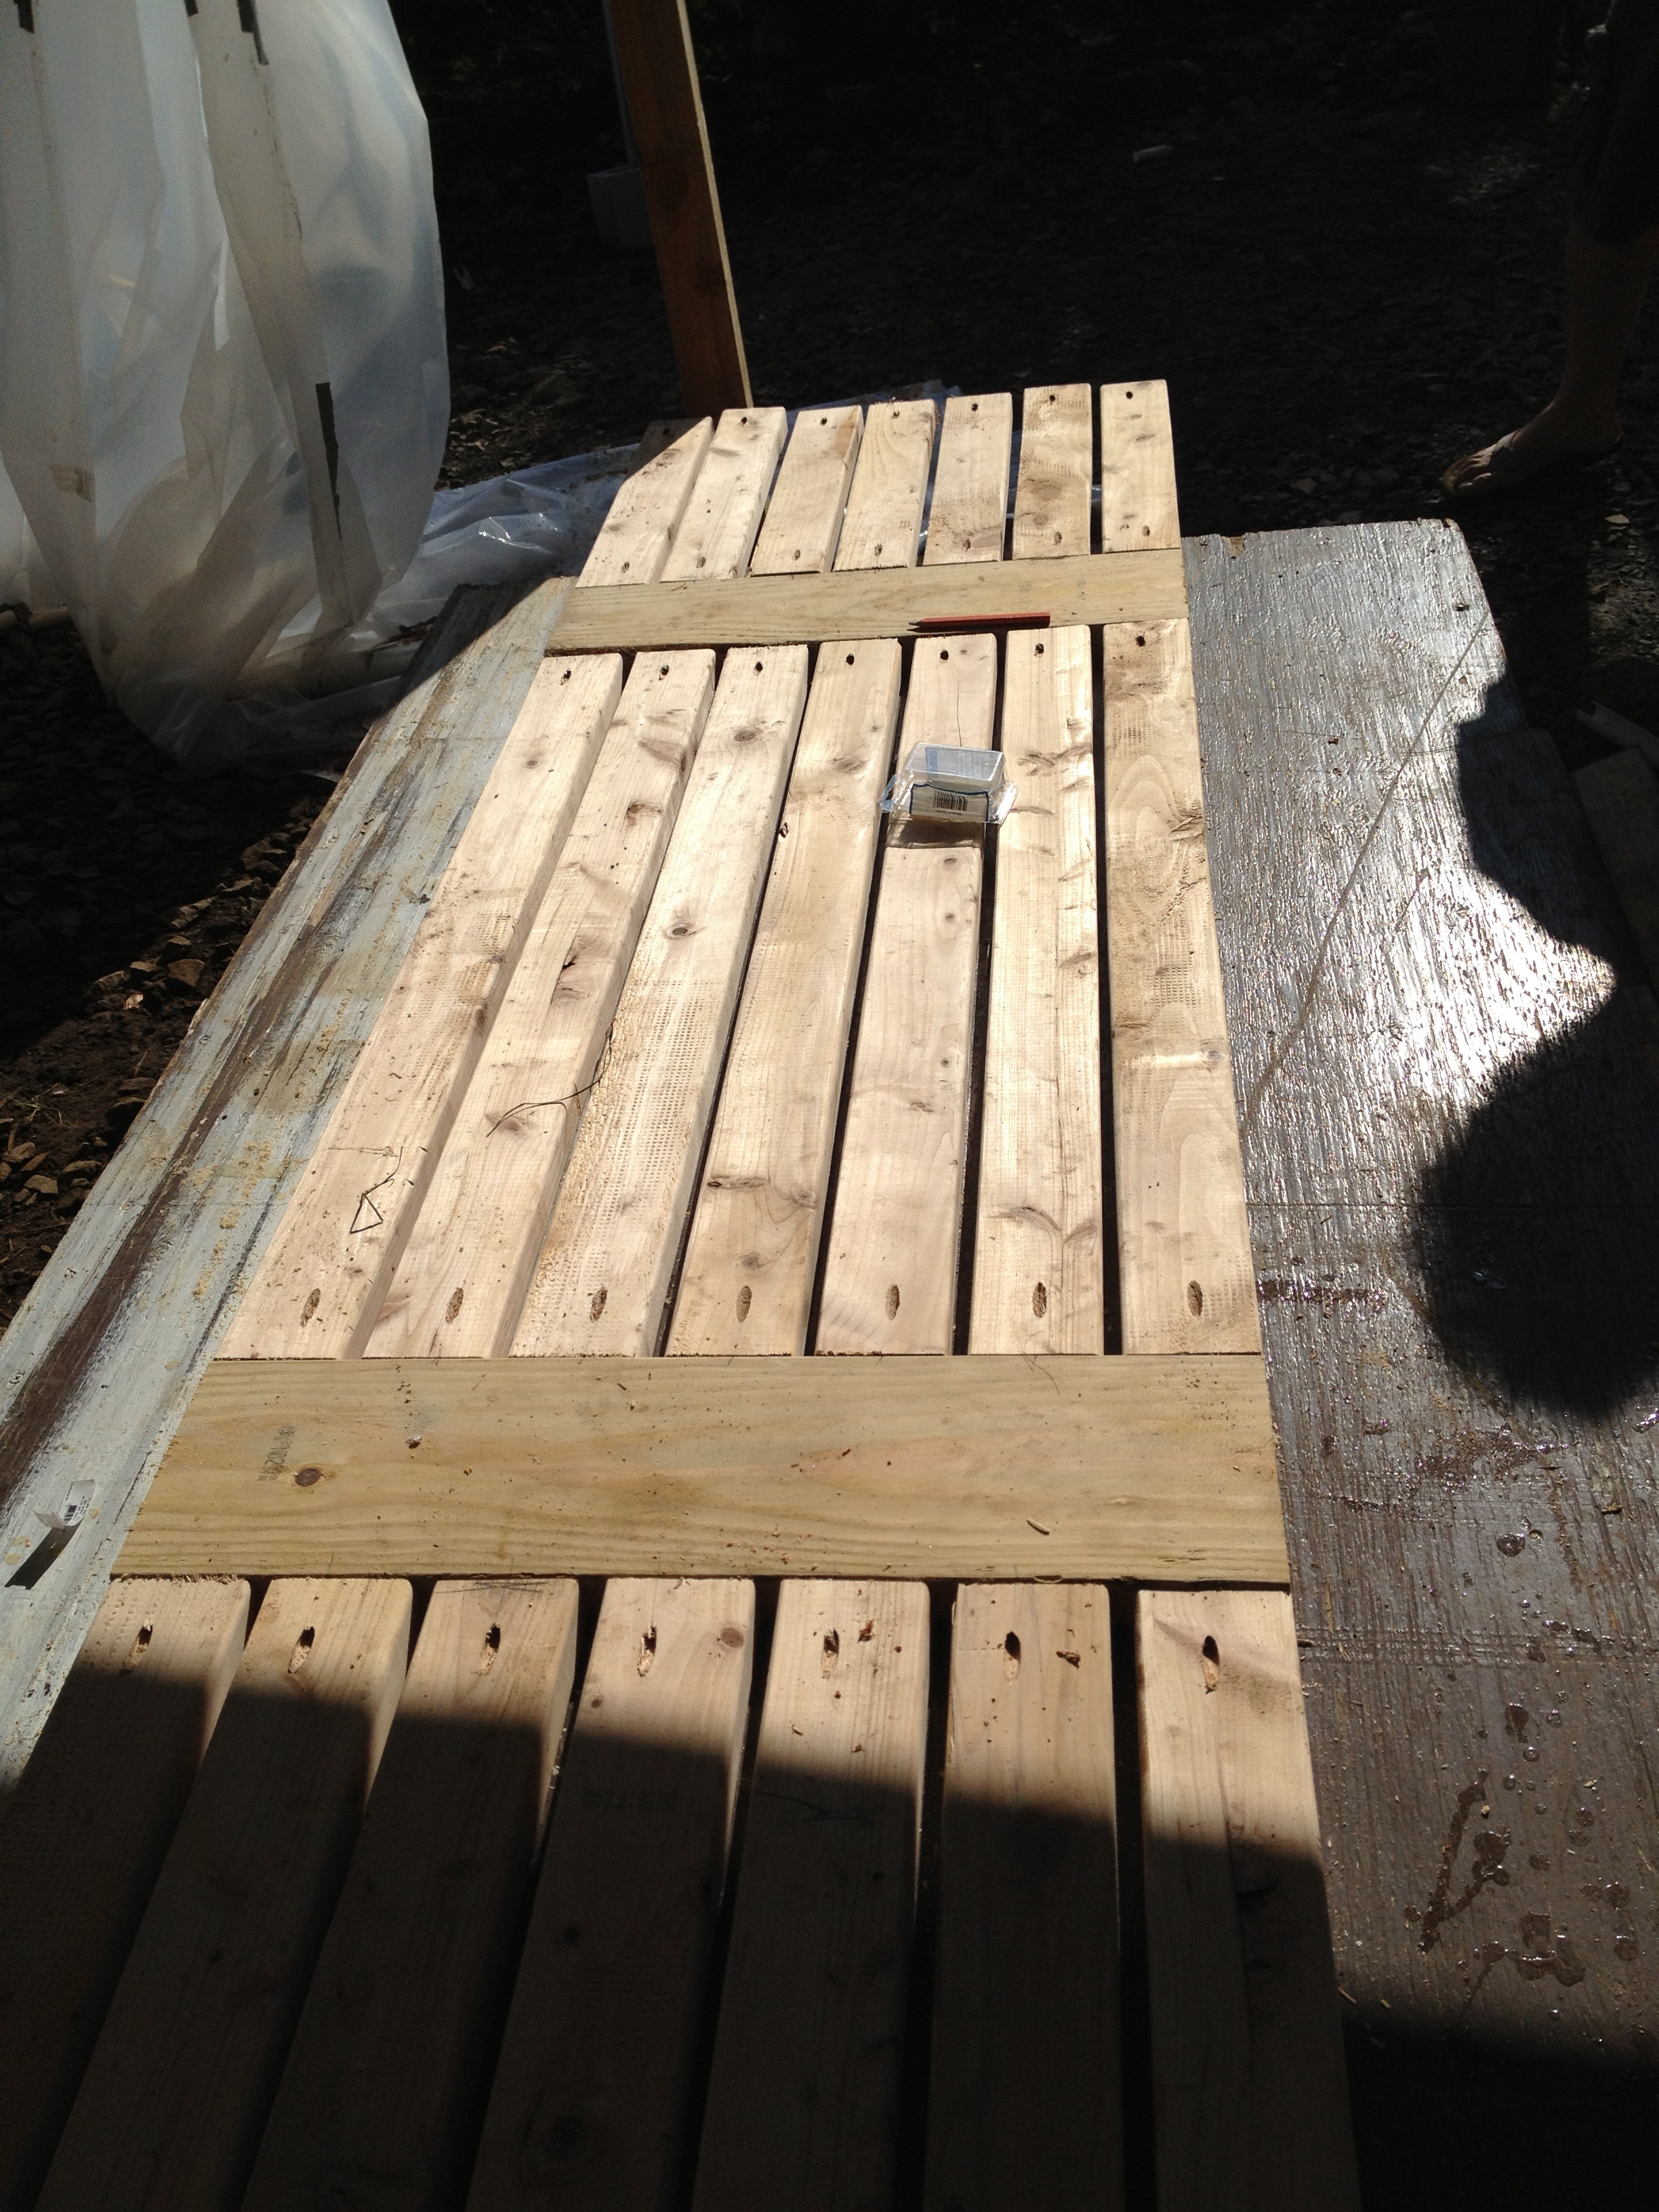
Then we built a lower frame with the table aprons, added the legs and supports, sanded it, and moved it into the dining room. Unfortunately, I don't have pictures of any of these steps. Whoops! Lastly, I re-sanded and stained the table using the same oxidation technique as the coffee table.


I am really proud of how this table turned out as well. Sure, there are a lot of little errors where things do not match up perfectly, but I think (hope) that it just adds to the rustic look of the table. And at less than $200 in materials, this table was definitely more budget-friendly than buying a new one! Now we just need to buy chairs for it....
Also going on at the farm, there are of course farming projects! Recently, Mike and Doug put together a temporary "greenhouse" using metal piping and plastic sheeting.
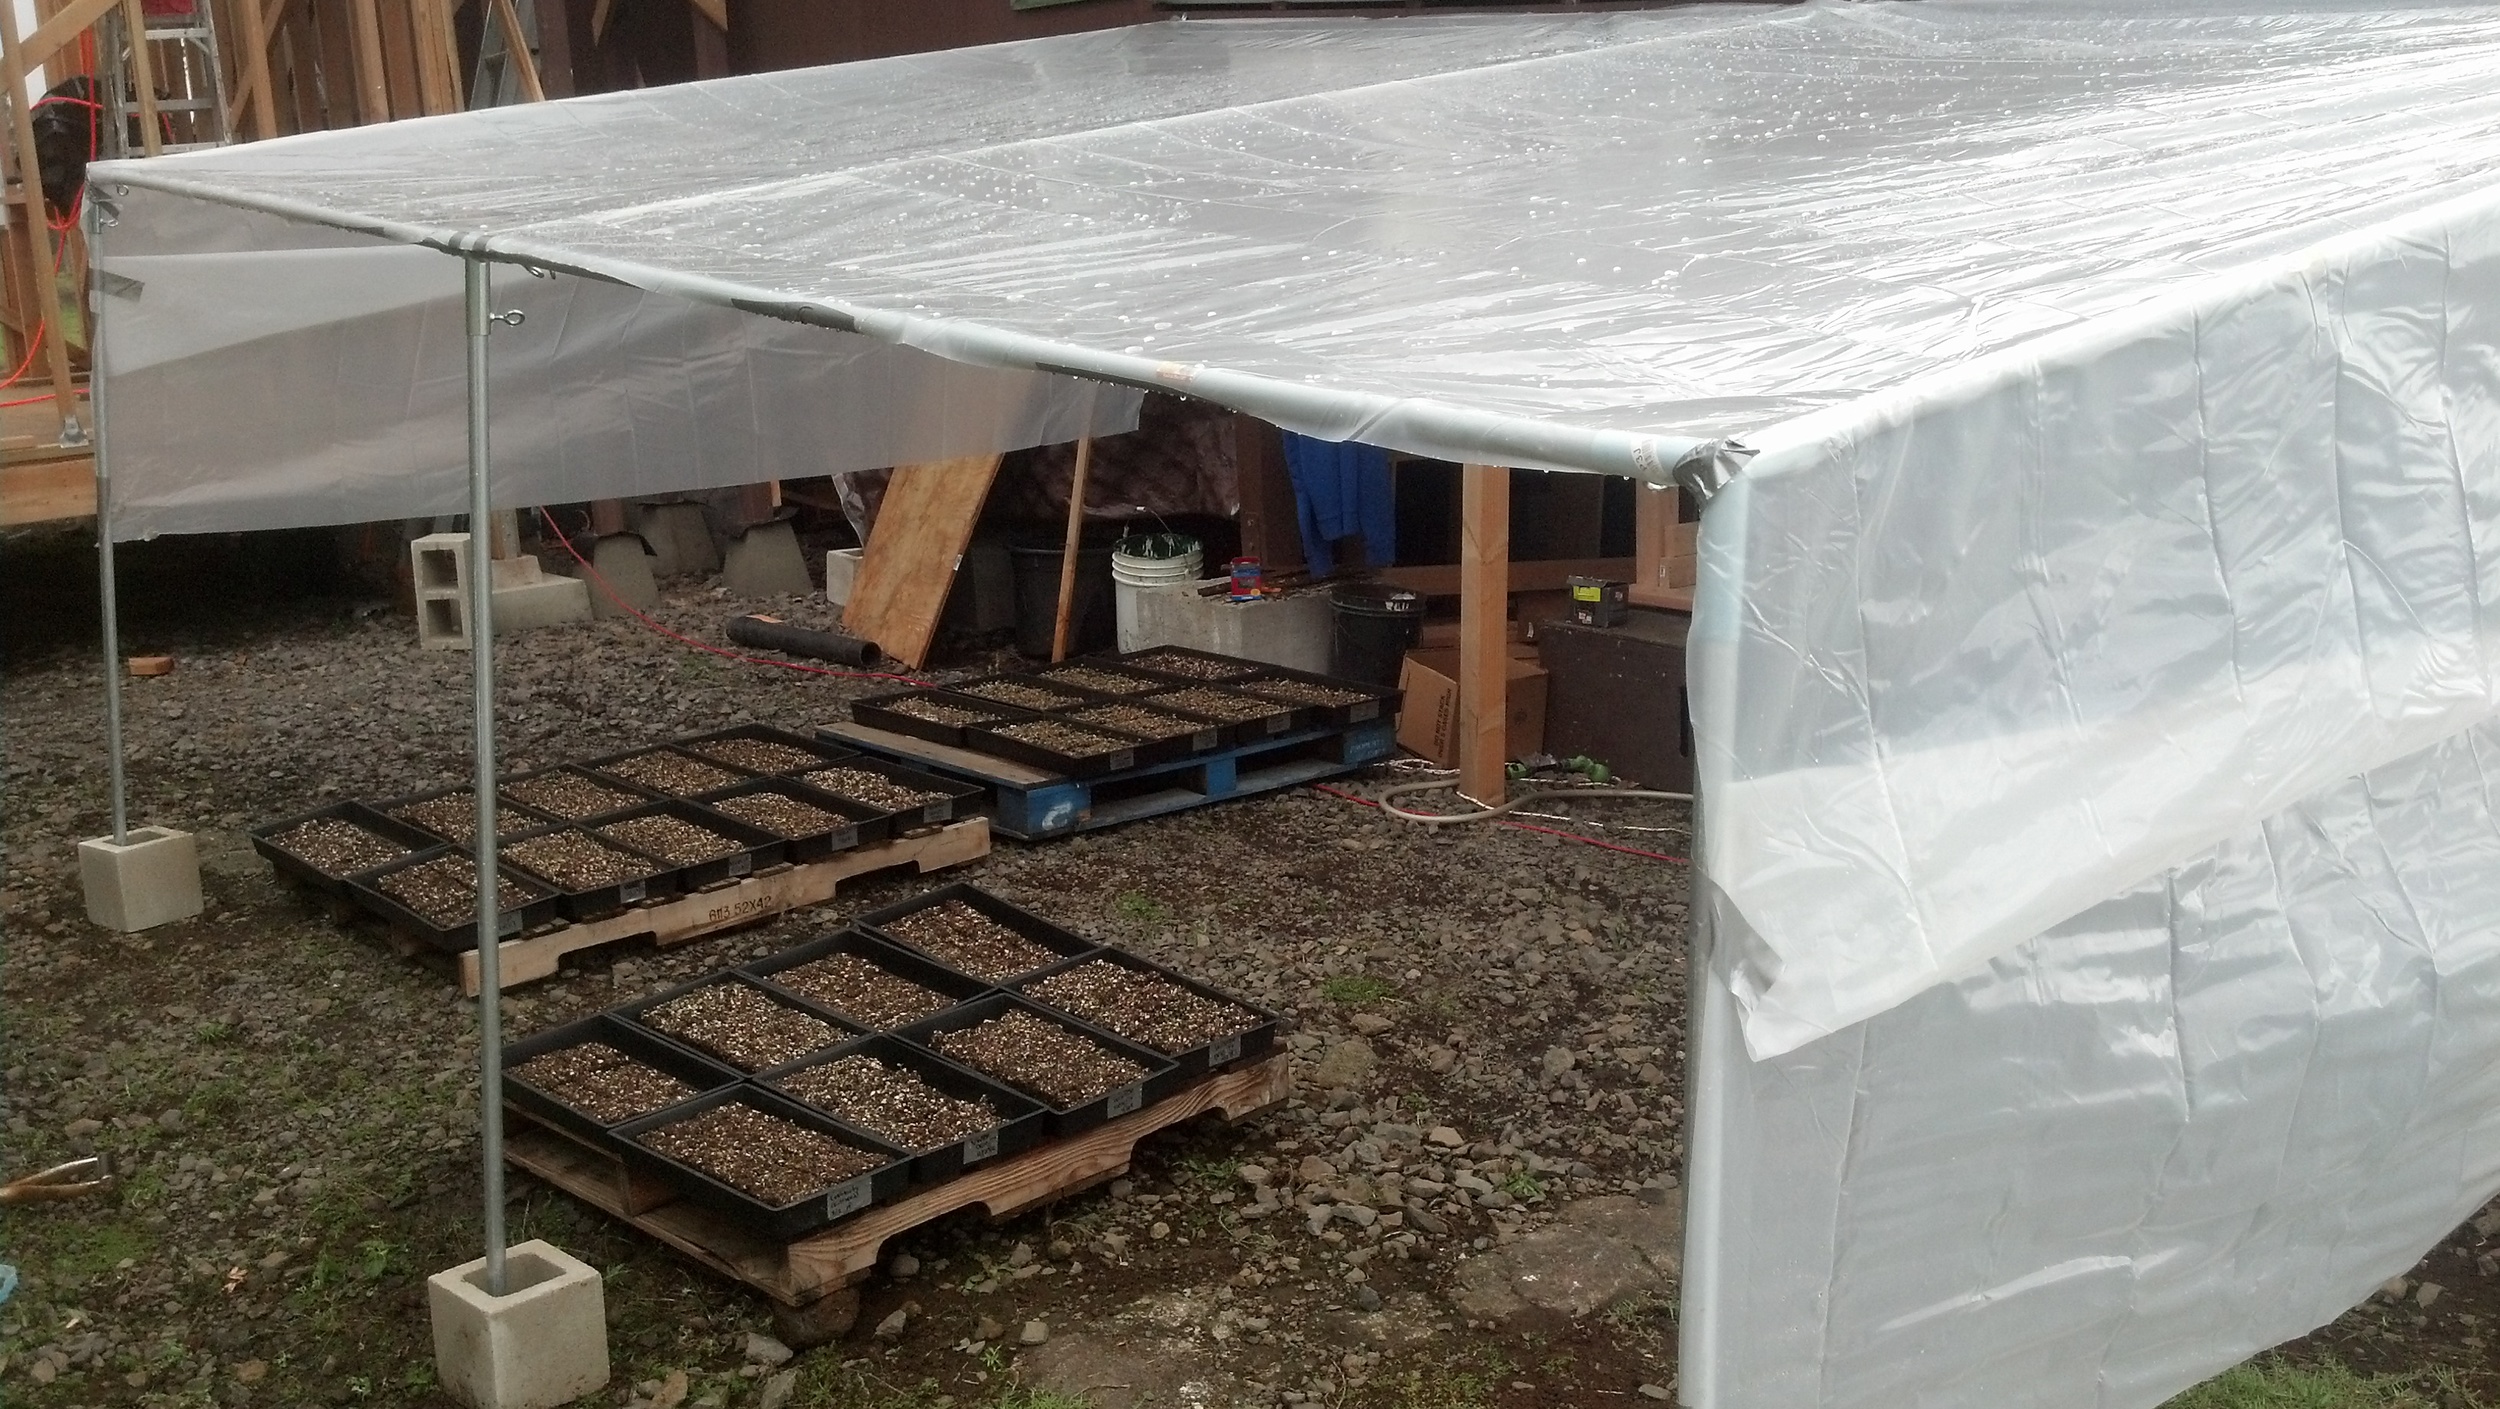
However, the plastic almost completely broke during a huge rainstorm. That's more than a hundred pounds of water pooling in the plastic! Needless to say we needed a new solution quick!
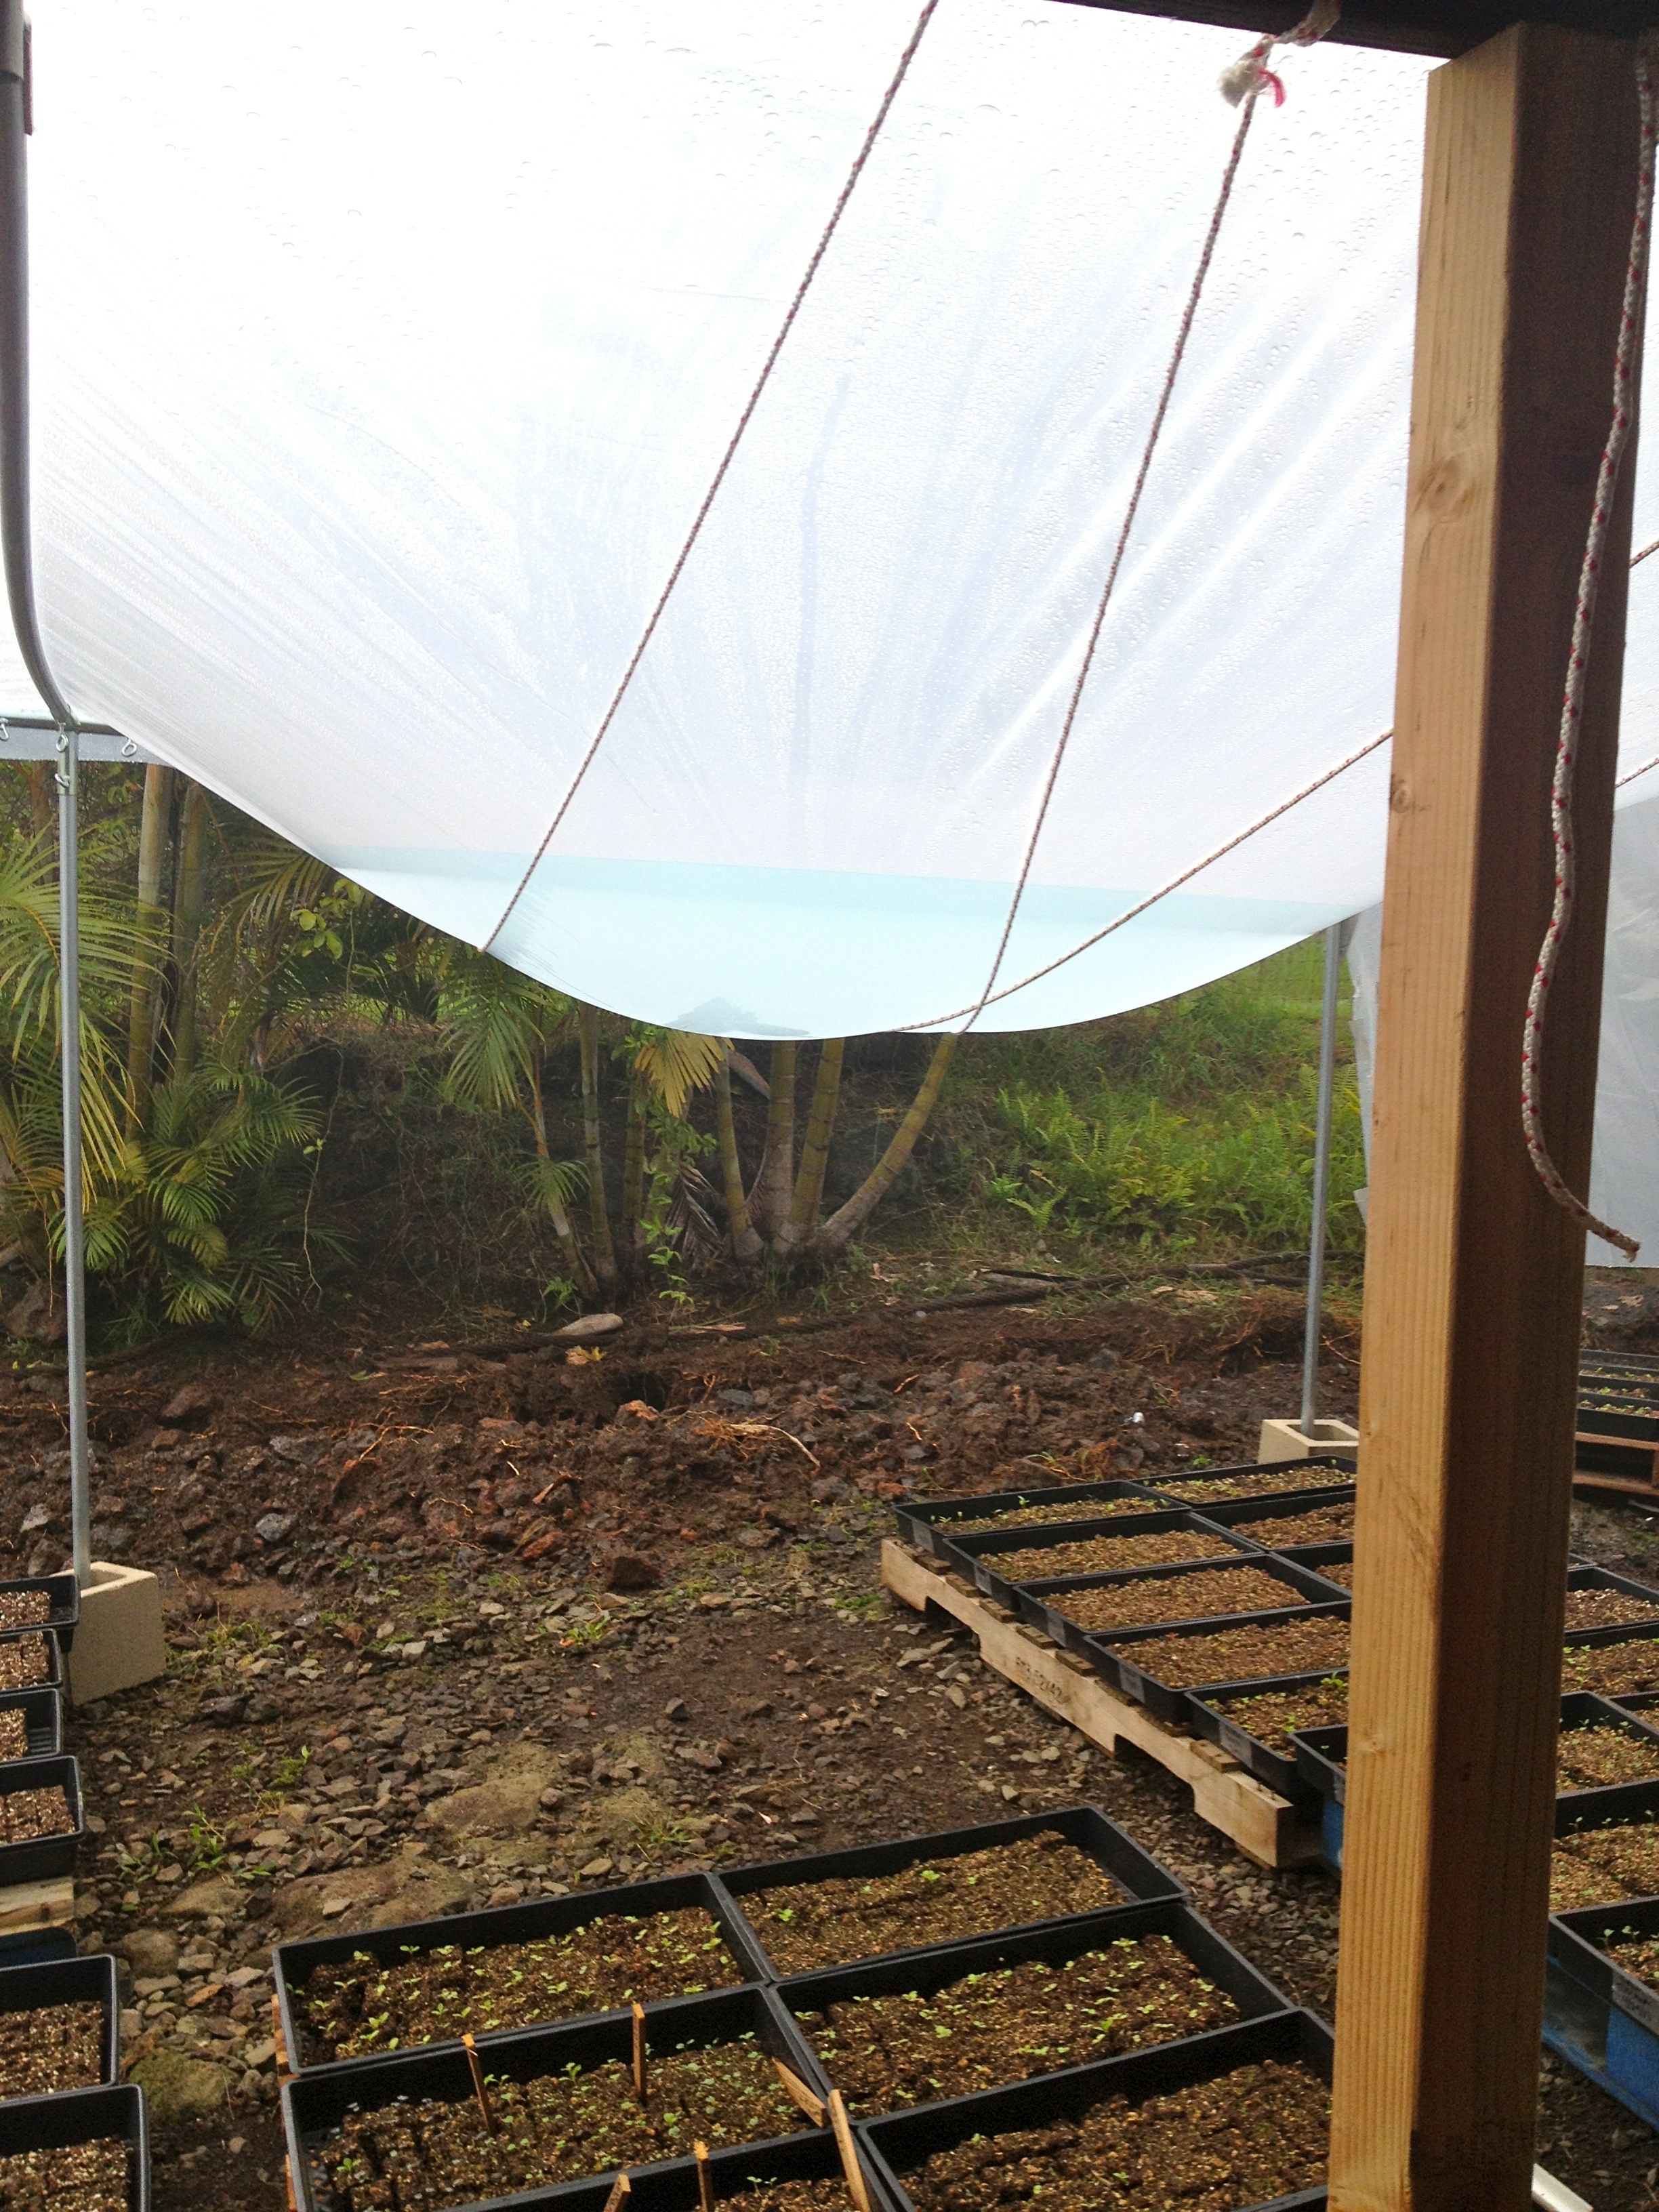
When this happened Mike was on the other side of the island, so Doug, Ashley and I had to quickly move all of the plants and come up with a new design for the greenhouse. When Mike got back later that day, we all built it together. We could not be happier with the new design! We used fiberglass plastic roofing instead of sheeting and it is much more secure and can withstand harder rains. It was much more expensive but will definitely last us longer.

When the WWOOFers got here earlier this week, they built another similar greenhouse on the other side of the barn. We need a lot of space for seedlings! Theirs also turned out great!


Even though we have a bunch more projects to share, I will save that for a later post and just leave you with the obligatory cute pictures of our dogs cuddling.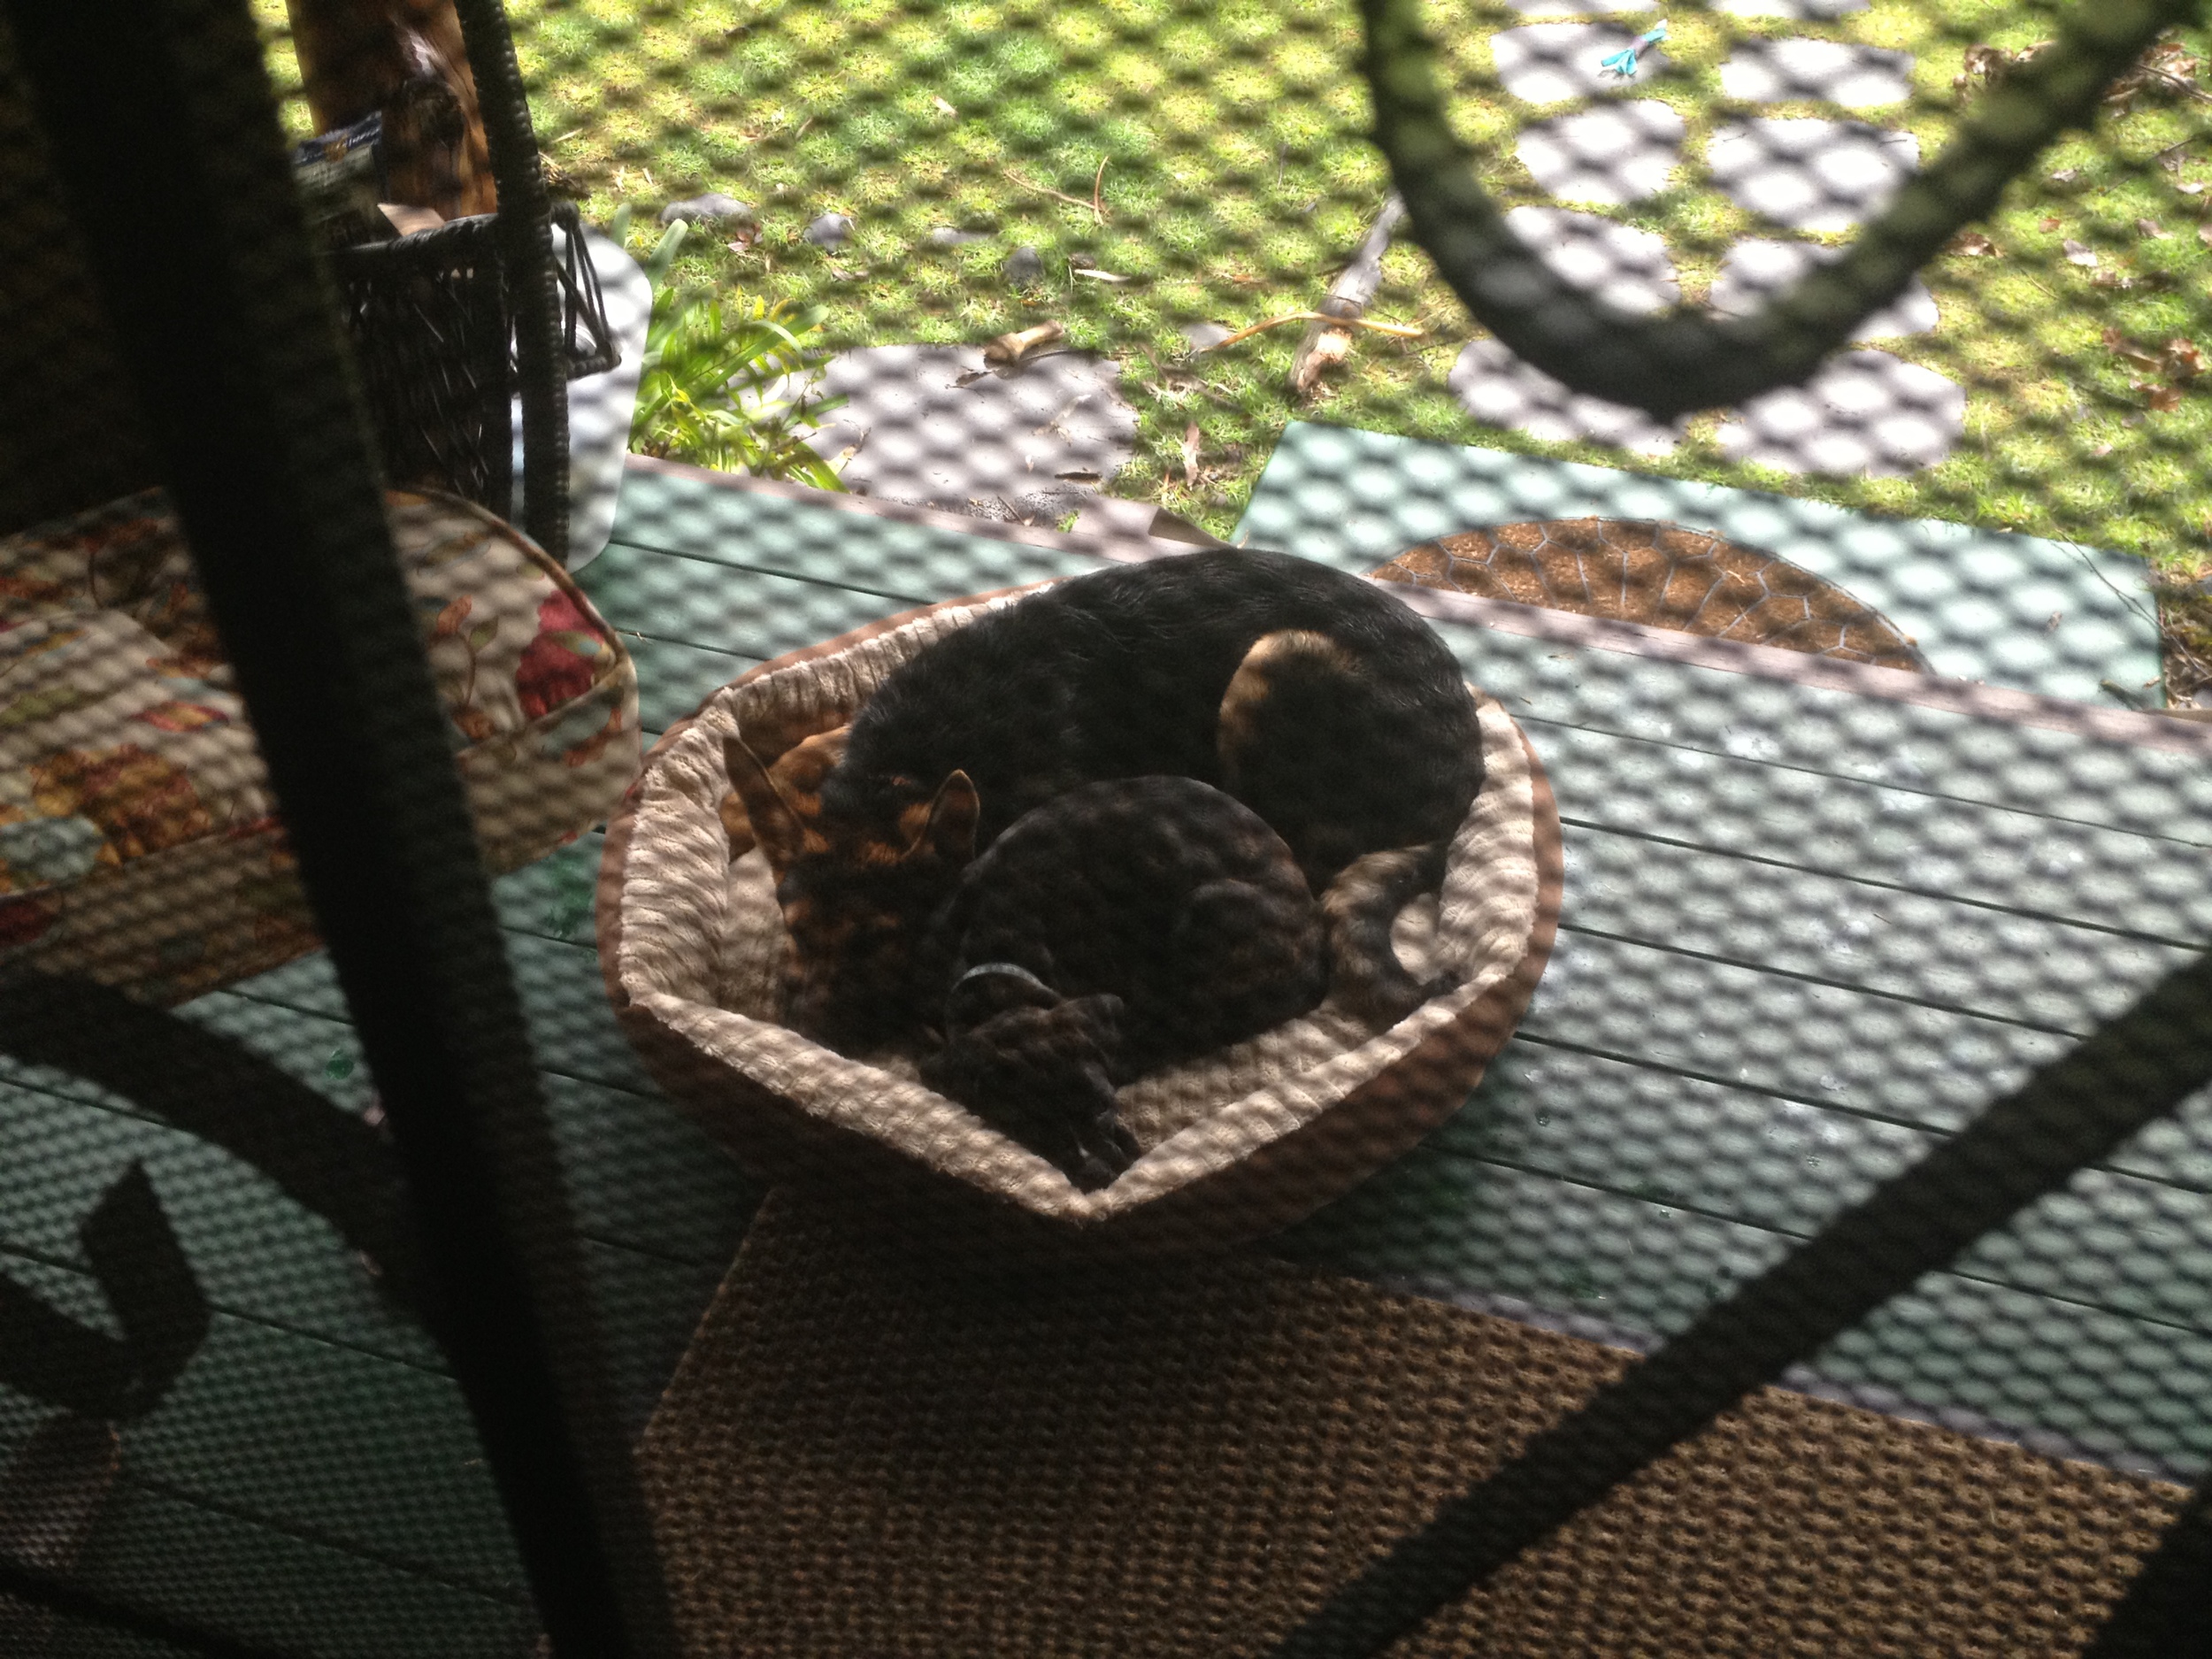
They were on the porch and when I went out to take a closer picture, unfortunately I woke them up. What cuties though!
